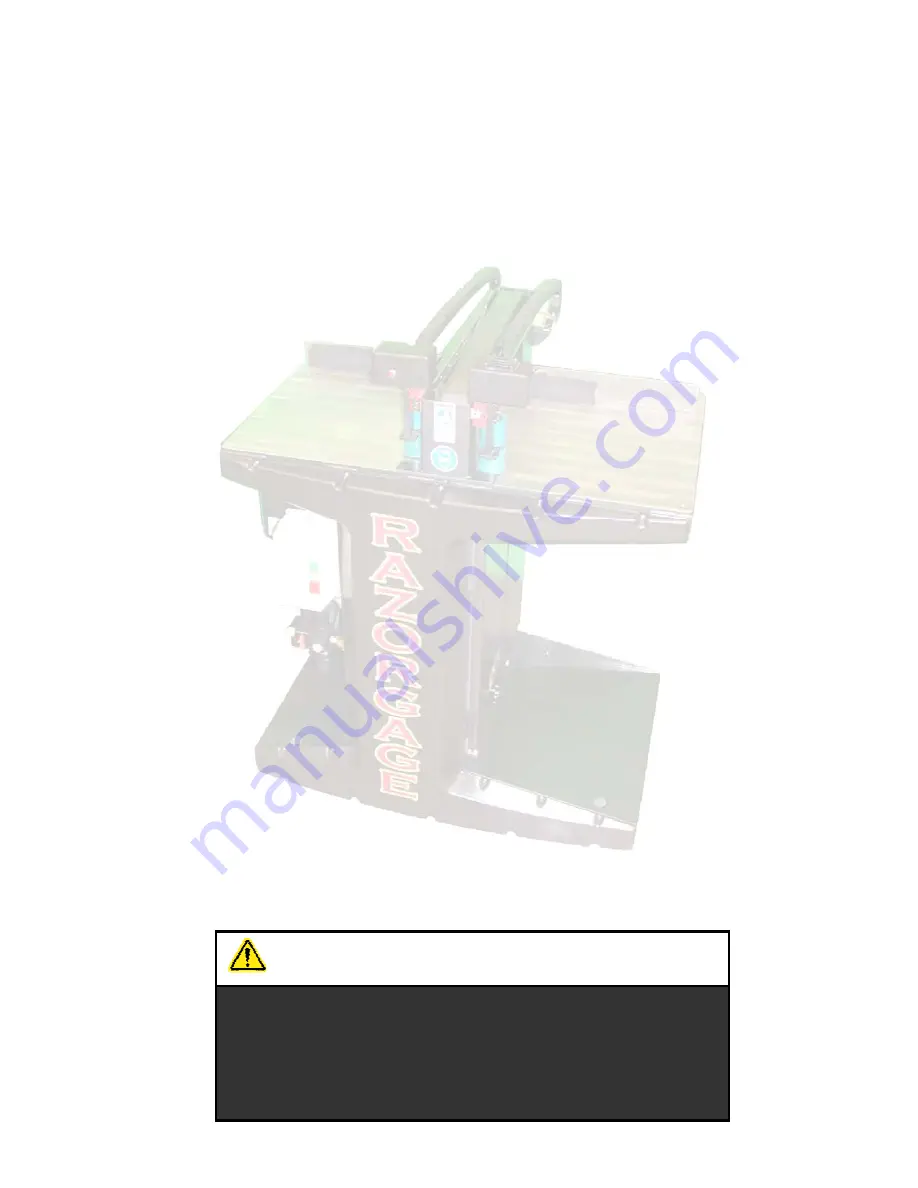
Razorgage Cyclone Operation Manual Download Page 1

Cyclone Upcut 

Cut off saw 


Operation manual       


The operator must thoroughly read and 
understand this manual before operating the cut 
off saw or starting any servicing. All safety and 
warning instructions should be followed. This 
manual must be available to all operators.


WARNING


Summary of Contents for Cyclone

Page 1: ... manual The operator must thoroughly read and understand this manual before operating the cut off saw or starting any servicing All safety and warning instructions should be followed This manual must be available to all operators WARNING ...

Page 2: ...1 ...

Page 3: ...reased after 5000 cut cycles if dust generated by the material cut is greater then adjust cycle count lower Grease all bearings with 2 pumps of grease use good quality medium weight grease Wipe dust off of zerks before attaching grease gun 2 pumps all locations DISCONNECT SAW FROM POWER BEFORE SERVICING WARNING ...

Page 4: ... slide clevis pin out of rod end push rod down to allow more clearance to bearing zerk Replace clevis pin and hairpin clip Replace top clamp cover Bearings on material roller clamps can be greased when ever necessary to maintain smooth motion of handles Be sure all components and covers are replaced before restoring power to saw Remove screws and cover Grease points Hairpin clip Clevis pin ...

Page 5: ... General safety rules for woodworking machinery 3 Safety rules for cut off saw 6 Arrival inspection 7 Major components 8 Cutting capacity chart 10 Installation 11 Saw operation 15 Changing blade 17 Adjustments 19 ...

Page 6: ...safety devices are missing damaged or not working properly DO NOT OPERATE THIS MACHINE notify your supervisor immediately 3 If the operator has any safety concerns or questions regarding the operation of this equipment DO NOT OPERATE THIS MACHINE the machine should be locked out and your supervisor notified immediately 4 All Lock Out Tag Out procedures must be followed before servicing or adjustin...

Page 7: ...ls may need to be adjusted due to work load or material type to keep machine in top condition Follow instructions for lubrication setup and changing accessories 9 Disconnect machine from power source before changing accessories or any servicing activity 10 Avoid accidental starting Make sure switch is in the off position before connecting to power 11 Remove any tools or loose objects from work sur...

Page 8: ... or jewelry which could be tangled in moving parts Keep long hair contained to prevent entanglement Non slip footwear is recommended 20 Always wear safety glasses 21 Secure the work piece 22 Keep proper footing and balance at all times 23 Do not use machine while under the influence of drugs alcohol or any medication 24 Always wear a face mask or dust mask if operation creates excessive dust or ch...

Page 9: ...on of top clamp and blade advance cylinders Turn off saw and as the motor slows and comes to a stop check for correct rotation direction compared to arrow indicator 6 Do not cut warped wood work piece should lay flat on table without rocking 7 Use infeed and outfeed supports when cutting long work pieces 8 Set top clamp stop pin to limit opening height to only what is required to process the work ...

Page 10: ...ntact your local distributor immediately Do not assembly or attempt to operate saw without all components present and in undamaged condition Saw specifications Cyclone upcut Saw blade speed 3450 rpm Saw motor 7 1 2 hp 230vac or 480 vac Saw blade dia optional 500mm or smaller see capacity chart Saw arbor size 1 Exhaust duct dia 4 Cycle operation Pneumatic factory set at 80PSI Table size 371 8 943 w...

Page 11: ...8 Major saw components Pressure regulator On off switches Defecting joystick Fence clamp handle Next advance button ...

Page 12: ...ts Dust collection port Electrical connection junction box Top clamp cylinder Saw Upstroke Speed Control Turn clockwise to slow feed counter clockwise to speed feed Saw Downstroke Speed Control Turn clockwise to slow feed counter clockwise to speed feed ...

Page 13: ...ity The fence is adjustable to accommodate the potential material sizes as shown in the chart above For best cut quality on thin stock the work piece should be toward the rear of the saw Adjust the position of the fence toward the rear of saw to optimize cut quality See adjustment section for directions on adjustment of fence and squaring fence to blade after adjustment ...

Page 14: ...m for such The floor should be a flat non slip surface The saw will be more stable if bolted to floor After locating the saw use leveling feet to adjust level of saw table Place level on saw table and adjust feet to bring table into level position Leveling feet The operator must remove from and lock out all power to saw before servicing or connecting power DANGER ...

Page 15: ...ment Check that your supply lines match the labeled voltage on the saw before connection Connect wires inside junction box located at bottom of rear of saw External power Air supply The operator must remove from and lock out all power to saw before servicing or connecting power DANGER ...

Page 16: ...e connection of two of the three power wires and recheck rotation The air supply fitting is located adjacent to the wiring junction box Connection can be a quick connect of your choice or can be a direct threaded connection into the 3 8NPT fitting After connecting air check the pressure setting at the regulator pressure should be set at 80psi to match factory settings for cylinder operation Power ...

Page 17: ...nction box cover and attach flexible conduit to junction box here Tighten box nut to make solid connection Bracket connection Razorgage to saw If material size was specified holes for Razorgage will be predrilled if not drill required hole into side of saw directly below top plate Match labels on wires to positions on terminal block tighten screw on wire to make solid connection at block Check wir...

Page 18: ...ing handles at either side of the top clamp blade cover The operator s hands must never be placed under the top clamp Maintain pressure on triggers until the top clamp opens completeing the saw cycle The operator must thoroughly read and understand this manual before operating the cut off saw or starting any servicing All safety and warning instructions should be followed This manual must be avail...

Page 19: ...pin in lowest hole that allows stock to fit under the open top clamp Turn off power to adjust pin position When ready to cut push stock against fence cut quality may vary depending on which side of the blade is held against fence Experiment holding stock on one side or both against fence to find best results Always hold one side against fence when triggering saw ...

Page 20: ...s purposely long to allow the blade and motor to stop before the door will open Do not use a powered means to remove hold down screw Do not shorten screw the length is required to make the door interlocks work properly The operator must remove from and lock out all power to saw before servicing DANGER ...

Page 21: ...rection for tightening and loosening is opposite from normal screws and bolts To loosen blade screw turn wrench in same direction as rotation of blade clockwise when looking at the blade Remove retaining screw and blade arbor plate to free saw blade from motor shaft Do not remove rear arbor plate check blade brake for dust buildup clean if necessary Blade brake cylinder attachment clean this area ...

Page 22: ...eference block to back edge of fence set the fence so that the back edge is parallel to the reference block same distance from reference block at both ends of reference block While maintaining the desired measurement tighten the fence mounting screws check the distance after tightening adjust if necessary Cut a part and use square to check If finer adjustment of square is required leave mounting s...

Page 23: ...20 Squaring the fence Set equal distance and check cut Leave first screw tight and tap here for fine adjustment ...

Reviews: