background image

1

DO NOT USE THE MACHINE TO BREAK 

THE BEAD OF AN INFLATED TIRE. 

COMPLETELY DEFLATE THE TIRE FIRST!

PROPER LUBRICATION

OF BOTH BEADS IS CRITICAL.

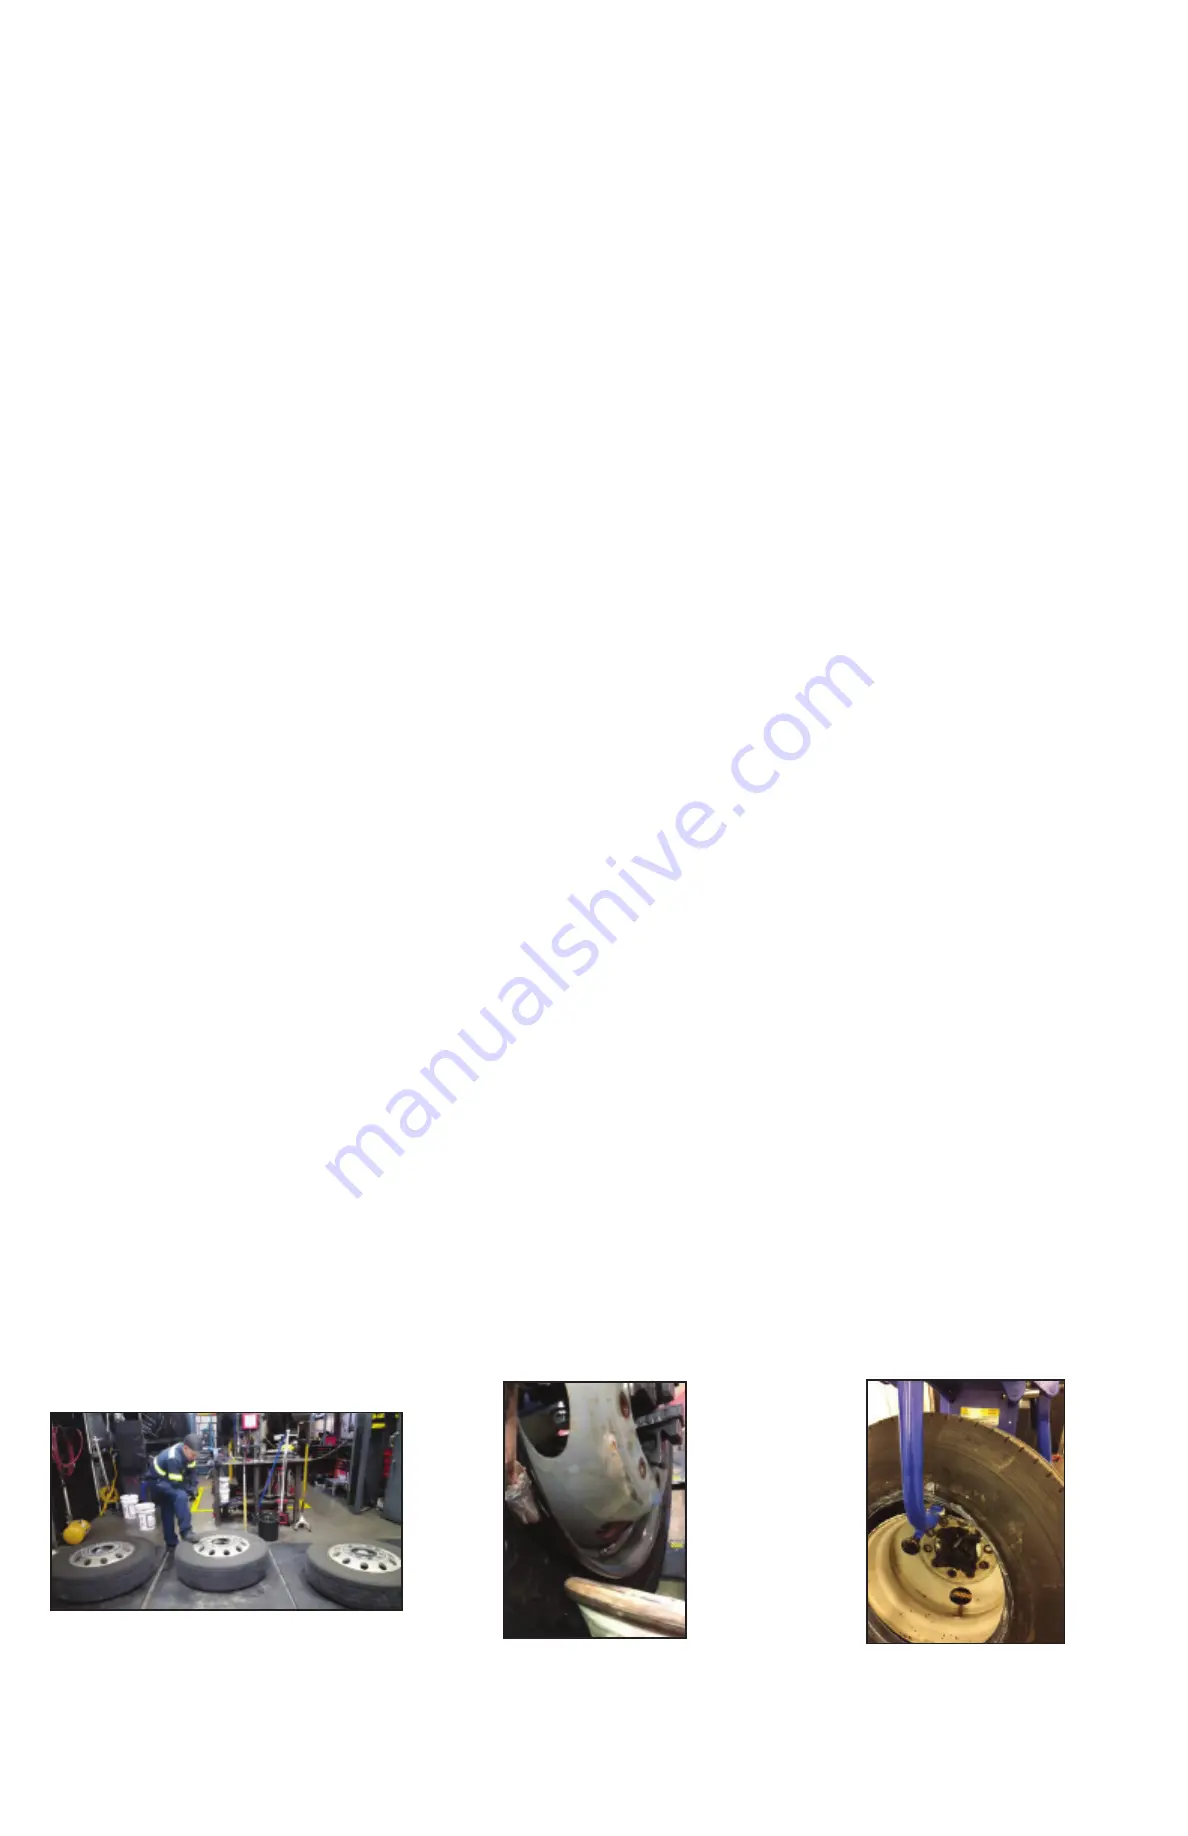
USE BEAD SAVER ARM

TO REDUCE RISK OF BEAD DAMAGE.

E-Z Operation 

RAV GTB-16N Tubeless Truck Tire Changer


Always consider safety 1st! 

• 

Wear protective eyewear and clothing.

• 

Let the machine do the work.

This Machine is Not Designed for Use on Tube Type Tires

• 

This is a tubeless truck tire changer.

Deflate the tire before attempting break-down procedure!

• 

Failure to adhere to this rule will result in damage to the machine.

Proper Lubrication is Critical

• 

Lubricate the tire beads thoroughly before attempting to re-mount.

• 

Lubricate both sides of both beads.

• 

Use a quality European type paste for best results. The machine was 

shipped with the proper lubricant.

Use Included Alloy Adapters to Avoid Scratching the Back Side

• 

If you feel your customer is sensitive to marring or scratching alloy 

wheels use the G108A2 alloy adapters as a preventive measure.

Use Bead Saver Arm to Reduce Risk of Bead Damage

• 

Use Bead Saver Arm on Wide Based and Super Duty.

• 

Use Bead Saver Arm anytime you fear bead damage may result.

Replaceable Plastic Protection on Bead Saver Arm

• 

Make certain this plastic pad is in good shape. Replace when needed.

SUMMARY

Summary of Contents for RAV GTB-16N

Page 1: ...in damage to the machine Proper Lubrication is Critical Lubricate the tire beads thoroughly before attempting to re mount Lubricate both sides of both beads Use a quality European type paste for best...

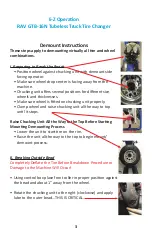
Page 2: ...chucking unit Use Top Two Buttons to Move Chucking Unit Up Down Lower the unit to start tire on the rim Raise the unit all the way to the top to begin mount demount process Joy Stick at Lower Right Co...

Page 3: ...tted on chucking unit properly Clamp wheel and raise chucking unit all the way to top until it stops Raise Chucking Unit All the Way to the Top Before Starting Mounting Demounting Process Lower the un...

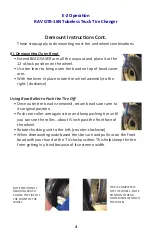
Page 4: ...the Tire Off Once outer tire bead is removed return bead saver arm to its original position Push rear roller arm against tire and keep pushing tire until you can see the roller about inch past the fr...

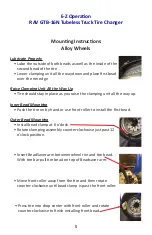
Page 5: ...it all the way up Inner Bead Mounting Push the tire on by hand or use front roller to install the first bead Outer Bead Mounting Install bead clamp at 6 o clock Rotate clamping assembly counter clockw...

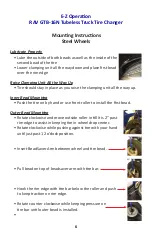
Page 6: ...Mounting Push the tire on by hand or use front roller to install the first bead Outer Bead Mounting Rotate clockwise and move outside roller in till it is 2 past rim edge to assist in keeping tire in...

Page 7: ...Never dismount a tire without lubricating first Never force a tire until it rips the bead Never put your fingers between the bead and a roller Never use the Beadsaver Arm without the plastic protectio...

Page 8: ...merica com Nick McCullough 903 278 5421 nick ravamerica com Computer Software Assistance Matt Casteel 903 278 5422 matt ravamerica com Ernie Diaz 903 826 9528 ernie ravamerica com Online Technical Sup...

Reviews: