Operation AERO GT ISOBUS
4
34
Deleting an existing fertiliser chart
1.
Select the desired fertiliser chart.
The display shows the selection window.
2.
Select the
Delete element
option.
The fertiliser chart is deleted from the list.
Managing the selected fertiliser chart via the working screen
You can also manage the fertiliser chart directly via the working screen.
1.
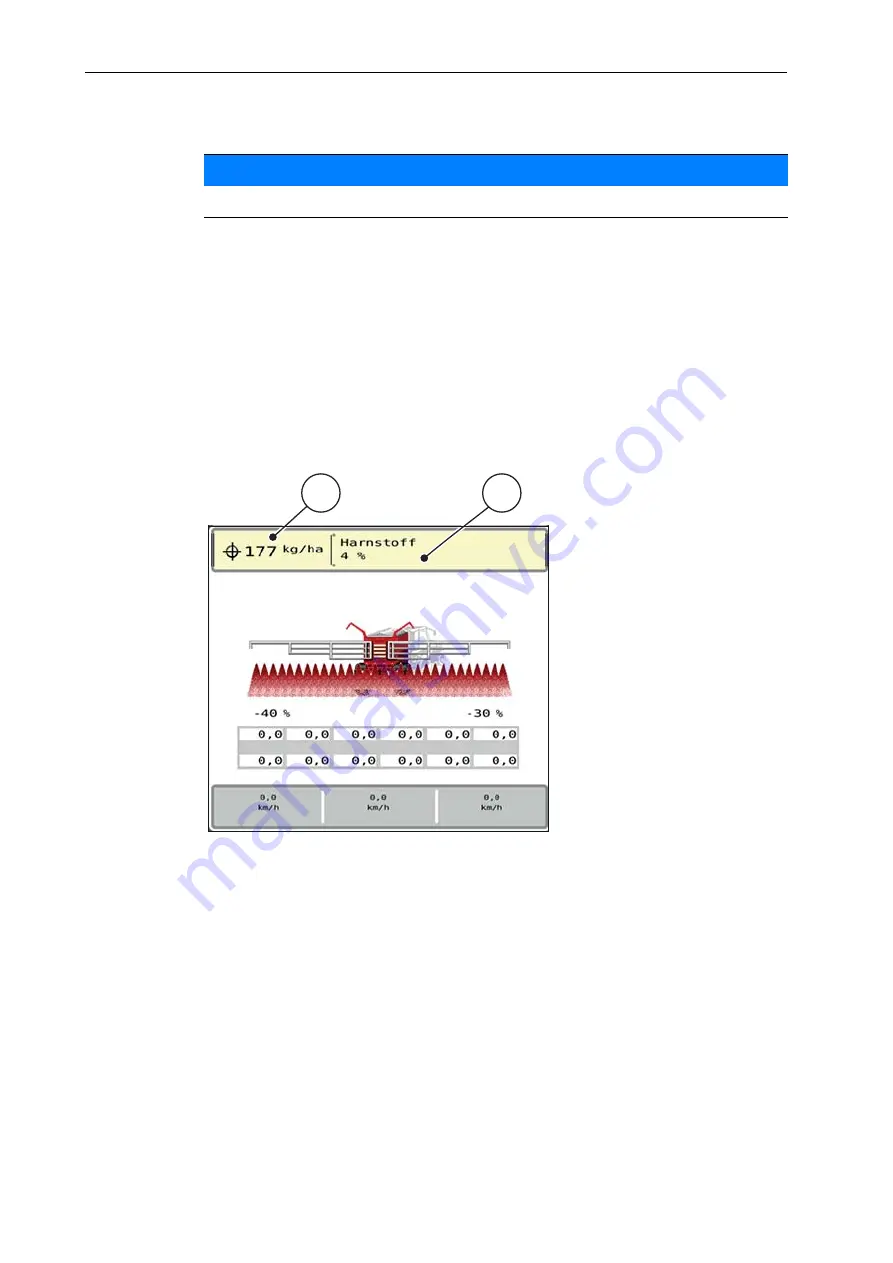
Press the Fertiliser chart [2] button on the touchscreen.
The active fertiliser chart is displayed.
Figure 4.8:
Managing the fertiliser chart via the touchscreen
[1] Application rate button
[2] Fertiliser chart button
2.
Enter the new value in the input field.
3.
Press
OK
.
The new value is saved in the machine control unit.
NOTICE
The active fertiliser chart
cannot
be deleted.
1
2
Summary of Contents for AERO GT ISOBUS
Page 8: ...User instructions 1 4 ...
Page 20: ...Layout and function 2 16 ...
Page 24: ...Attachment and installation 3 20 ...
Page 58: ...Operation AERO GT ISOBUS 4 54 ...
Page 63: ...Optional equipment 59 7 7 Optional equipment Illustration Designation Level sensors Joystick ...
Page 64: ...Optional equipment 7 60 ...
Page 66: ......


