background image


OPERATOR MANUAL 


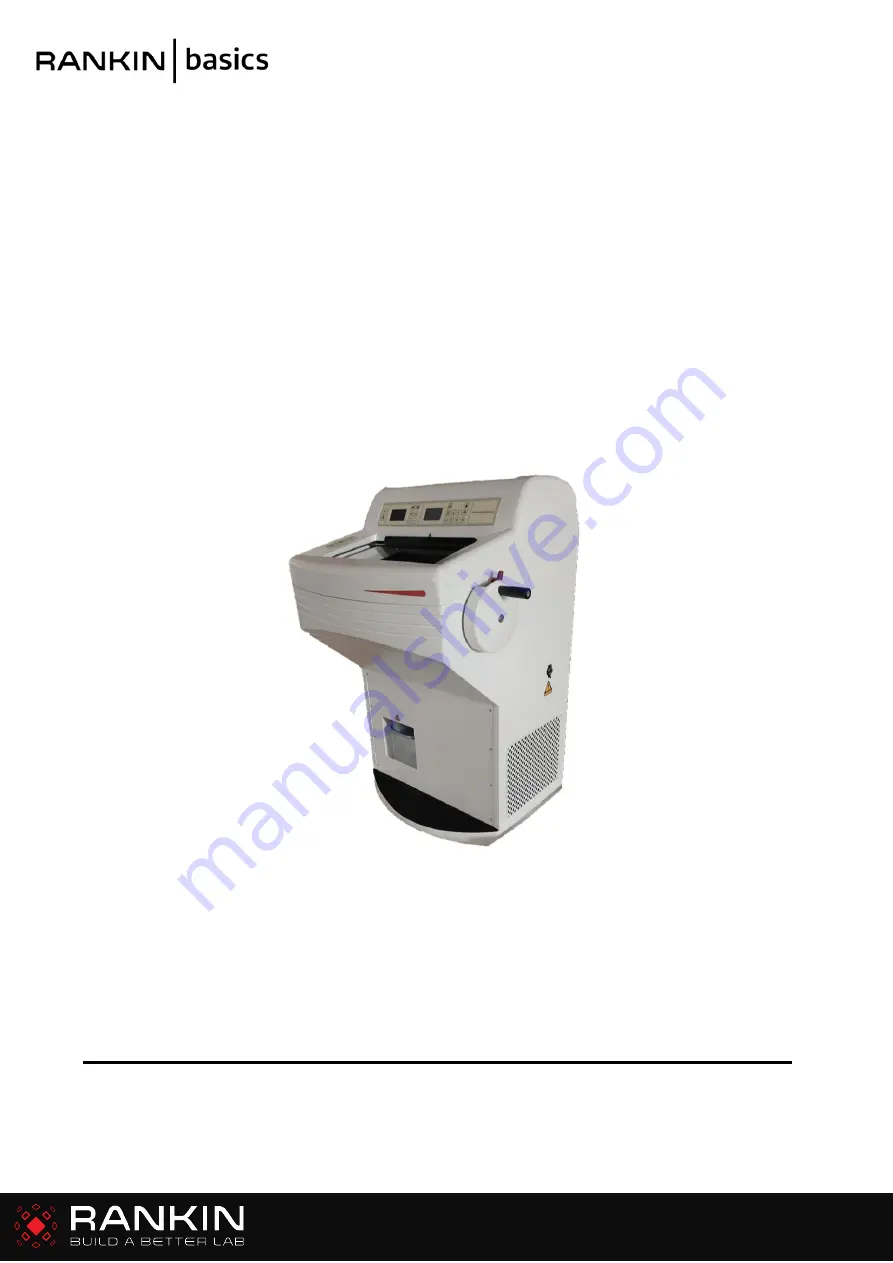
Rankin Basics Cryostat 

CRY85 


Attention:

 Before using the instrument, please read this Instruction carefully, and keep the Instruction for further 

reference.


Please refer to the nameplate on the back of the instrument for the serial number and manufacturing date of the 

instrument 

Summary of Contents for Basics CRY85

Page 1: ...ttention Before using the instrument please read this Instruction carefully and keep the Instruction for further reference Please refer to the nameplate on the back of the instrument for the serial nu...

Page 2: ...t 6 Middle Peltier freezing 7 Middle Standby 7 Middle Sectioning trimming setting 7 Right Clock setting 8 Right Temperature setting 8 Right Fast freezing 8 Right Start of work timer 9 Right End of wor...

Page 3: ...oning procedures 14 Tips for Successful Sectioning 14 Recommended Temperature Ranges 15 5 Troubleshooting 16 6 Cleaning and Maintenance 17 Cleaning the display screens 17 Cleaning procedures 17 Empty...

Page 4: ...men head cooling UV option enables surface disinfection of harmful bacteria viruses and spores by using 35 min after each use The Peltier semiconductor cooling function on the quick freeze shelf can b...

Page 5: ...50 m Specimen retraction Adjustable range 0 80 m Increment 5 m Horizontal stroke 20 mm Vertical stroke 60 mm Voltage AC 110V 10 AC 220V 10 Frequency 50 60Hz Power 600W Largest start up current 5 secon...

Page 6: ...s as well as the back of the instrument to facilitate ventilation and heat dispersion The instrument can be used after it is kept standing still for at least 2 hours Please ensure the grounding wire o...

Page 7: ...e To protect the instrument from being damaged by an abrupt startup the instrument cannot be re started within 3 minutes after it is turned off The central operation panel includes three zones left mi...

Page 8: ...utes which will count down to 14 13 2 1 until the Peltier stops cooling and the indicator light is off User may also press this button to stop the Peltier when it is running The Peltier stops running...

Page 9: ...actual temp Peltier on off Clock setting The clock can be set by pressing D to adjust weekday and pressing H and M to adjust hour and minute respectively Temperature setting Press the temperature but...

Page 10: ...rking day then press the H and M buttons to adjust hour and minute respectively The system will automatically set 24 hours of the standby mode for non working days Programming end of work timer Press...

Page 11: ...le by moving forward Press button specimen is moving towards user slowly Fast Advance and Retract Press double arrow buttons to move the specimen head forward or backward The indicator light on the bu...

Page 12: ...lly move the holder After the holder is placed in the desired position lock the lever clockwise Note Please lock the blade angle in a proper position before adjusting forward backward movements Blade...

Page 13: ...d in place by two screws Ensure that the gap clearance side of the anti roll plate is facing inwards Position the anti roll plate in the holder gently pushing the glass to the bottom of the holder The...

Page 14: ...eel Specimen Setup The specimen must be correctly secured and oriented in the specimen head for subsequent sectioning To secure and orient the specimen Loosen the specimen chuck fixation screw and ins...

Page 15: ...late and the clamping plate i e with ethanol Tighten all clamping screws and clamping levers on the blade holder and specimen head Select the appropriate knife carrier and specimen temperature accordi...

Page 16: ...t 35 C to 40 C 30 C or below Cervix 25 C to 30 C 20 C Connective Tissue 25 C 16 C Gut 25 C 20 C Heart 25 C 20 C Kidney 25 C 15 C Lip 25 C 13 C Liver 25 C 13 C Lung 25 C 15 C Lymph Node 25 C 13 C Muscl...

Page 17: ...holder not correctly clamped Check tighten blade holder 2 Blade incorrectly clamped Blade clamping force can be increased by tightening clamp screw at the rear of the top stage 3 Specimen incorrectly...

Page 18: ...lade holder Carefully clean and dry the dismounted blade holder As there is condensate humidity inside the microtome structure dry the microtome components inside the cryochamber very carefully For th...

Page 19: ...ion of the instrument If the original packaging is no longer available please contact customer service via support rankinbiomed com II The conditions for storage and transportation must be observed du...

Page 20: ...this instrument is designed to accepted standards of safety Its use does not entail any hazard if operated in accordance with the instructions given in the documentation However the following safety p...

Page 21: ...Item Description Qty Special Note 1 Base Unit 1 2 Disposable Blade Holder 1 2 in 1 low and high profile 3 Handwheel Handle 1 4 Specimen Disc 3 5 Power Cord 1 6 Brush 2 7 Heated Glass Door 1 Removable...

Page 22: ...ers dealers or resellers Limitation of Warranty The warranty stated above is the only warranty applicable to this product All other warranties expressor implied including all implied warranties of mer...

Reviews: