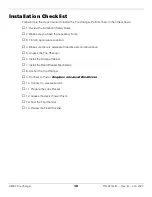
R80EX Tire Changer
11
P/N 5900087 — Rev. B — Jan. 2020
Installation
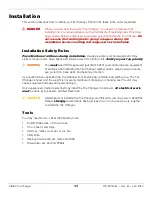
This section describes how to install your Tire Changer. Perform the tasks in the order presented.
⚠
DANGER
When you even hear the words “Tire Changer,” you need to remember that
installing one is a serious endeavor with potentially life-threatening risks. Only allow
appropriately trained, authorized, supervised personnel install the Tire Changer.
Do
not assume that nothing bad is going to happen during this
installation because nothing bad happened last installation
.
Installation Safety Rules
Pay attention at all times during installation.
Use appropriate tools and equipment. Stay
clear of moving parts. Keep hands and fingers away from pinch points.
Safety is your top priority
.
⚠
WARNING
You
must
wear OSHA-approved (publication 3151) personal protective equipment
at all times when installing the Tire Changer: leather gloves, steel-toed work boots,
eye protection, back belts, and hearing protection.
Use caution when unpacking the Tire Changer from its shipping container and setting it up. The Tire
Changer is heavy and the weight is not evenly distributed; dropping or knocking over the unit may
cause equipment damage and personal injury.
Only experienced, trained personnel may install the Tire Changer. In particular,
all electrical work
must
be done by a licensed, certified Electrician.
⚠
CAUTION
Certain parts of installing the Tire Changer are difficult for just one person. BendPak
Ranger
strongly
recommends having at least two or more people work together
to install the Tire Changer.
Tools
You may need some or all of the following tools:
•
Forklift, Pallet Jack, or Shop Crane
•
Tin or sheet metal snips
•
Hammer, mallet, crow bar, or pry bar
•
Utility knife
•
Hex key and wrench set, metric and SAE
•
Screwdriver set, slot and Phillips


