background image


15 


Rear Panel 


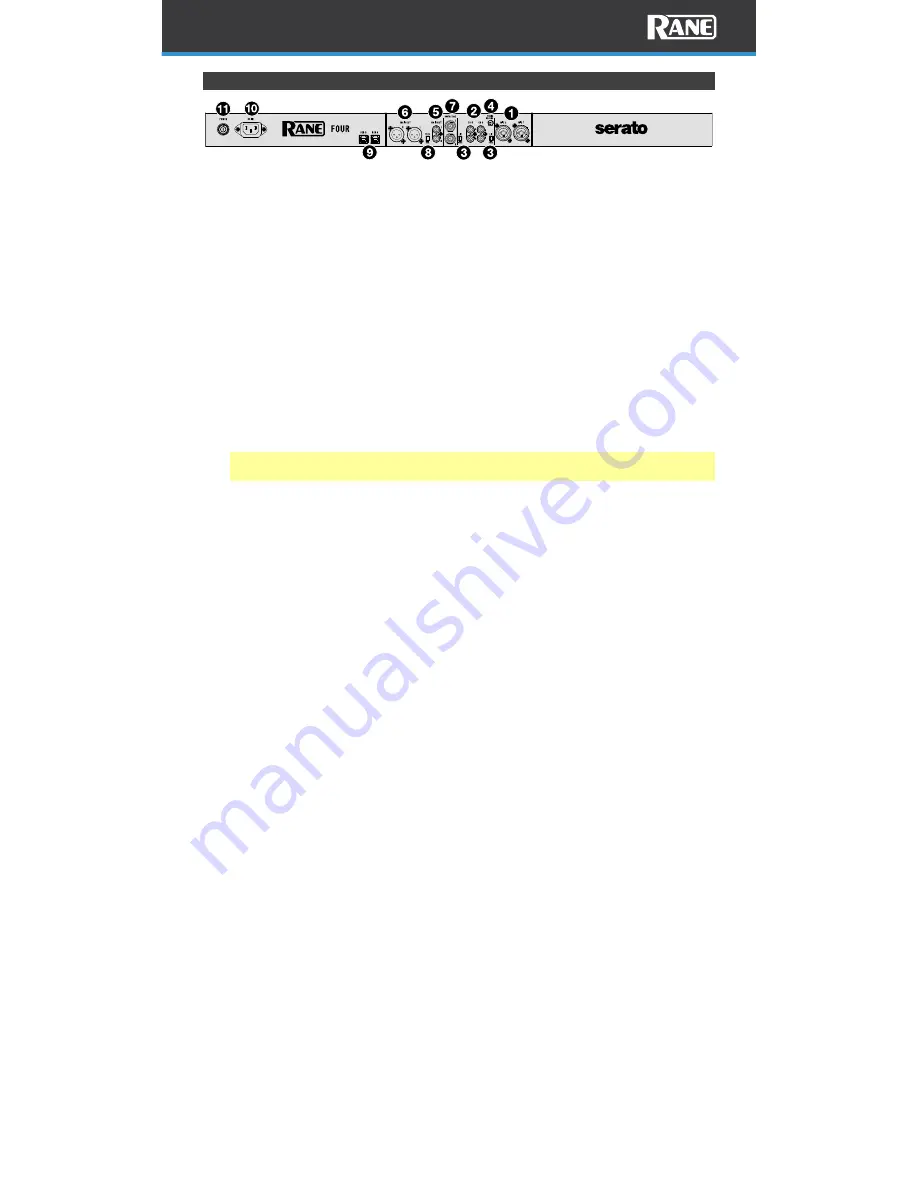
1.


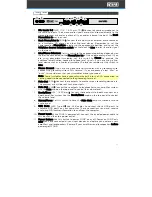
Mic Inputs 1–2 (XLR / 1/4” / 6.35 mm, TRS): Connect dynamic microphones to 
these mono inputs. Their mono audio signals are split and routed directly to the 
stereo program mix and cue channel. If you prefer a stereo line input, the Deck 
Phono/Line In may be used. 

2.


Deck Phono/Line In (RCA): Connect these inputs to an external audio source or 
to a turntable, CD player, or other line-level device. Remember to set the 
corresponding  Phono/Line selector to the appropriate position and to set the 
USB/Line Source Selection switch for that deck to Line to play its audio signal 
on that deck. 

3.


Line/Phono Selectors: Set this switch to the appropriate position, depending on 
the device connected to the Phono/Line Ins of the corresponding deck. If you 
are using phono-level turntables, set this switch to Phono to provide the 
additional amplification needed for phono-level signals. If you are using a line-
level device, such as a line-level turntable, CD player or sampler, set this switch to 
Line. 

4.


Phono Ground: If you are using phono-level turntables with a grounding wire, 
connect the grounding wire to this terminal. If you experience a low “hum” or 
“buzz”, this could mean that your turntables are not grounded. 

Note: Some turntables have a grounding wire built into the RCA connection, so 
nothing needs to be connected to the grounding terminal.


5.


Main Out (RCA): Connect these outputs to another mixer, recording device, etc. 
The program mix will be sent to these outputs. 

6.


Main Out (XLR): Connect these outputs to loudspeakers or an amplifier system. 
Use the Main knob on the top panel to control the volume level. 

7.


Booth/Zone  (1/4” / 6.35 mm): Connect these outputs to booth monitors or a 
booth amplifier system. Use the Booth/Zone knob on the top panel to control 
the volume level. 

8.


Stereo/Mono:  Set this switch to have the Main Outs output a stereo or mono 
audio signal. 

9.


USB Ports (USB Type-B): Use USB cables to connect these USB ports to 
available USB ports on your computer. These connections send and receive 
audio and MIDI control information to and from the computer. 

10.


Power Input: While FOUR is powered off, connect the included power cable to 
this input and then to a power outlet. 

11.


Power Button: Use this button to power FOUR on or off. Power on FOUR only 
after you have connected all your input devices and before you power on your 
amplifiers and loudspeakers. Power off your amplifiers and loudspeakers before 
powering off FOUR. 


Summary of Contents for Four

Page 1: ...User Guide Powered by Serato DJ Pro...

Page 2: ...UCTION 4 Box Contents 4 Support 4 Product Registration 4 SETUP 5 Connection Diagram 5 FEATURES 6 Top Panel 6 Deck Controls 6 Performance Pads 8 Jog Wheel Display 10 FX Section 11 Mixer Controls 12 Fro...

Page 3: ...ay 16 Pad Modes 17 Hot Cue 17 Roll 19 Sampler 19 Stems 18 Pitch Play 18 Saved Loops 18 Scratch Bank 20 Slicer Mode 20 APPENDIX 21 Internal Hardware Effects 21 System Menu 33 Technical Specifications 3...

Page 4: ...ration visit rane com For additional product support visit rane com support Product Registration Your product may include exclusive software and or promotions which can only be accessed by registering...

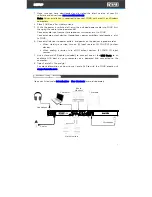
Page 5: ...speakers etc to FOUR 4 Connect all devices to power outlets and power on the devices in proper order When starting a session turn on 1 input sources 2 FOUR 3 output devices When ending a session turn...

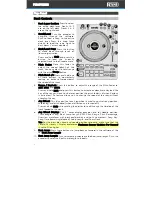
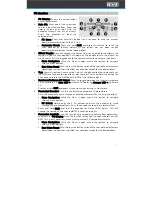
Page 6: ...he key of the song will lock to whatever position the pitch fader is at when Keylock is activated This feature allows you to change the speed of the song without changing the key 7 Jog Wheel This 8 ca...

Page 7: ...rack Press the button again to resume normal playback from wherever the audio playhead stops 13 Shift Press and hold this button to access secondary functions when used with other controls 14 Play Pau...

Page 8: ...parameter buttons can be assigned to various software features Note The Serato Pitch N Time plugin is required to use Pitch Play mode 2 Roll Saved Loops Single press this button to enter the first pad...

Page 9: ...10 Key Adjust Adjusts the key of the active deck Use to move up or down the key scale Press and hold Shift and press to turn on Key Sync Press and hold Shift and press to reset the key Note The Serato...

Page 10: ...tage value 5 BPM Displays the Beats Per Minute for the current track 6 Pitch Range Displays the current pitch range value 7 Waveform Overview Displays the full track waveform with playhead position wh...

Page 11: ...tempo effects per channel Press and hold this button for 3 seconds to return the BPM back to BPM of the software deck 5 Hardware Software FX Select Press to toggle between the internal Hardware FX or...

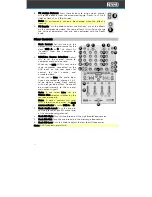
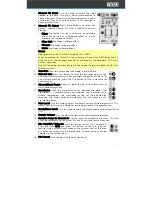
Page 12: ...I is sent to the same computer connected to the USB port on the rear panel for control for that channel and associated deck When set to Line the audio input signals are routed to channels 3 4 to be di...

Page 13: ...ton will be lit To cue multiple channels press the Cue buttons at the same time for each channel 11 Channel Deck Fader Move this fader to adjust the volume level of the corresponding deck 12 Crossfade...

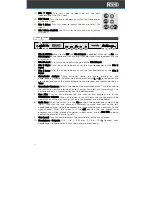
Page 14: ...he audio directly to the program mix center position Thru 6 Crossfader Contour Adjusts the slope of the crossfader curve Turn the knob to the left for a slow fade mixing or to the right for a fast cut...

Page 15: ...nal If you experience a low hum or buzz this could mean that your turntables are not grounded Note Some turntables have a grounding wire built into the RCA connection so nothing needs to be connected...

Page 16: ...te rectangular box In Stems pad mode the first line will show the Stem element and the second line will show the Stem FX Use pads 1 4 to toggle stems on off 1 Vocal 2 Melody 3 Bass 4 Drums and pads 5...

Page 17: ...ce pad LEDs will remain unlit until a hot cue is placed or will light if the loaded track already has Hot Cue points assigned To enter Hot Cue mode press Hot Cue To assign a hot cue point press an unl...

Page 18: ...pler In Sampler mode each pad triggers a sample which you can assign in the software To enter Sampler mode press Sampler The pad LED will be unlit when no sample is loaded to a pad The LED will be bri...

Page 19: ...the original pitch will be lit white Saved Loops In Saved Loops mode each pad triggers a loop previously saved in your software To enter Saved Loops mode quickly double tap Roll pad mode button The p...

Page 20: ...corresponding pad To cycle the Scratch Bank selection left press the Parameter button To cycle the Scratch Bank selection right press the Parameter button Slicer Mode In Slicer mode the eight pads rep...

Page 21: ...fault parameter beat values are loaded for that effect slot Name Description Control Beats Parameter Depth 1 Backspin Simulates a turntable backspin When FX Depth is centered the backspin length is as...

Page 22: ...alance of the original and the effected signal in the mix Paddle Average 8 16 32 64 Default 16 Bit Depth 8 16 Default 8 0 100 The effect wet mix is applied on a linear scale 4 Brake Simulates a vinyl...

Page 23: ...cified beat time Turn FX Depth to adjust the balance of the original and effected signal in the mix Paddle Beats 1 32 1 16 1 8 1 4 1 3 1 2 3 4 1 2 4 Default 1 N A 0 100 The effect wet mix is applied o...

Page 24: ...nal at the specified beat size while muting the original signal Turn Depth to the max position to hold the echo tail infinitely Paddle Beats 1 8 1 4 1 3 1 2 3 4 1 3 2 2 3 Default 1 2 HPF Cut Off 40 Hz...

Page 25: ...ered the echo will repeat or hold infinitely Turn FX Depth to the right to increase the echo feedback Paddle Beats 1 32 1 16 1 8 1 4 1 3 1 2 3 4 1 2 4 8 16 Default 1 Feedback 0 100 Default 80 HPF Cut...

Page 26: ...1 8 1 4 1 3 1 2 3 4 1 3 2 2 3 Default 1 2 Length 1 9 Default 5 0 100 The effect wet mix is applied on a linear scale As it is increased the program signal is reduced 13 Phaser This adds a copy of the...

Page 27: ...educed 50 The effect is 100 wet and no program audio from the deck is heard while the effect is engaged 50 The effect is 100 wet and no program audio from the deck is heard while the effect is engaged...

Page 28: ...fault 3 4 Resonance Low Med High Default Med 0 100 The effect wet mix is applied on a linear scale As it is increased feedback is also increased 17 Reverb Adds reflections of the original signal in si...

Page 29: ...Default 1 2 Scale Major Minor Oct1 Oct2 Penta Default Major 50 The effect is mixed with the program audio from the assigned deck When the Depth knob is turned to the left of the center the effect wet...

Page 30: ...4 1 2 3 4 1 2 Default 3 4 Length 1 9 Default 7 50 The effect is mixed with the program audio from the assigned deck When Depth knob is turned to the left of the center the effect wet mix is reduced 5...

Page 31: ...0 The effect is not heard and the effect buffer is reset if the effect was previously engaged 50 The effect is mixed with the program audio from the assigned deck When Depth knob is turned to the lef...

Page 32: ...e effect wet mix is reduced 50 The effect is 100 wet and no program audio from the deck is heard while the effect is engaged 50 The effect is 100 wet and no program audio from the deck is heard while...

Page 33: ...crossfader cut in o CUT IN LEFT 0 10 Default 3 o CUT IN RIGHT 0 10 Default 3 o RESTORE DEFAULTS CANCEL or RESTORE Default CANCEL MICROPHONE This menu option allows you to change microphone echo talko...

Page 34: ...34 FACTORY RESET This setting allows you to reset all device settings back to their default values o FACTORY RESET RESTORE CANCEL Default CANCEL...

Page 35: ...ontrol 25 dB 110 mV Off to 26 dB unity at center 2 band Line Phono Inputs 3 4 RCA stereo pairs switchable Line Maximum Input Gain Trim Tone Control THD N 20 kHz BW 1 kHz Line 4 Vrms Off to 12 dB 3 ban...

Page 36: ...ut Voltage Output Power Dynamic Range A weighted 4 Vrms no load 50 mW 50 ohms 108 dB General Pads 16 on off multi color back lit pads 8 per deck 9 modes each Wheel Displays 2 320 x 240 Color LCD s Pad...

Page 37: ...he U S and other countries Serato Serato DJ Pro and the Serato logo are registered trademarks of Serato Audio Research Windows is a registered trademark of Microsoft Corporation in the United States a...

Page 38: ...Manual Version 1 0...
Reviews: