Quick Start
9
Setting Up Your System
8
5. Setting Up Your System
This chapter explains the settings you will need to make before using the Receiver (Set-Top Box) for the first
time.
5.1 Setting Up Your Receiver
Connect the Receiver to your TV. Refer to Section
4.3 on Rear Panel Connections for more details.
Press the POWER button on the remote control or
on the Receiver. “ON” message appears on the
front display of the Receiver and the Language
Selection menu appears on your TV.
Use the CH UP and CH DOWN buttons on the
remote control or on the Receiver to select the
language of your choice and then press the OK
button. The General Settings menu appears.
The receiver starts automatically tuning the
channels. When the tuning has finished and all the
channels are visible on the list, the TV display
appears automatically.
5.2 General Settings
In the General Settings menu, you can set the Time
Zone and other settings for the Receiver. In
general, if you purchased the Receiver from your
local vendor, these settings will already be as
appropriate for your area.
There are several items in the General Settings menu.
You can use these to set the various settings of the
Receiver. Use the CH UP and CH DOWN buttons or
the LEFT / RIGHT buttons to make a selection and then press the OK button.
• Time Zone
Select the time zone for your location.
• Summer Time
Select “ON” to set Summertime or “OFF” to set Wintertime.
• TV Aspect Ratio
Select the aspect ratio for your TV (4:3 or 16:9).
• Menu Language
Select the menu language.
• Main Audio Language
Select the audio language for multi-language channels.
• Main Subtitle Language
Select the subtitle language for subtitle text.
• Antenna Booster Power
You can choose ON/OFF of 5V power supply to Antenna.
6. Quick Start
This chapter provides you with instructions on the basic operations of the Receiver. As mentioned
previously, the general settings and channels will already have been set for your area. That is, you should be
able to operate the Receiver without referring to the instructions in Section 5.
6.1 Switching Your Receiver On
Press the POWER button on the Receiver or on the remote control to power on the Receiver. Press the
POWER button on the Receiver or on the remote control again to switch to Standby Mode.
6.2 Reinstallation
In general, the Receiver is already set up for you to
watch the TV programmes available in your area.
To watch a preset TV programme, you will need to
perform the following steps.
①
Press the MENU button on the remote control
to go to the Channel Manager.
②
Select
“
Reinstallation
”
and then press the OK
button.
③
When the
“
Input Password
”
message appears,
enter the password and then press the OK
button.
④
Once the Reinstallation is initiated, you will be
taken to the Language Selection screen. (See 5.1
Setting Up Your Receiver.) Select the language of
your choice.
⑤
You will automatically be taken to the General Settings screen. Use the EXIT button on the remote
control to switch to Viewing Mode.
⑥
Now you should be able to see a TV programme on your TV screen.
Depending on the model of your Receiver, your local TV programmes may not have been set on the
Receiver.
6.3 Selecting Channels
The following steps are for viewing a preset channel.
①
To select the channel you want to watch, use one of the following methods.
• Select the channel using the Numeric buttons.
• Select the channel using the CH UP and CH DOWN buttons on the remote control or on the
Receiver.
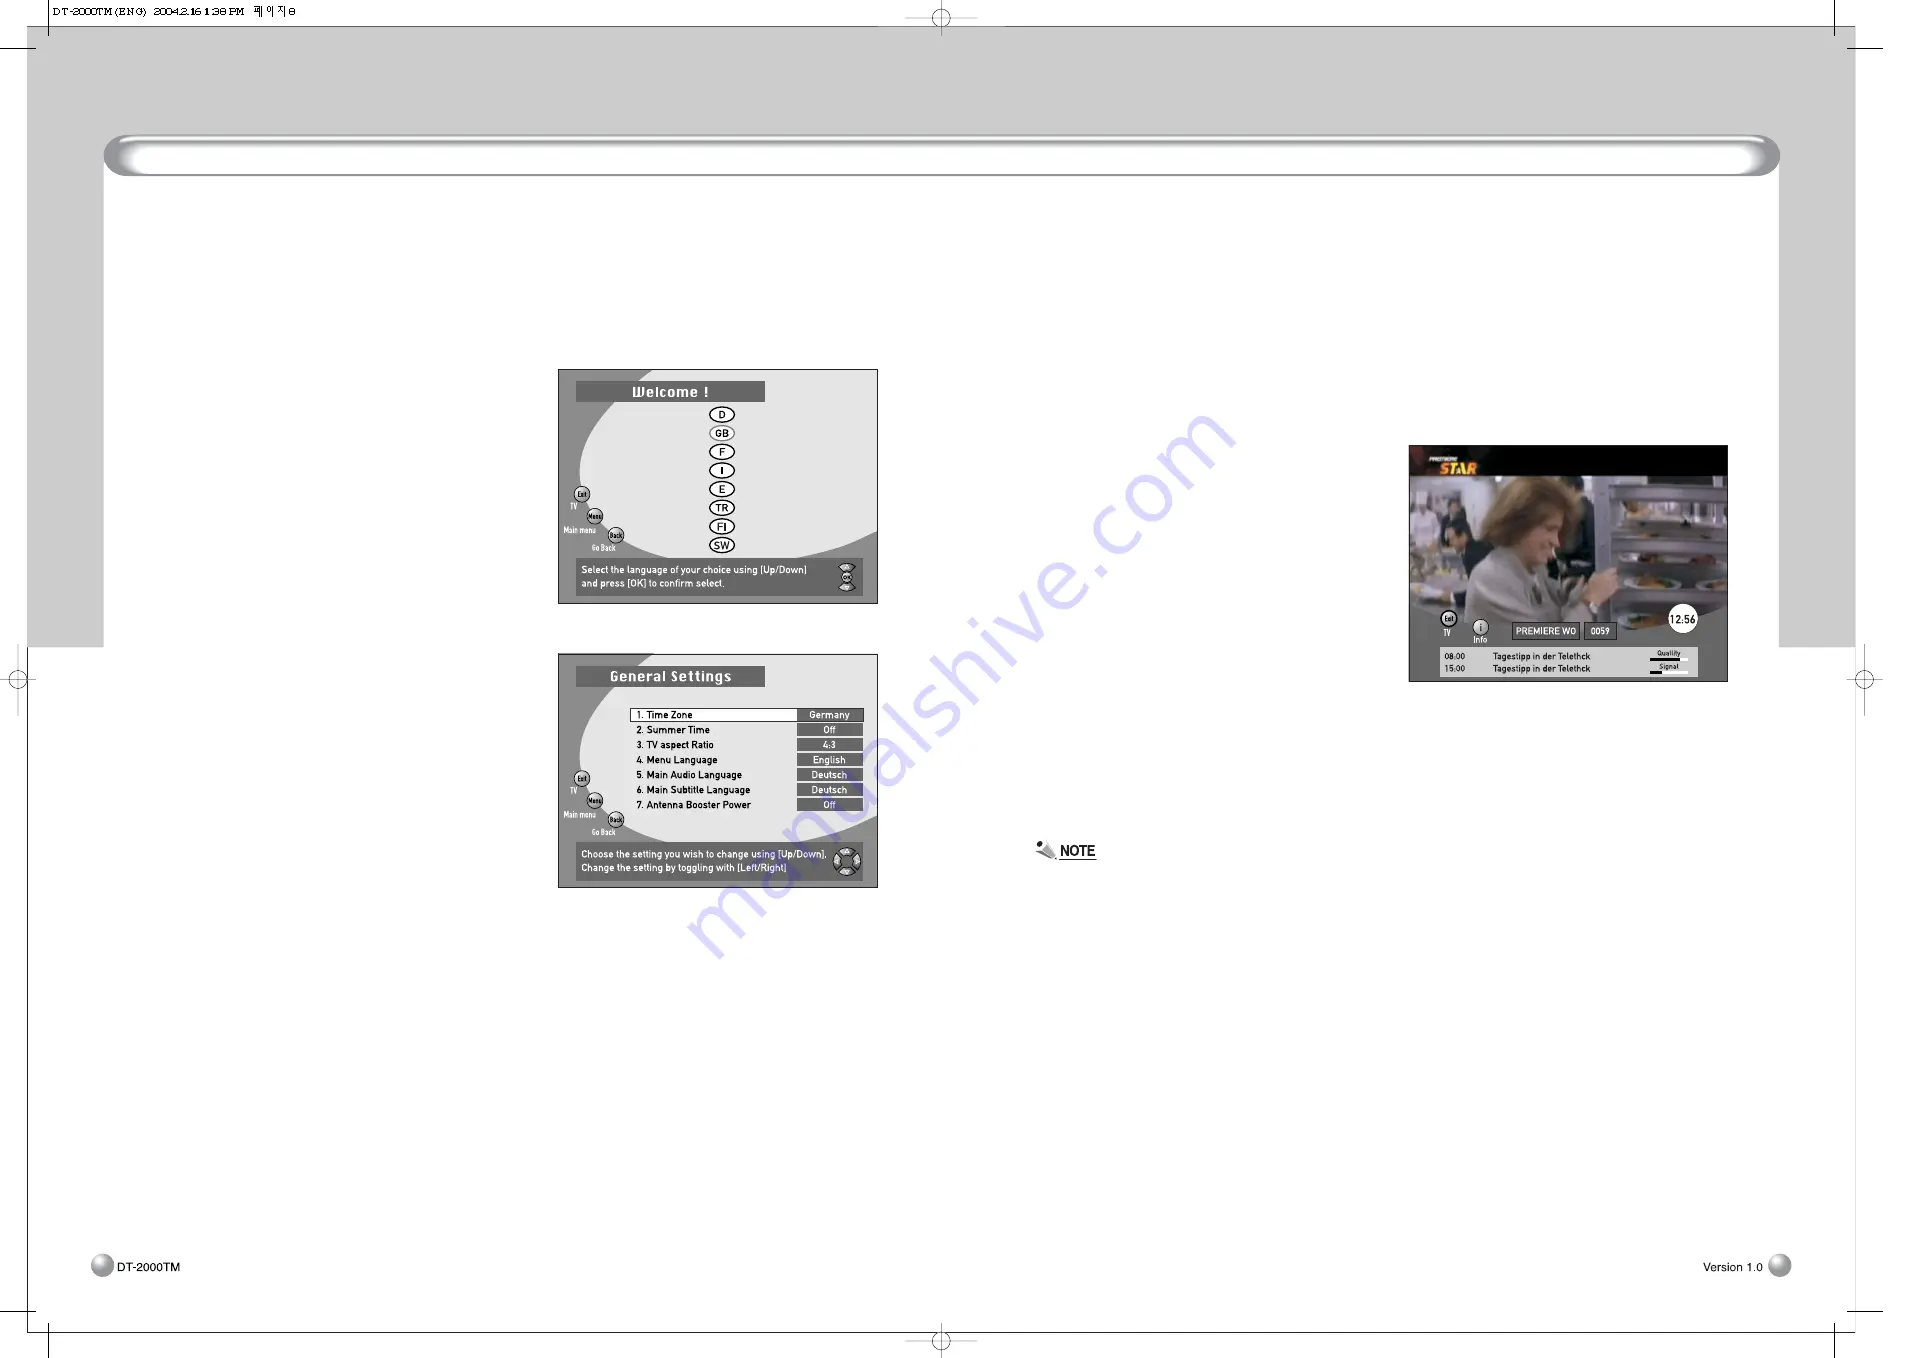
• Press the OK button and select a channel from the channel list.
②
Select the desired channel and then press the OK button. Your selected channel appears on the TV
screen.
Summary of Contents for DT-2000TM
Page 1: ...DT 2000TM ...


