


10
Entering your area code
You can enter the area code in each handset separately (for example, if you want to hide
the area code on one handset but not another):
1.
With the phone in standby, press and hold
CID/MENU
.
2.
Press to move the pointer to select AREA CODE. If an area code was already
stored, the handset will display it.
3.
Press
SELECT/CHANNEL
to edit the area code.
4.
Use the number keys (
0
–
9
) to enter all three digits of your area code.
If you make a mistake, press
DELETE/TRANSFER
to erase the last digit.
5.
When the number is correct, press
SELECT/CHANNEL
. A confi rmation tone
sounds.
6.
Press
END
. The handset returns to standby.
The phone uses the stored area code as a fi lter. When a call comes in, the phone
compares the incoming area code to the code programmed in the handset. If the
two codes match, the handset hides the area code in the Caller ID list.
When you’re in the Caller ID list, you can show the hidden area code by pressing
3
. Press
3
again to hide the area code.
When you dial from a Caller ID list or store a Caller ID record in the phonebook, the phone
dials or stores the digits exactly as they appear on the display. If you need to use ten
digits, be sure to press
3
to show the area code before you dial or store the number. See
“Storing Caller ID Records in the Phonebook” on page 12.
5-4. Deleting Caller ID Records
5-4. Deleting Caller ID Records
Caller ID records are stored separately in each handset. Deleting a record from
one handset will not delete the record from any other handsets.
If you get an incoming call or page, the operation is canceled.
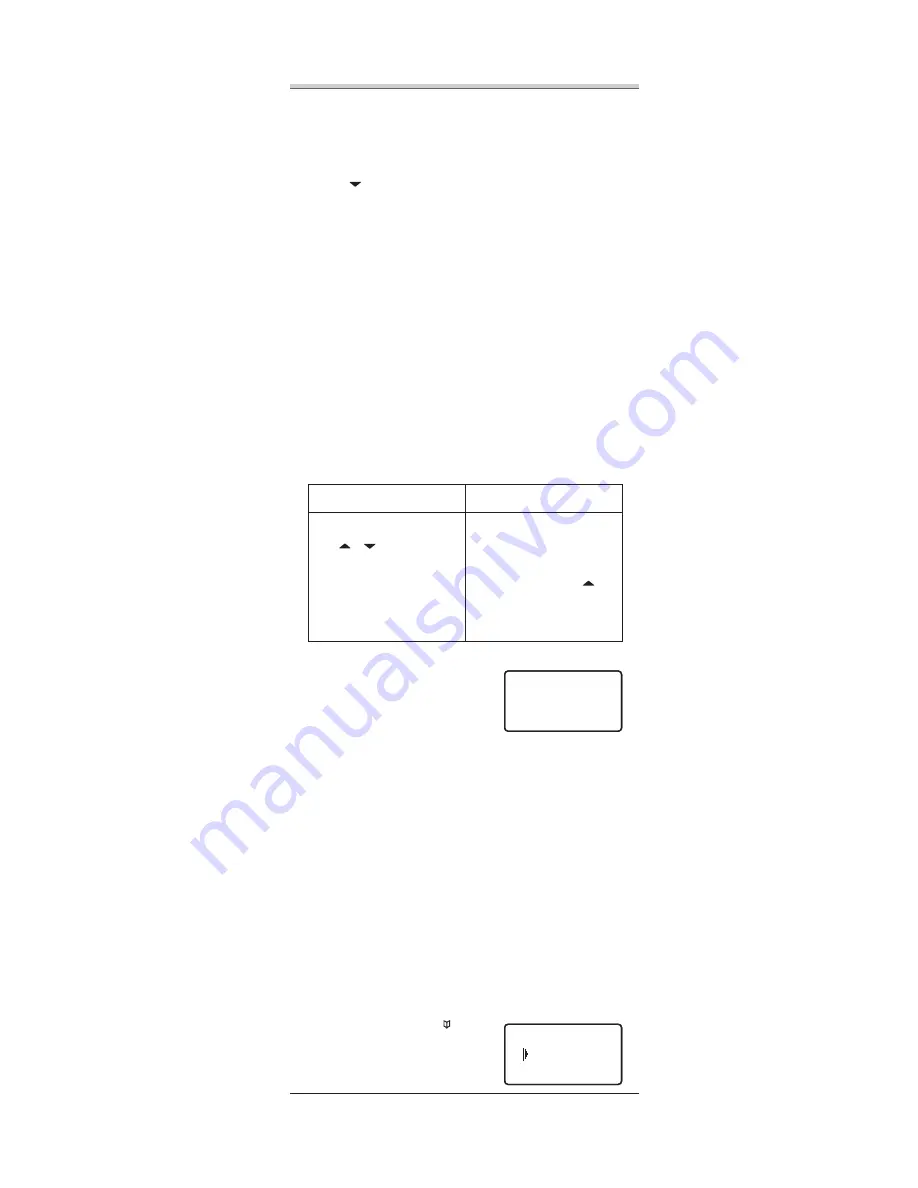
To delete one
Caller ID record
To delete all the
Caller ID records
1. With the phone in standby, press
CID/MENU
.
2. Use
or
to fi nd the Caller ID
record you want to delete.
3. Press
DELETE/TRANSFER
. The
display asks you to confi rm.
4. To delete the record, leave the pointer
at YES.
5. Press
SELECT/CHANNEL
to
confi rm.
1. With the phone in standby, press
CID/MENU
.
2. From the CID summary screen, press
DELETE/TRANSFER
. The display
asks you to confi rm.
3. To delete all the records, use
to
move the pointer to YES.
4. Press
SELECT/CHANNEL
to
confi rm.
5-5. Using Call Waiting
5-5. Using Call Waiting
If you subscribe to Call Waiting and a second call comes
in when you are on the phone, the phone sounds a call
waiting tone. If you also have Caller ID service, the
phone shows the Caller ID information for the incoming
call. (Only the handset that’s on a call when the call
came in can see and store the Caller ID information.)
To put the original call on hold and switch to the waiting call, press
TALK/FLASH
. After
a slight pause, you are connected to the new caller. Press
TALK/FLASH
again to switch
back to the original caller.
OR
To hang up and answer the new call, press
END
. The phone disconnects the original caller
and switches to the new caller.
6) Using the Phonebook (speed
6) Using the Phonebook (speed
dial memory)
dial memory)
If you enter phone numbers (along with names) into the handset’s phonebook/
speed dial memory, you can dial them with just two key presses.
Each handset can store ten different phonebook entries (corresponding to 0 through
9 on the number keypad); phonebook entries are separate for each handset.
You can use the phonebook to store any number up to twenty digits. This is useful
if you have a series of digits that you need to enter after your call connects, such
as an access code or account number (See “Chain Dialing” on page 12).
When you’re editing the phonebook, you must press a key within thirty seconds or
the phone will return to standby.
6-1. Entering a New Number into the
6-1. Entering a New Number into the
Phonebook
Phonebook
1.
With the phone in standby, press
/MEMORY
to open the phonebook list.
»
»
»
»
»
»
»
»
6CNM
,CPG5OKVJ
6CNM
,CPG5OKVJ
,CPG5OKVJ
'ORV[
'ORV[
,CPG5OKVJ
'ORV[
'ORV[


