43
11.3 WiFi Connection Status
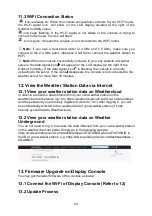
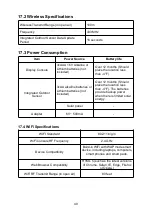
icon is always on: When the console successfully connects to your Wi-Fi router,
the Wi-Fi signal icon will show on the LCD display (located at the right of the
Outdoor humidity value).
icon keep flashing: If the Wi-Fi signal is not stable or the console is trying to
connect to the router, the icon will flash.
icon is gone: It means the console is not connected to the Wi-Fi router.
Note:
If you own a dual band router (2.4 GHz and 5.0 GHz), make sure you
connect to the 2.4 GHz band, otherwise it will fail to connect the weather station to
WiFi.
Note:
When the console successfully connects to your any website of weather
servers, the data signal icon
will appear on the LCD display (at the right of the
Outdoor humidity). If the data signal icon
is flashing, the console is currently
uploading to the server. If the icon
disappears, the console is not connected to the
weather server for more than 30 minutes.
12. View the Weather Station Data via Internet
12.1 View your weather station data on Weathercloud
In order to access the data obtained from your own weather station on the
weathercloud.net network, log in to https://weathercloud.net/ with your email address
and the password you previously registered. (refer to 10.1) After logging in, you will
be automatically directed to the weather data of your weather station (if it has
recently synced data to Weathercloud).
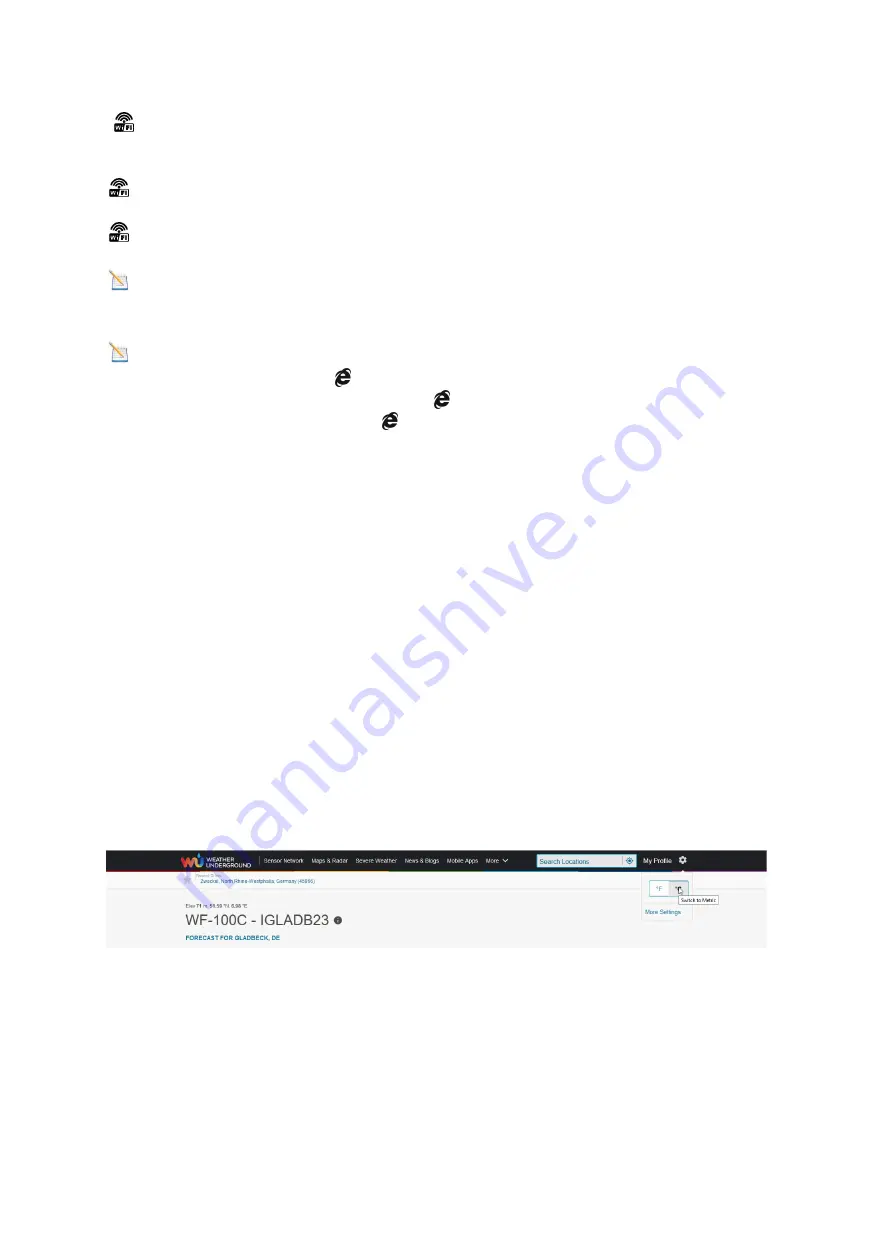
12.2 View your weather station data on Weather
Underground
You do not need to log in to access the data obtained from your own weather station
on the weathercloud.net portal. Simply go to the following website:
https://www.wunderground.com/dashboard/pws/STATIONID where STATIONID is
the ID of your weather station, e.g. https://www.wunderground.com/dashboard/pws /
IGLADB23.
13. Firmware Upgrade on Display Console
You may get the latest firmware of the console as below
13.1 Connect the Wi-Fi of Display Console (Refer to 12)
13.2 Update Process
Summary of Contents for WF-100C Lite
Page 32: ...31 3 When the registration is completed successfully will pop up the page below ...
Page 89: ...88 In Ihrem Posteingang sollten Sie nun eine entsprechende E Mail vorfinden ...
Page 95: ...94 Klicken Sie nun abschließend auf die mit Create bezeichnete Schaltfläche ...
Page 110: ...109 ...


