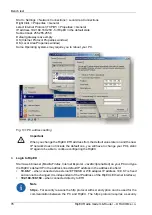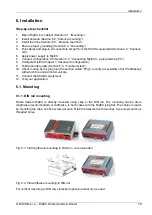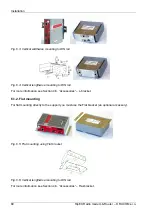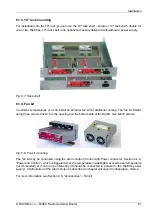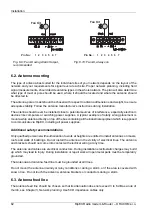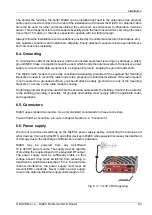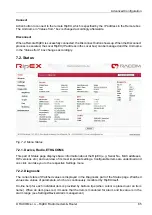
Start > Settings > Network Connections > Local Area Connections
Right Click > Properties > General
select Internet Protocol (TCP/IP) > Properties > General
IP address 192.168.169.250 - for RipEX in the default state
Subnet mask 255.255.255.0
Default gateway leave empty
OK (Internet Protocol Properties window)
OK (Local Area Properties window)
Some Operating systems may require you to reboot your PC.
Fig. 5.3: PC address setting
Important
When you change the RipEX ETH address from the default value later on and the new
IP network does not include the default one, you will have to change your PC's static
IP again to be able to continue configuring the RipEX.
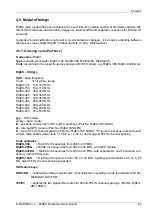
4.
Login to RipEX
Start a web browser (Mozilla Firefox, Internet Explorer - JavaScript enabled) on your PC and type
the RipEX’s default IP in the address line default IP address in the address line field:
•
10.9.8.7
– when connected via external ETH/USB or Wifi adapter. IP address 10.9.8.7 is fixed
and cannot be changed; it is independent of the IP address of the RipEX’s Ethernet interface.)
•
192.168.169.169
– when connected directly to ETH
Note
https
- For security reasons the http protocol with ssl encryption can be used for the
communication between the PC and RipEX. The https protocol requires a security
RipEX Radio modem & Router – © RACOM s.r.o.
76
Bench test
Summary of Contents for RipEX 1.6.0
Page 2: ......

