7.
Click on the
MM
icon or select
Millimeters
in the
Units
menu.
8.
Check the
X
and
Y
boxes in the Motion Control window to specify the XY
axes (Cobra 3D only).
9.
Click on the
Start
button in the Motion Control window to identify the
current sensor position as the starting point of the scan.
-
The value in the start position field(s) should be 0.
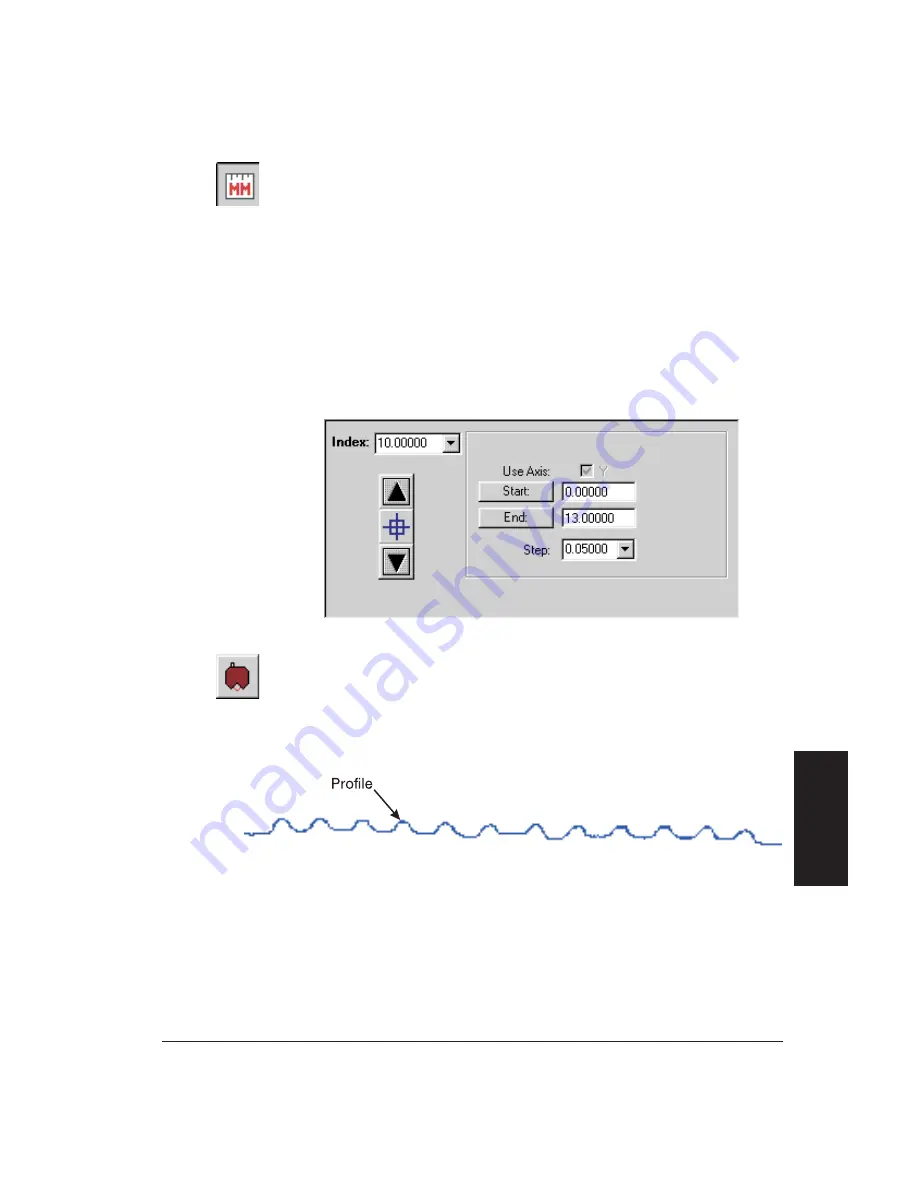
10. Enter a value of
13
in the end position field (Y end position field for a 3D
scan), as shown below. For a 3D scan, also enter a value of
5
in the X end
position field.
11. Enter a value of
0.05
in the Step box, see below. For a 3D scan, enter a
value of
0.50
in the Step box for both the X and Y axes.
12. Click on the
Measure New Profile
icon to start the laser scan.
-
The profile is displayed as data is collected (see below).
-
The first column in the Lincoln Memorial is displayed as a “bump” in
the profile. When the scan is complete, all 12 columns are displayed as
“bumps” with some flat areas next to each column (see below).
Getting Started
3-9
Getting
Started
Summary of Contents for Cobra DRS-2000
Page 1: ......
Page 5: ...This page was left blank intentionally Cobra Laser Profile Scanner Users Guide...
Page 53: ...This page was left blank intentionally 2 32 Installation and Setup...
Page 67: ...This page was left blank intentionally 3 14 Getting Started...
Page 83: ...This page was left blank intentionally 5 6 Adjusting the Sensor Mounting Pad...
Page 87: ...This page was left blank intentionally 6 4 Troubleshooting...
Page 91: ...This page was left blank intentionally A 4 Setting the Display Properties...
Page 100: ......


