


Chapter
4
Web
Configuration
26
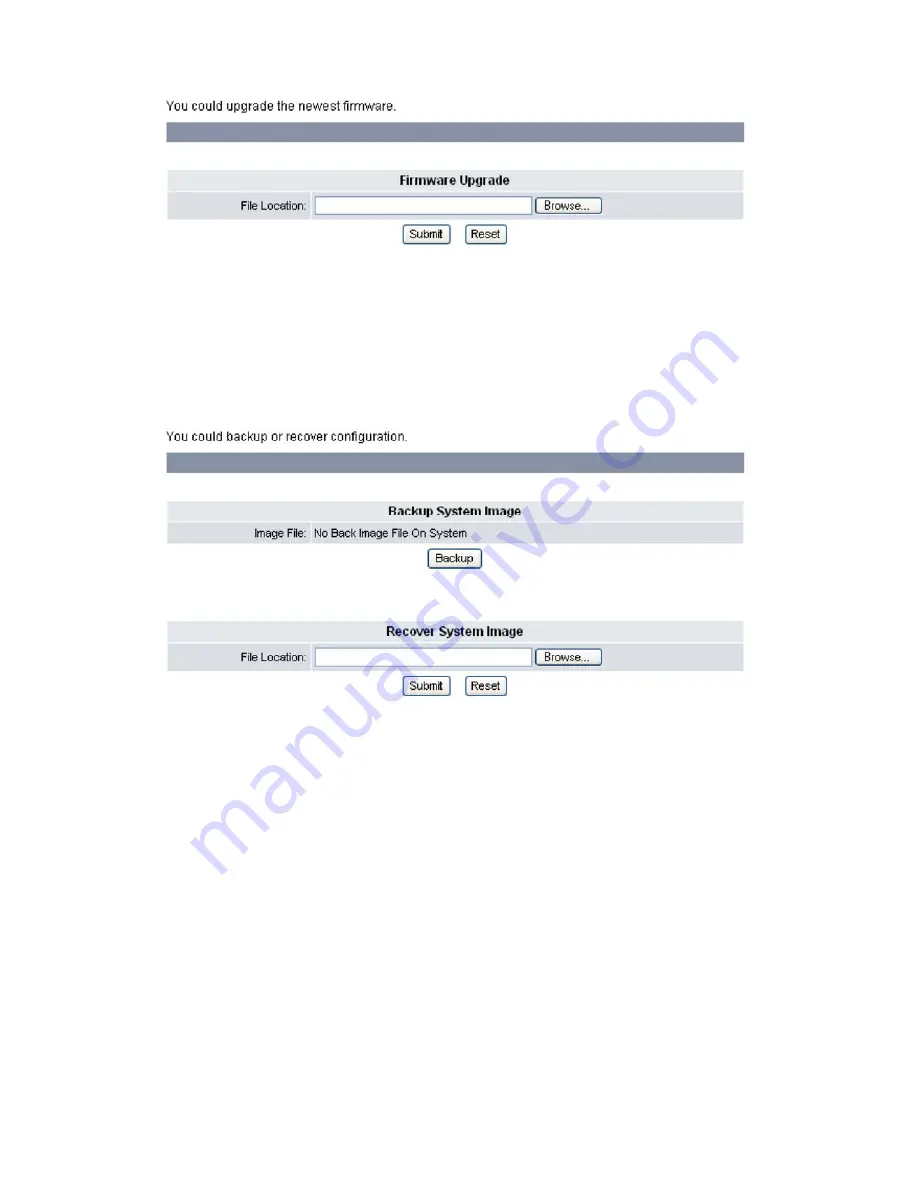
2.
Click
Browse
to
select
the
file
location
of
the
newest
firmware.
3.
Click
Submit
to
save
your
settings
or
Reset
to
cancel.
B
B
a
a
c
c
k
k
u
u
p
p
&
&
R
R
e
e
c
c
o
o
v
v
e
e
r
r
S
S
e
e
t
t
t
t
i
i
n
n
g
g
You
can
backup
or
recover
the
configuration
values
of
system
settings
to
a
file
from
the
device.
The
setting
is
only
accessible
through
the
web
browser.
Do
the
following:
1.
Click
System
Settings
,
Backup
&
Recover
.
The
following
screen
will
be
displayed.
2.
Click
Backup
button
in
the
Backup
System
Image
section
to
create
the
configuration
files.
And
click
the
file
name
to
save
as
file.
3.
The
section
of
Recover
System
Image
is
used
to
recover
the
configuration
values
of
system
settings
from
a
previously
saved
configuration.
Click
Browse
button
to
select
backup
files
from
the
local
machine
to
download
files
that
you
want
to
recover.
4.
Click
Submit
to
save
your
settings.
5.
After
file
download
is
completed,
the
system
will
reboot.
S
S
y
y
s
s
t
t
e
e
m
m
A
A
u
u
t
t
h
h
.
.
The
system
authority
menu
is
only
accessible
through
the
web
browser.
To
change
the
user
name
and
password,
do
the
following:
1.
Click
System
Settings,
System
Auth.
.
The
following
screen
will
be
displayed.
Summary of Contents for QB-241
Page 1: ...QB 241 QB 242 VoIP Phone User Manual V 1 10...
Page 2: ......


