background image

besides, the left cooling fan blows the cold air at the same time until up to the time. The effect of cooling 

is better when blowing cooling air simultaneously. 


Note: 

The process of the De-soldering technics is same with the soldering technics besides selecting “DESO” 

when setting the process parameter.   


10.2

 Aligning Technics


1


Turn on power switch of each part. 

2


Press “CAMERA” key and move the alignment arm to aligning position (out). The lights of up and down both 

are on. 

3


Place the component on the prism of the alignment arm. 

4.


Suck the chip automatically and back to aligning position after pressing “SUCKER” key. Manual operation is 

also convenient.


5


Check whether the image displayed on LCD fitting user’s demand. Use the rocker to adjust it. Adjusting refers 

to “Keys Instructions”. 

6


Unscrew the PCB Fixing Knobs on the PCB Fixture to open PCB Clamp Bar. Fix the soldered PCB on the 

PCB Fixture and adjust PCB’s position to the below of the aligning arm. Make the LCD display the image of 

soldering point, and make the images of soldering point and component in the same center point. It is 

convenient for adjusting. After roughly adjusting, screw the Fixture Fixing Knob to lock PCB Fixture to 

prevent it from sliding right and left. 

7


Make the images of the component soldering pins and the soldering point on PCB overlap. The image can be 

observed on the monitor. Aligning adjustment refers to “Adjustment knobs” and “PCB Fixture”. 

8


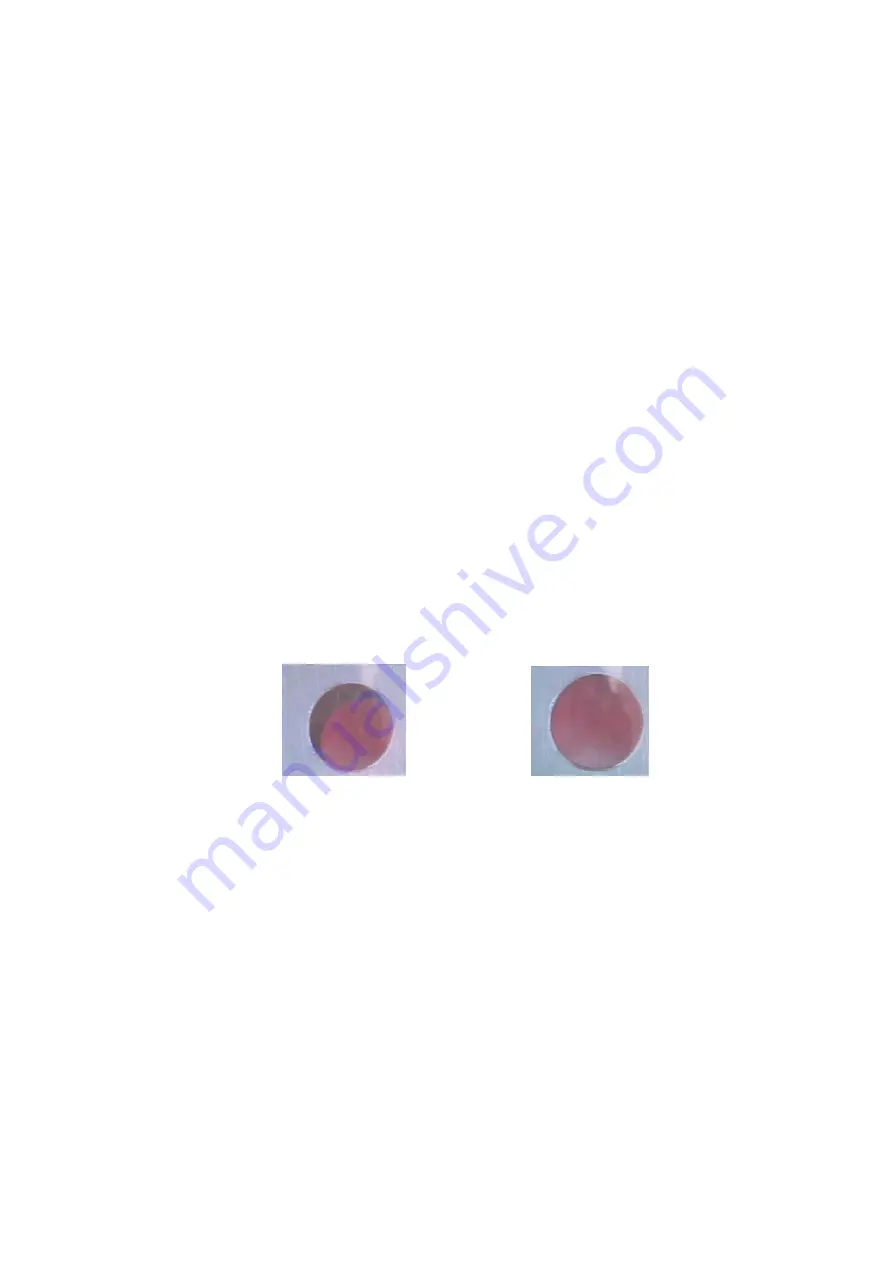
Observe the images: the system is precise if the two images (Circle) in the LCD superpose, otherwise not. The 

system needs to be adjusted. 


Imprecise                                            Precise 

9


After alignment, click the CAMERA key, the aligning arm exit to the origin. 

10. Click “START” key, the unit comes to the soldering flow. 


Page 13 

Summary of Contents for BGA2100

Page 1: ...QUICK BGA 2100 ...

Page 2: ...CK BGA2100 Rework System with 60 60mm optics aligning prism big BGA alignment can see clearly and the aligning lens are controlled by the step motor and the chip slave is above the lens The PCB fixture is square and the maximum size is 550 450mm the width of the left and right arms can be adjusted and the abnormity knightheads can be fixed on the arms And the bottom knighthead is connecting with t...

Page 3: ...an be ordered 2 2 Technical Parameter MAIN INTERFACE T0 Valve temperature and T0 TIR Only when the temperature of the bottom infrared heater up to the T0 the top and bottom hot air heater comes to heat VT The setting airflow of the top hot air VB The setting airflow of the bottom hot air TY Select solder flow or de solder flow sold or desold Top The setting sirocco temperature of the top in the D1...

Page 4: ...et the communication baud rate and the default value is 19200 HEAD DOWN MODE When the value is 0 the heater head adjusts automatically the distance between it and the chip when touching the chip When the value is not 0 the value is the downward moving distance of the heater head The parameters in the data interface can be set in the advanced interface of the BGA software The PASSWORD s function is...

Page 5: ...nits are turn off or not Connect the power cord to the power socket Connect the RS 232 cord to the RS 232 socket in PC if you use the BGA software Connect the video line of the external LCD to the VIDEO OUT socket There are four VIDEO OUT sockets in the PC and each socket to the different communication port Connect the K type sensors optional to the external sensor s socket in the front VIDEO inpu...

Page 6: ...able on the software or on the small LCD refer to MIAN INTERFACE The bottom preheater 1 The maximal heating power of the bottom infrared heater is 3200W and the maximal temperature is 500 2 The middle two heaters are kept on and the other six heaters can be controlled by the switches 5 PCB Fixture and movement controlling Bottom preheater and the PCB fixture The adjustable infrared heater can prov...

Page 7: ... pad sucking the chip can do turn 360 6 Fix anomalistic PCB with anomalistic knightheads and bottom fixtures for preventing subside Anomalistic knightheads Bottom fixtures for preventing subside 6 keys instructions Keys on the left side Page 6 The six keys can control the parameters setting of the MAIN interface SET click it into the setting mode SAVE click it to save the changed parameters and ex...

Page 8: ...ing heater is on or off The middle two heaters red mark are on 1 START in standby mode click it into the soldering or de soldering process 2 STOP in the soldering or de soldering process click it to exit the current process and the heating arm will move upwards 3 HEAD CONTROL Control the movement of the top sirocco heating arm upward or downward 4 CAMERA Click it to make the aligning arm moving ou...

Page 9: ...ess SUCKER key to the state of the chip sucking and the nozzle will suck the chip automatically Press START key to the state of the chip pasting and the nozzle will paste the chip automatically Turn the rocker when optics alignment to make the BGA sucked by the nozzle turning until the stannum ballpoint in the BGA is superposable with the cuprum point in the PCB During the process make the rocker ...

Page 10: ...sword The system pops up the following dialog box Note the password can protect the MCU s parameters from change by un authorizing person c Main interface Tab 1 The main interface s function is to operate the software The data cannot be changed at the screen 2 It can select soldering or desoldering process and select one flow saving in the PC 3 At the bottom of the screen it will display the runni...

Page 11: ...rameter adjustment interface 2 At this interface it can change the parameter values in the all flows and save them 3 First click process select and then pop up a interface saving flow Select a flow such as U1 medl and then change this flow s parameter values 4 After change the values click the parameter s save to save the parameter values and click the save curve to save the flow s curve into the ...

Page 12: ... the curve it will show the real time temperature and time of the point 3 Click the print button to print the current flow s information and curve 4 Click the delete button to delete the file showing g Advanced set Tab 1 Click Advanced set tab it will display the advanced setting interface 2 All the functions of the software can be set in this interface including 1 Password setting 2 K type sensor...

Page 13: ...the sirocco nozzles 3 Select parameters or set the parameters with keys A Select the required flow if need to modify the parameter input the password before performing relevant operation B Select solder working mode C No change in communication speed and press SAVE button to save and exit to MAIN surface D System starts working after pressing START running the select flow 4 LCD will display series...

Page 14: ...s to Keys Instructions 6 Unscrew the PCB Fixing Knobs on the PCB Fixture to open PCB Clamp Bar Fix the soldered PCB on the PCB Fixture and adjust PCB s position to the below of the aligning arm Make the LCD display the image of soldering point and make the images of soldering point and component in the same center point It is convenient for adjusting After roughly adjusting screw the Fixture Fixin...

Reviews:

Related manuals for BGA2100