Quasar CB-6204/CB-6208 User and Installation Guide
36
1.
On the
HTTPS
page, click
CREATE
under
Create Self-Signed Certificate.
The
Create Self-
Signed Certificate
dialog box opens.
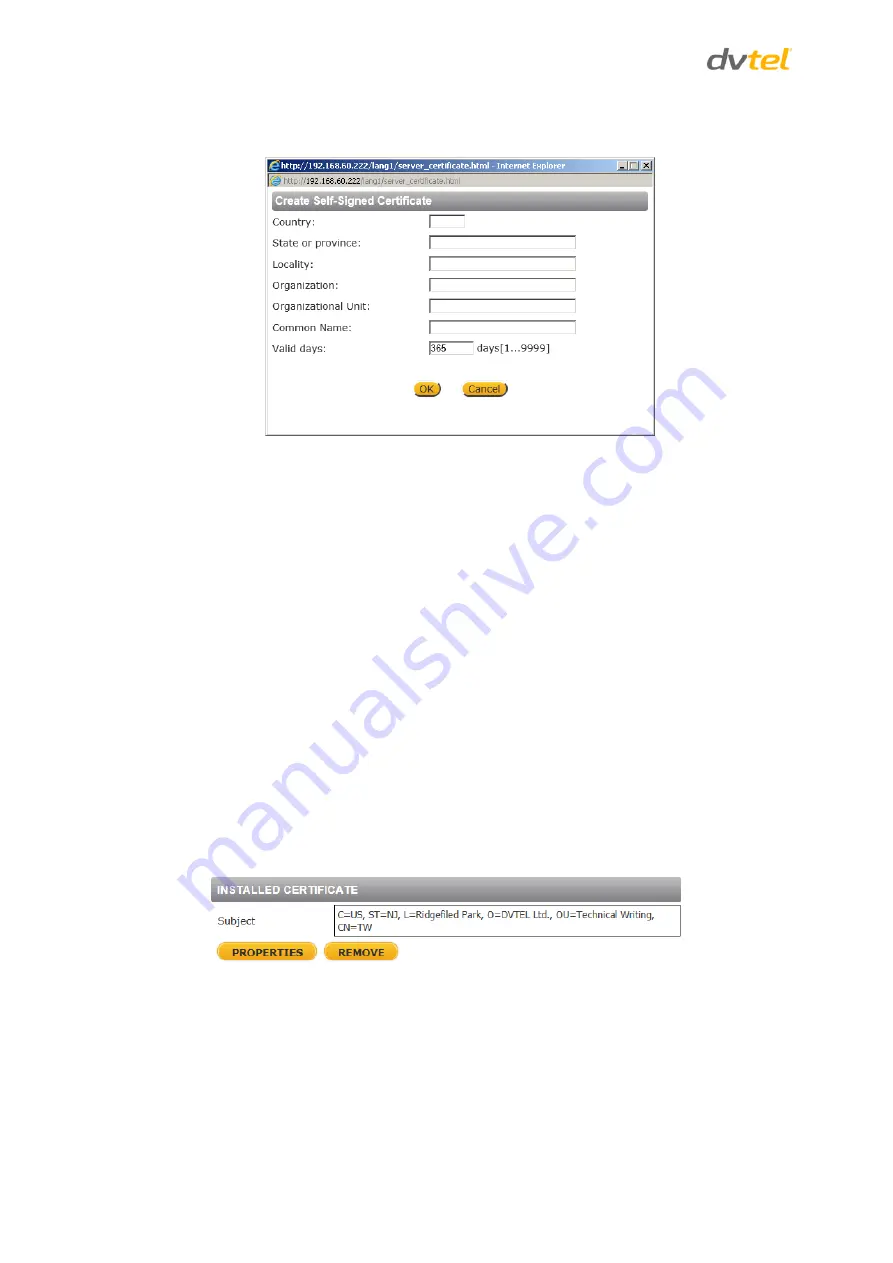
Figure 33: Create Self-Signed Certificate Dialog Box
2.
Enter the information in the appropriate field. A definition of each of the required fields
follows.
Country
– Enter a two-letter combination code to indicate the specific country in which
the certificate will be used. For instance, type “US” to indicate United States.
State or province
– Enter the local administrative region.
Locality
– Enter other geographical information.
Organization
– Enter the name of the organization to which the entity identified in
Common Name
belongs.
Organizational Unit
– Enter the name of the organizational unit to which the entity
identified in the
Common Name
field belongs.
Common Name
– Indicate the name of the person or other entity that the certificate
identifies (often used to identify the website).
Valid days
– Enter the period in days (1 ~ 9999) to indicate the valid period of
certificate.
3.
Click
OK
to save the certificate request after completion. The details are displayed in the
Subject
field of the
Installed Certificate
section.
Figure 34: Installed Certificate Section


