background image

C3 – Adding Postage Funds

You can add Funds to your Mailing System anytime by completing the steps listed below.

In order to complete your transaction, connection of your Mailing System to Neopost's
Postage Server is required.

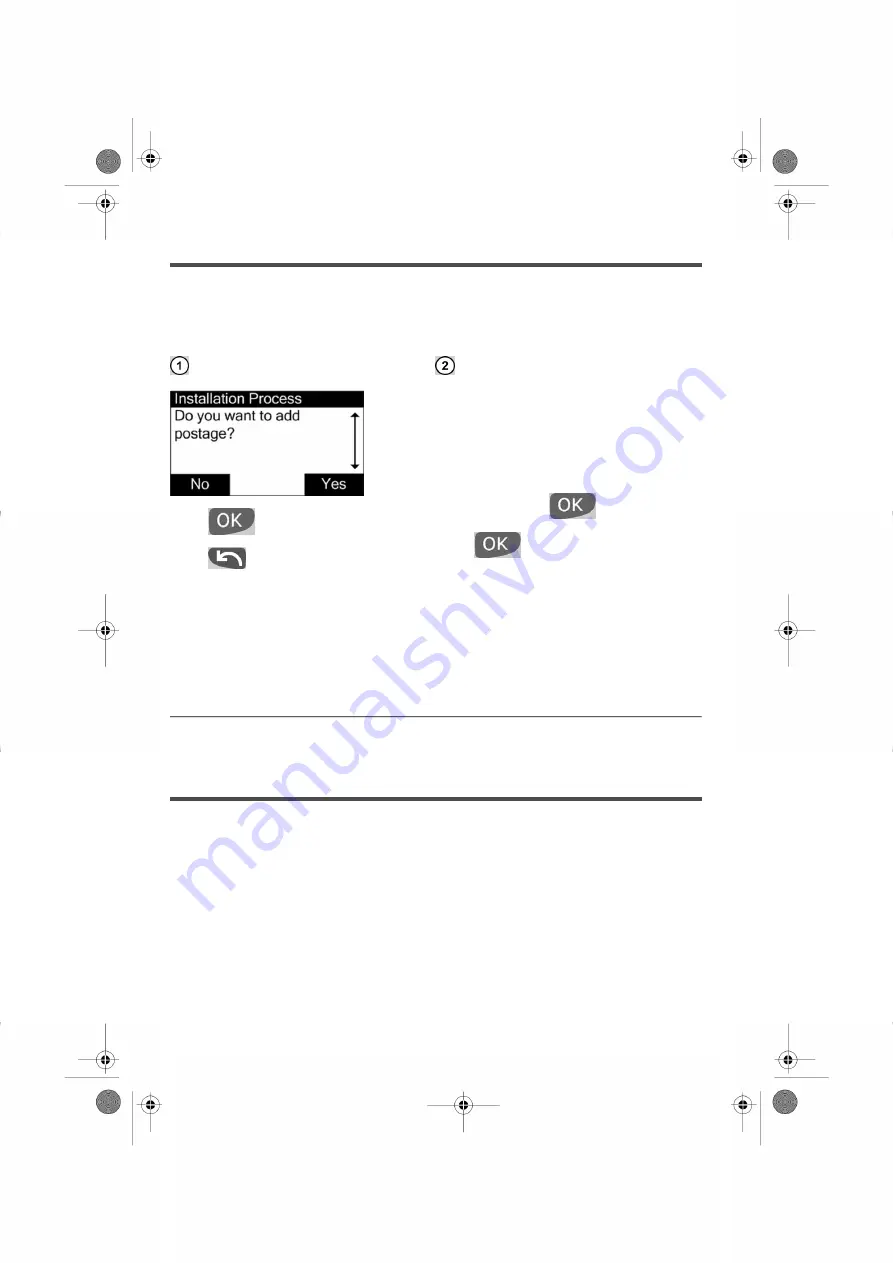
Test that a Funds Transaction can be
completed, request a small amount of
postage to be added first. We recommend
an initial Funds value of $10 for your first
transaction.

Press key [C] .

Type 10 and press 

.

Press 

 to continue.

Press 

 to add postage Funds.

Press 

 to add funds later.

C4 – Connecting to the E-services Server

E-Services are a set of value added services that help you maximize the full potential of
your Mailing System.

To access your E-Services data log on to myneopost at myneopost.ca.

23

 |   Page 23 | janv.-11-2012 15:55 |

Summary of Contents for IS-280

Page 1: ...Machine affranchir Guide d installation IS 280 4150815Q E 23 01 2020 Mailing Systems IS 280 Installation Guide...

Page 2: ...1 2 Meet your Mailing System 6 1 3 Step A Assembling your Mailing System 8 1 4 Step B Setting Up Connections 12 1 5 Step C Activating your Mailing System 21 1 Page 1 Installation Guidejanv 11 2012 15...

Page 3: ...uct on a wet floor or near water Your system should be connected with a 19vdc 2 6A limited power source In case of liquid spillage disconnect the external power supply from the wall plug and proceed t...

Page 4: ...rgy but helps your equipment run cooler and last longer Environmental compliance Is Mailing Systems are eco friendly designs that last longer run cooler and use up to 50 less energy operate more effic...

Page 5: ...tem When removing jammed material avoid using excessive force to prevent personal injury and damaging any system components When lifting covers wait for all parts to stop moving before placing your ha...

Page 6: ...Meet your Mailing System 1 2 Contents Ink Cartridge Postage Meter Mailing System Console 6 Page 6 janv 11 2012 15 55...

Page 7: ...Weighing Platform Documentation and PC Me ter Link application Power Supply and Cord LAN cable PC Meter Link USB Cable 7 Page 7 janv 11 2012 15 55...

Page 8: ...HE SYSTEM BEFORE INSTRUCTED YOU MAY DAMAGE YOUR EQUIPMENT A1 Installing the Postage Meter PSD The Meter contains processing activing and postage funds information Open the PSD cover located under the...

Page 9: ...and the labels towards you Close the PSD Cover Remove the PSD from its packaging Write down the PSD No N33xxxxxx You will need it at step C A2 Removing the Cardboard Wedge Inside the Mailing System a...

Page 10: ...Close the Mailing System Front Cover Open the Mailing System Front Cover by pulling the cover towards you while applying slight pressure to right side of the cover A3 Installing the Weighing Platform...

Page 11: ...em Connect the Weighing Platform cable to the Mailing System To avoid weighing errors make sure the Weighing Platform is clear when activating the system if __ __g is displayed while using your Mailin...

Page 12: ...use the broadband connection through your PC s High Speed internet connection This application allows for fast seamless postage rate updates funds downloads and software updates to be performed re mo...

Page 13: ...llation CD in the CD drive of your computer The CD Installation wizard appears 2 Select your country in the list then click OK 3 Choose Run PC Meter Link software installation 4 Follow the instruction...

Page 14: ...wall socket Plug the female connector of the Power Supply Cord into the back of your system Now that your Mailing System is powered up follow the instructions in the PC Meter Link installation wizard...

Page 15: ...restarts from the beginning if you power off before the process is completed Check the connection status of the PC Meter Link application before installing your Mailing System Both links to your syste...

Page 16: ...N connection settings please refer to Connection Settings Section of the Mailing System User Guide or contact our Customer Care Centre for assistance Connecting your Mailing System to the E Services S...

Page 17: ...Connect the other end of the LAN cable into the LAN port Powering up your Mailing System Only use the Power Supply Cord included with your Mailing System Remove the Power Supply and Power Cord from t...

Page 18: ...Power Supply Cord into a wall socket Plug the female connector of the Power Supply Cord into the back of your Mailing System The system starts and launches the installation wizard automatically 18 Pa...

Page 19: ...rvices Server Note that the installation process restarts from the beginning if power is turned off before the process is completed A moment after powering up the Control Panel of the system displays...

Page 20: ...Press Resume with step C 20 Page 20 janv 11 2012 15 55...

Page 21: ...tem User Console if you use the PC Meter Link application The Postage Server Connection screen will appear on your PC Press to continue Press to continue DO NOT INTER RUPT THIS PROCESS Various steps w...

Page 22: ...your system This PIN code can be found on the Quick Reference Guide that is included with your Meter Once the PIN code is entered your System will be activated Enter the PIN code using the keypad and...

Page 23: ...request a small amount of postage to be added first We recommend an initial Funds value of 10 for your first transaction Press key C Type 10 and press Press to continue Press to add postage Funds Pre...

Page 24: ...s to be completed C5 Installing the Ink Cartridge Installing the Ink Cartridge Follow the steps below to install your Ink Cartridge The following screen will appear Note Do not press until the Ink Car...

Page 25: ...n the Front Cover by pulling it towards you by the upper left corner Insert the Ink Cartridge into the slot The Ink Cartridge Connector must match the set of connecting pins located on the carriage Re...

Page 26: ...You can now press to continue Hold the cartridge in place turn the Blue Lever back to the left until the cartridge is secured then close the cover 26 Page 26 janv 11 2012 15 55...

Page 27: ...gned each time you replace the Cartridge This ensures a high quality impression is printed every time The pattern showed above is printed Check for what letter vertical lines horizon tally match the b...

Page 28: ...lect the letter F Press The screen gets back to Congratulations Your Mailing System is now installed and ready to use For Information on System Features and basic mail processing please refer to your...

Page 29: ...3 Ink Cartridge 6 24 Installation 13 15 16 L Lan 6 12 16 M Mail Path 3 Menu 10 Meter 6 8 P Pc Meter Link 6 12 13 15 21 Pin Code 22 Power 3 6 8 13 16 Psd 8 R Rate Updates 12 S Standard 3 System Control...

Reviews: