28
29
•
OFF:
Selecting OFF from the HDD Loss drop down menu turns this buzzer notification off.
HDD Space:
The HDD Space option enables an alarm buzzer when the HDD is running low
on available storage space.
•
ON:
Selecting ON from the HDD Space drop down menu generates an alarm buzzer
when the HDD is running low on available storage space.
•
OFF:
Selecting OFF from the HDD Space drop down menu turns this buzzer notification off.
Video Loss:
The Video Loss option creates a notification if the system loses video feed
for any reason, such as camera damage, disconnected camera cables or a power supply
malfunction.
•
ON:
Selecting ON from the Video Loss drop down menu generates an alarm buzzer
when video loss occurs.
•
OFF:
Selecting OFF from the Video Loss drop down menu turns this buzzer notification off.
Alarm Manager:
The Alarm Manage options allow the configuration of how long the alarm will
send a signal to the output device, how long the buzzer will sound (if enabled), and how long
the system will record after the alarm ends.
•
OUTPUT:
Select 0 seconds, 10 seconds, 20 seconds, 40 seconds, or 60 seconds from
the Output drop down menu.
•
BUZZER:
Select 0 seconds, 10 seconds, 20 seconds, 40 seconds, or 60 seconds from
the Buzzer drop down menu.
•
DURATION
: Select 0 seconds, 30 seconds, 1 minute, 2 minutes or 5 minutes from the
Duration drop down menu.
Motion Detect
This DVR can be configured to detect motion using the following steps:
1.
From the Main Menu, select DEVICE to open the DEVICE MANAGEMENT menu
(
IMAGE 33
)
2.
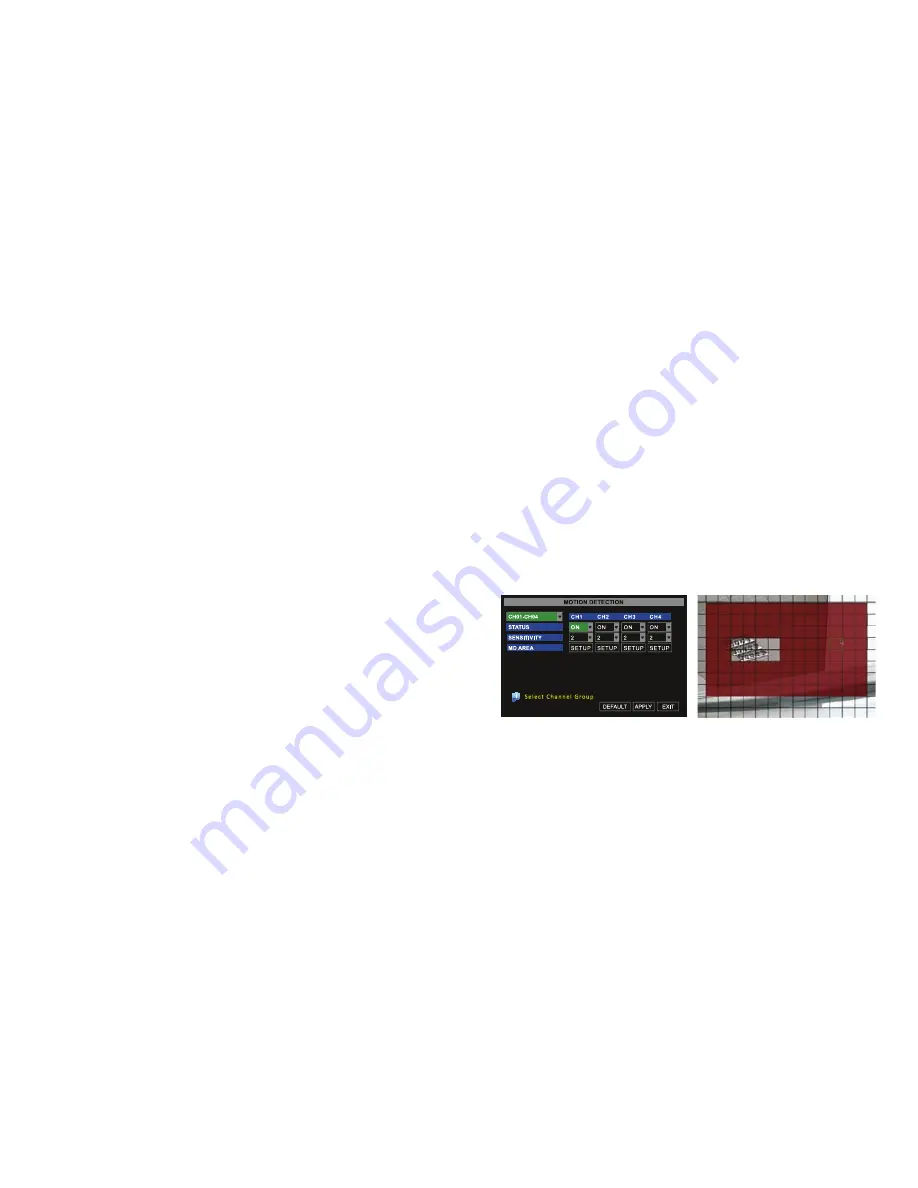
Click on the MOTION icon to open the MOTION DETECTION dialogue box (
IMAGE 38
)
3.
CH01-CH04 refers to each camera, which can be configured separately by defining
the settings under each column
4.
Select ON or OFF from the STATUS drop down menu to enable or disable motion
detection on each camera
5.
Select 1, 2, 3, or 4 from the SENSITIVITY drop down menu to set the sensitivity of the
motion detection (1 is the least sensitive and 4 is the most sensitive)
6.
Click SETUP for each camera next to MD AREA, which allows you to define the area to
be detected for motion and when any object moves in the designated area, recording
will be triggered.
7.
On the area selection grid (
IMAGE 39
), select each square to enable motion detection
for each area. Squares will turn red to indicate motion will be detected in that area.
Recording will not be triggered when motion occurs in areas that have not been
selected.
Image 39
IMAGE 38
IMAGE 39


