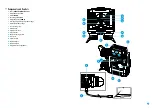
USB Connection
•
Connect one end of the USB cable
(16)
to the Micro-USB
(15)
port of your device, and the other end to the USB
port of your PC/laptop.
•
Turn the device on with a short press of
the
ON/OFF (1)
button (device that has
been turned off cannot be detected by your
computer).
•
Your device will be detected by the computer
automatically; no drivers need to be installed.
•
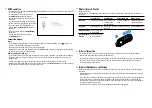
Two connection modes will appear on the
display:
Power
and
Memory Card
(external
memory).
•
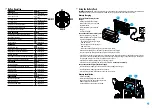
Select connection mode with
UP (2)/DOWN
(5)
buttons.
•
Confirm selection with a short press of
the
МENU (3)
button.
Connection modes:
Power
•
In this mode PC/laptop is used as an external power supply. The status bar shows icon
. The device
continues operating and all functions are available.
•
The Battery pack installed in the device is not being charged!
•
When USB is disconnected from the device when in the
Power
mode, the device keeps operating with Battery
Pack, if available, and it has sufficient charge.
Memory Card (external memory)
•
In this mode the device is detected by the computer as a flash card. This mode is designed for work with the
files saved in device’s memory. The device’s functions are not available in this mode; the device turns off
automatically.
•
If video recording was in progress when connection was made, recording stops and video is saved.
•
When USB is disconnected from the device where connection is in the
Memory Card
mode, the device remains
on the OFF state. Turn the device on for further operation.
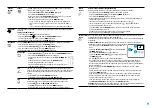
Wireless Remote Control
(Bought separately)
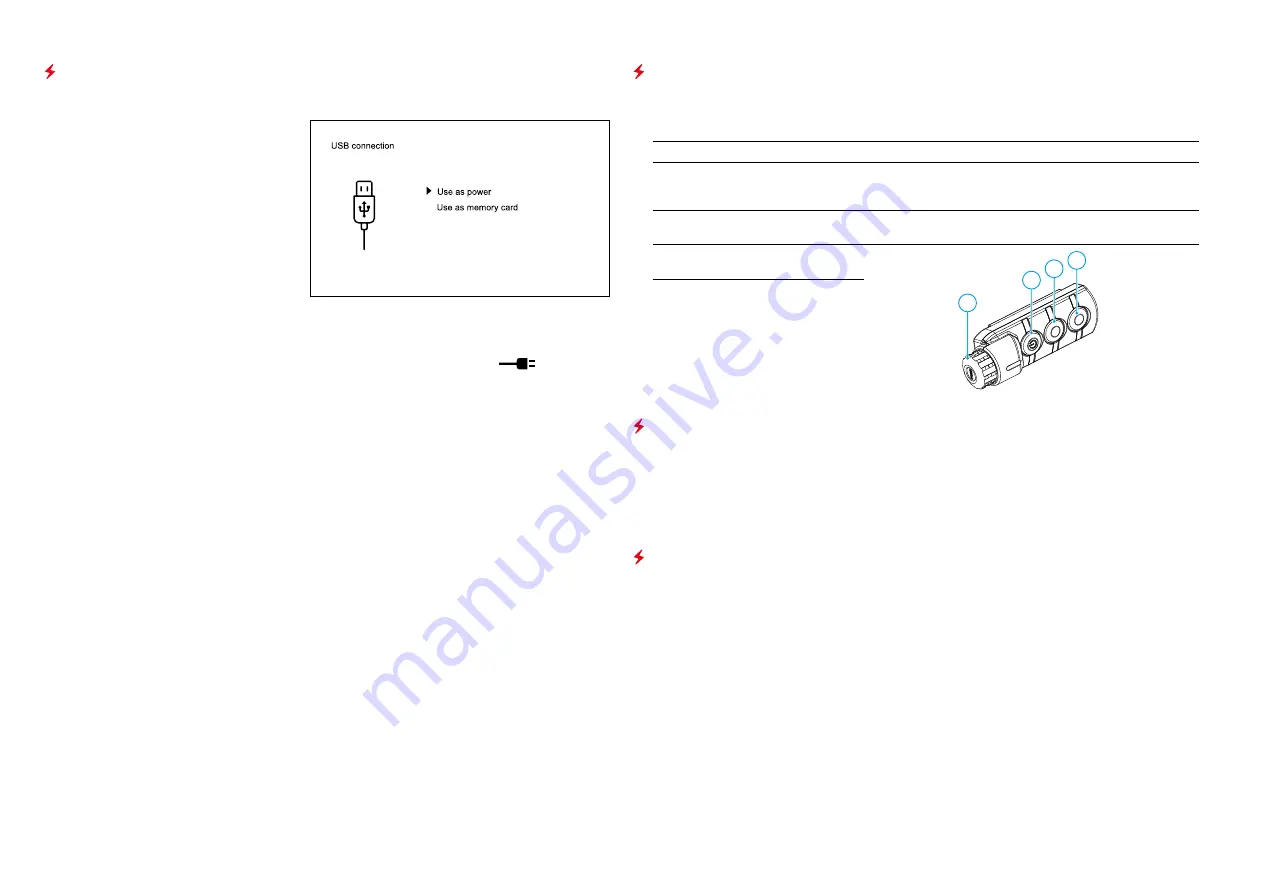
Wireless remote control
(RC)
duplicates the power on function, digital zoom, rangefinder control, and menu
navigation.
Controller (18)
Button ON (19)
Button ZOOM (20)
Button LRF (21)
Brief press
Enter the quick menu Turn on the device
/ Calibrate the
microbolometer
Activate incremental
zoom
Activate rangefinder
/ Measure distance
Long press
Enter the main menu Display Off / Turn off
the device
Activate function PiP Activate SCAN mode
Clockwise rotation
Increase parameter,
move upwards
18
19
20
21
Counterclockwise
rotation
Decrease parameter,
move downwards
Technical Inspection
It is recommended to carry out a technical inspection before each use of the device. Check the following:
•
External view (there should be no cracks on the housing).
•
The state of the objective, eyepiece and rangefinder lenses (there should be no cracks, spot, dust, deposits etc.).
•
The state of the Battery Pack (should be charged) and electric terminals (there should be no oxidation).
•
Correct functioning of the controls.
Technical Maintenance and Storage
Maintenance should be carried out no less frequently than twice a year, and should consist of the following
measures:
•
Wipe external plastic and metal surfaces clean of dust and dirt with a soft cloth moistened with a synthetic
cleaning agent.
•
Clean the electric terminals of the Battery Pack and device’s battery slot using a grease-free organic solvent.
•
Check the objective and eyepieces lenses; rangefinder’s emitter and receiver lenses. If required, remove
dust and sand (preferably by a noncontact method). Clean the external surfaces of the lenses with products
expressly designed for this purpose.
•
Store the device in a carrying case. Remove the Battery Pack for long-term storage.


