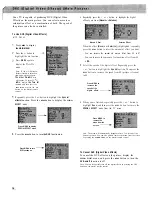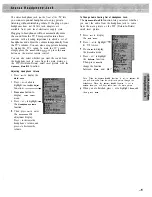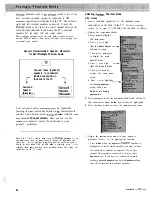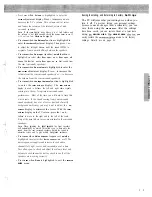
The
EQUALIZER
function lets you display an on-screen
graphic equalizer so you can remotely adjust audio
bandwidths for different environments or individual tastes.
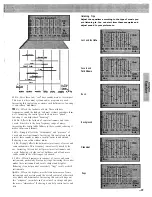
Adjusting the graphic equalizer is primarily a matter of
personal taste. The adjustments allow certain
characteristics of the audio to be changed without affecting
others. For example, if someone enjoys sharp, clean horns
(brass), increasing the 4.5
control can bring them out.
The equalizer also gives control of the mid-range
frequencies that bass and treble controls do not affect.
Since vocal frequencies are in these mid ranges, tone
controls have little effect on them. The center bands not
only give control of vocals, but allow selective vocal
ranges to be controlled. For example, reducing the 400 Hz
and 1
bands can soften a strident male vocalist, and
increasing the 2
and 4.5
controls can bring a
subtle female voice forward. Adjusting the 1
and 2
bands can add intelligibility to a speaker or singer
under certain circumstances.
The equalizer can also be used to compensate for either
deficiencies or excesses in the way the system reproduces
the audio in your room. Most common problems are
“dull” or “live” rooms that have too little or too much
treble, and rooms of certain sizes that have standing waves
that boom. Experimentation can help find the nearest band
to correct such problems. A room with a sofa and many
drapes, for example, might benefit from increasing the
4.5
and 10
bands. Live rooms with wood floors
and few furnishings commonly boom or resonate in the
upper bass range. Adjusting the 150 Hz band could control
that without taking away good, deep bass that a
conventional bass control would reduce.
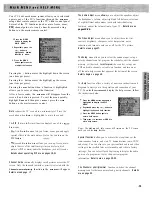
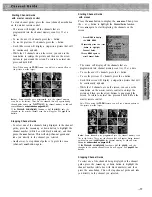
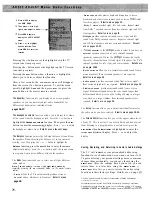
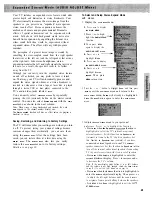
Saving, Restoring, and Returning to Factory Settings
The TV will remember your settings for the
Graphic
Equalizer-even
when you turn it off. To prevent losing your
personal settings because someone changes them
accidentally, you can save them using the
MEMORY MENU
.
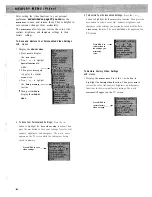
After the settings have been saved, you can restore them at
a later date using the
MEMORY MENU
.
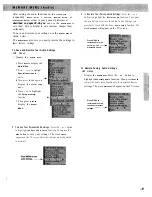
The
MEMORY MENU
also
lets you easily restore the
Graphic Equalizer to
its factory
settings.
Details are on page 39.
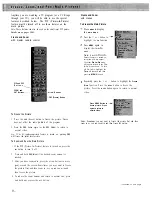
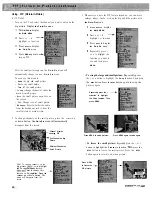
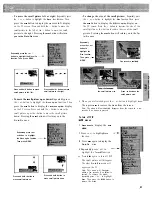
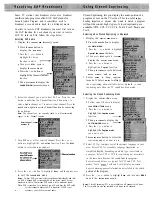
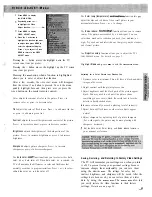
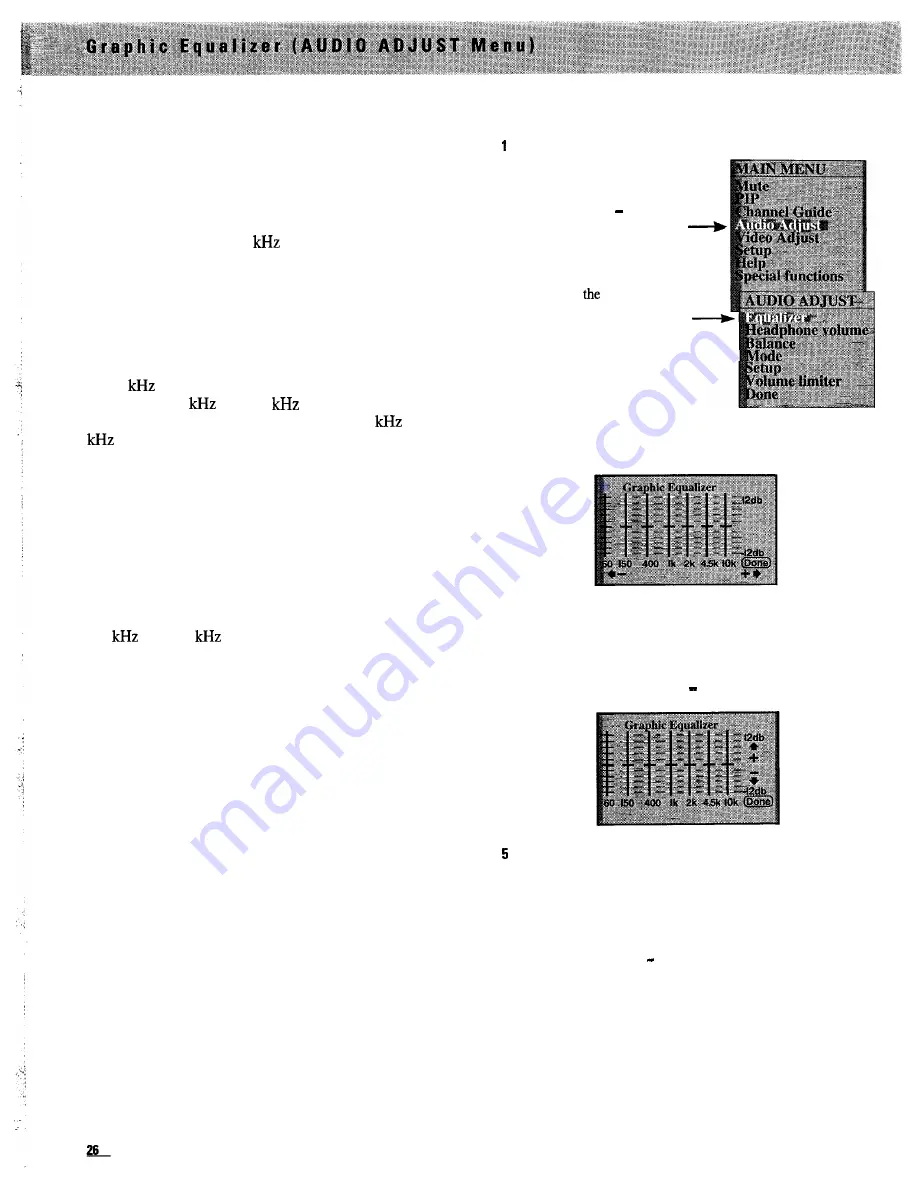
Adjusting Graphic Equalizer
wifh menus
Display the
Graphic Equalizer.
1
Press the
MENU
button to
display the
MAIN MENU
.
2 Press the + or button to
highlight the
Audio Adjust
function in white.
3 Then press
MENU
again to
display
AUDIO ADJUST
menu.
4
The
Equalizer
function is
highlighted since it is the first
item in the
AUDIO ADJUST
menu.
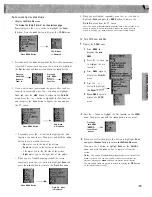
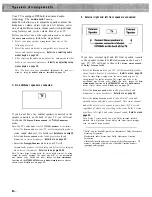
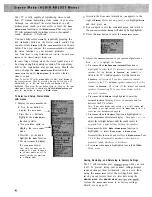
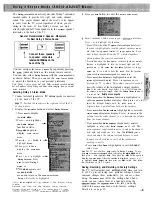
2
Press
MENU
to enter the
Graphic Equalizer
and display the
various audio bands on the screen.
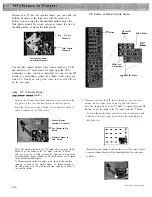
3 Repeatedly press the + or-button to highlight in yellow the
band you want to adjust.
4
Press
M E N U
to enter the highlighted band, then press + to boost
(raise) the amplitude, or press to cut (lower) the amplitude.
Press
MENU
again to exit that audio band.
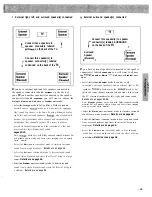
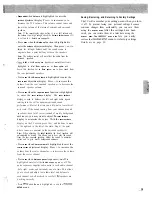
6 When finished, the display will automatically disappear from
the screen if no buttons are pressed. To quickly exit the
G r a p h i c E q u a l i z e r ,
press
t h e
C L E A R
button on the master remote
control, or press + or to highlight
D o n e .
Then press
M E N U
to
return to the
AUDIO ADJUST
menu. Press + or-to highlight
Done
and then press
MENU
again.
( c o n t i n u e d o n n e x t p a g e )
Summary of Contents for PS52682
Page 65: ...I I I I I I I I I I t 1 I I I I 1 II 1 I 1 ...
Page 81: ......
Page 85: ......
Page 86: ......

