D16
1-4
1-5
44
請確認
P10
和
D16
是否安裝正確,請參考第
10
頁─步驟
7
請確認P14是否確實鎖緊,請參考第8頁─步驟5
請確認
E2/A3
是否鬆脫,請參考第
12
頁─步驟
4
1-3
P13
B3
P14
E2
A3
A3
E2
D16
P10
紅色活塞
帽(小)
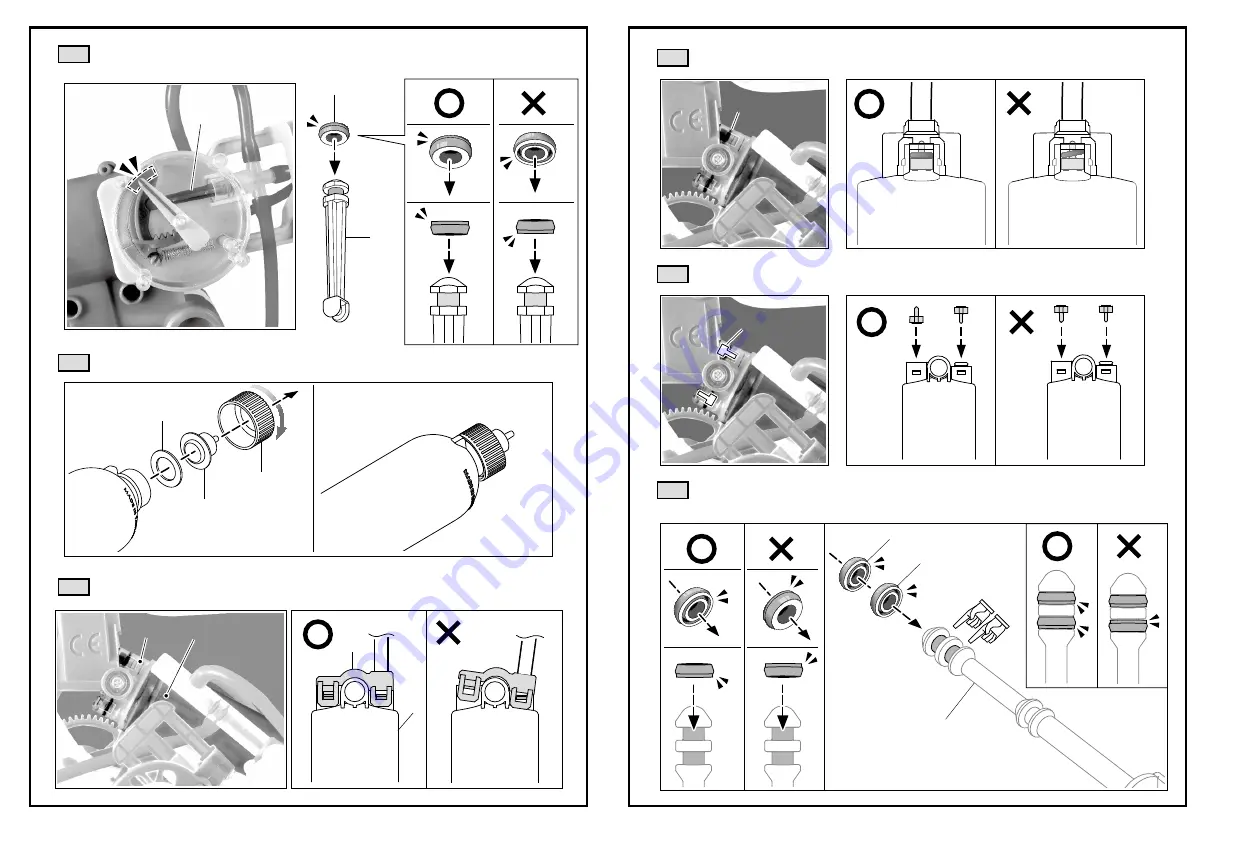
Check if P14 is fastened tightly. ( refer to page 8, step 5 )
Check if E2 / A3 are loose. ( refer to page 12, step 4 )
Check if P10 & D16 are installed correctly. ( refer to page 10, step 7 )
Red Cap
(Small)
P9
P17x2
B13
P10
紅色活塞帽(小)
45
1-8
請確認
P10/B13
是否安裝如下圖示正確位置,請參考第
22
頁─步驟
11~13
1-7
1-6
請確認
P9
(
O
型環)是否如下圖所示平整無歪斜。
請確認
P17
是否安裝於如下圖示正確位置,請參考第
12
頁─步驟
3
Red Cap(Small)
Check if P10/ B13 are installed in the right direction.( refer to page 22, steps 11~13)
Check if P17 is installed in the right direction. (refer to page 12, step 3 )
Check if P9 (O-ring) is set flatly. ( refer to page 12, step 6 )
Summary of Contents for GE-631
Page 1: ...Manual Assembly Instruction 組裝說明手冊 GE 631 空氣動力引擎車 Air Engine Car Kit ...
Page 17: ...30 23 24 1 31 25 4 3 2 1 ...
Page 18: ...D6 C4 32 26 27 2 3 2 4 5 1 1 6 1 P19 P19 02 02 比例 1 1 P1x5 33 28 29 Top View 上視圖 Scale 1 1 ...
Page 22: ...1cm B11 40 P18x5 42 43 41 恭喜完成 P19 P19 06 07 44 Finished ...


