Chapter 3: SmartNAVI
91
•
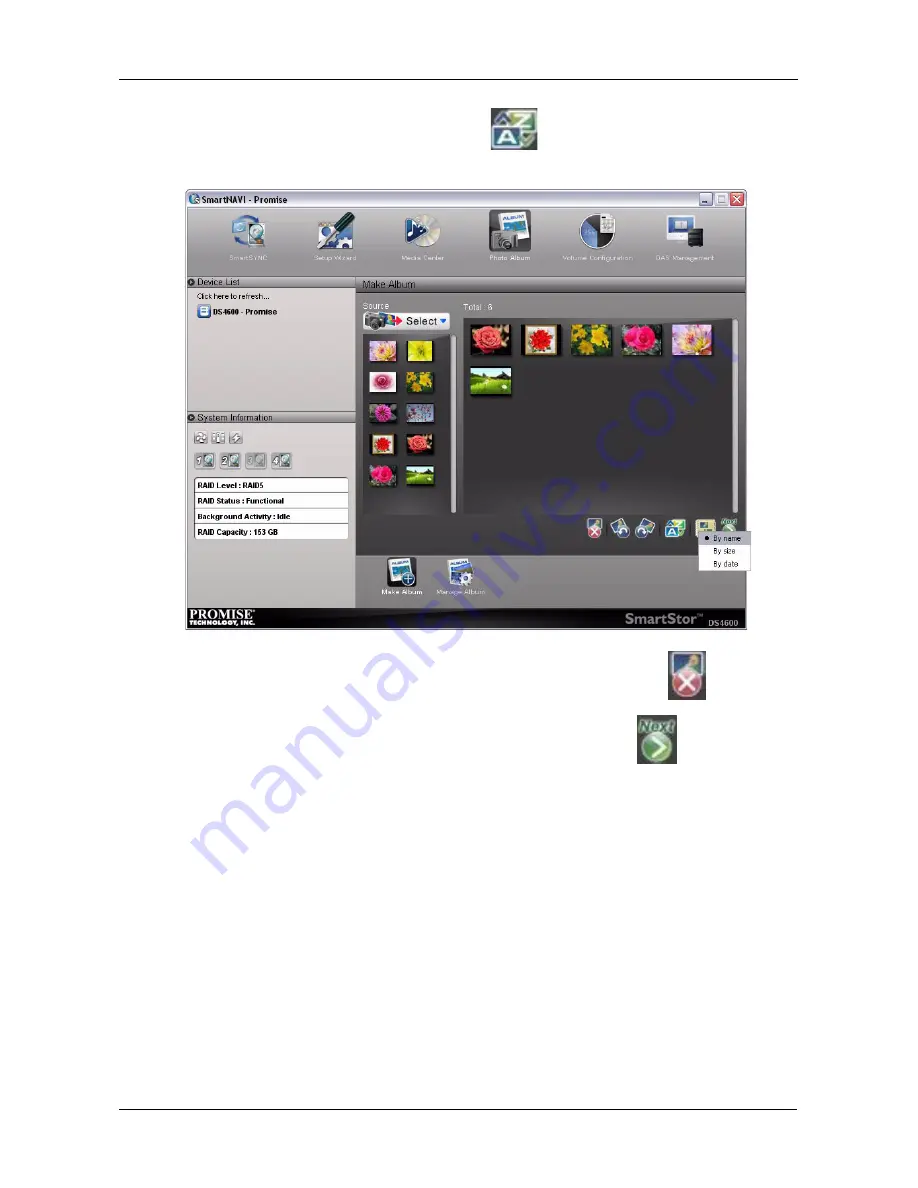
To sort the photos, click the
Sort
icon and choose a sort method
by name, size or data from the dropdown menu.
•
To delete a photo, click the photo, then click the
Delete
icon.
6.
When you finish your selection of photos, click the
Next
button.
The Album Style Setting screen appears.
7.
Type a
Title
for your album in the Title field.
(A)
Or accept the default title.
8.
Choose the
Date
with year, month and day in the dropdown menus.
(B)
9.
Choose a
Style
from the list.
(C)
An example of the highlighted Style appears in the Preview window.
Summary of Contents for SmartStor DS4600
Page 1: ...SMARTSTOR DS4600 Product Manual Version 1 0 ...
Page 6: ...SmartStor DS4600 Product Manual vi GNU General Public License 137 Index 139 ...
Page 24: ...SmartStor DS4600 Product Manual 18 ...
Page 48: ...SmartStor DS4600 Product Manual 42 RAID 10 4 drives ...
Page 50: ...SmartStor DS4600 Product Manual 44 Click the Next button D to continue ...
Page 54: ...SmartStor DS4600 Product Manual 48 Figure 7 SmartStor file structure viewed from a MAC ...
Page 70: ...SmartStor DS4600 Product Manual 64 10 Click the Add button ...
Page 76: ...SmartStor DS4600 Product Manual 70 5 Click the folder whose contents you want to backup ...
Page 95: ...Chapter 3 SmartNAVI 89 Optional ...
Page 96: ...SmartStor DS4600 Product Manual 90 To view a photo click the View icon ...
Page 142: ...SmartStor DS4600 Product Manual 136 5 Boot the SmartStor See Connecting the Power on page 9 ...


