background image

14 


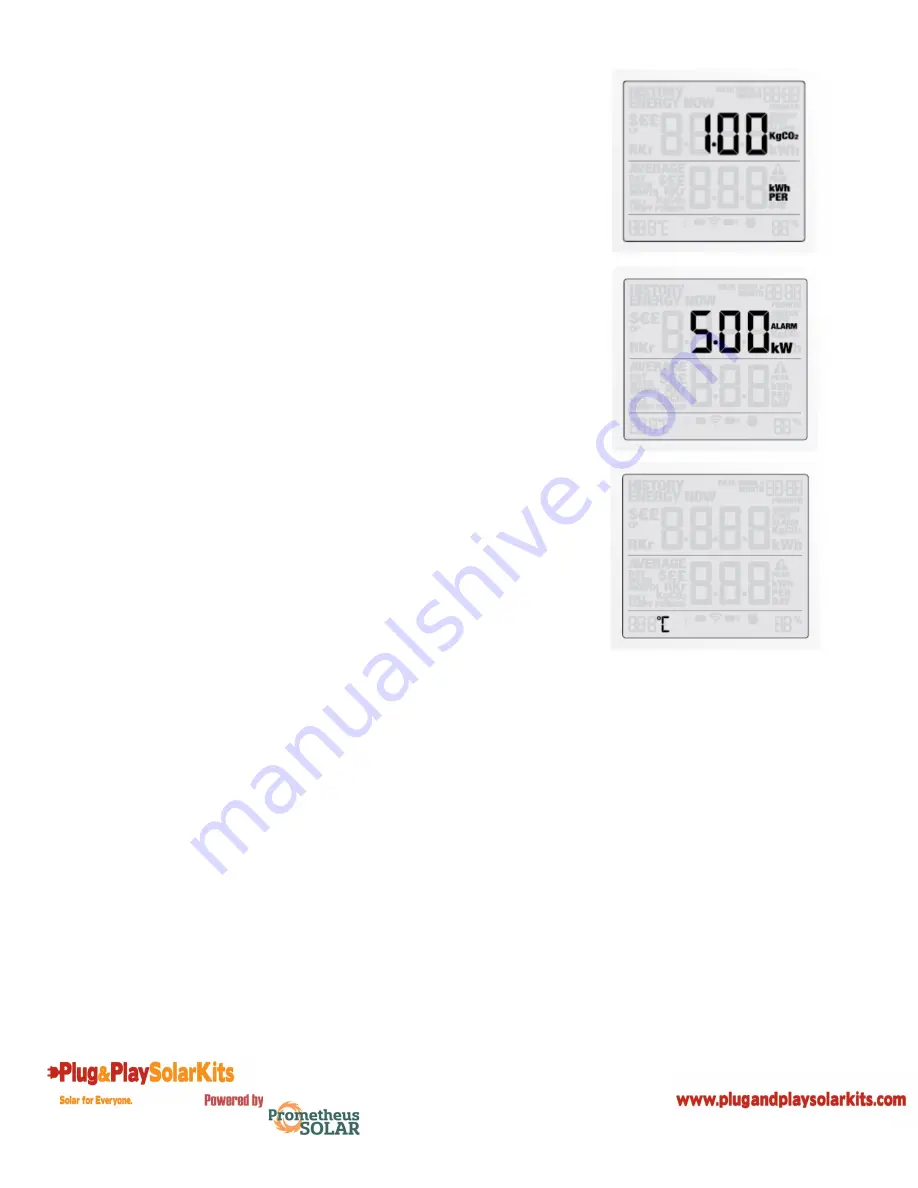
5 - Carbon Emissions Ratio 

Now set your carbon emissions ratio. This value can be increased 

or decreased using 

backward

 and 

forward

 buttons, press the 

mode/set button

 to store the value. The North American average  

is 1.04kg.CO2/kWh and is set as the default value. 


6 - Alarm 

Default alarm is set at 5kW. If the alarm function is switched on, 

and you are using more than 5kW the alarm will sound and a red 

light will glow from the bottom of the wireless energy monitor. 

The value can be decreased or increased using the 

backward

 and 

forward

 buttons. Press the 

mode/set button

 to store the value. 

Press the 

history button

 to exit the function setting mode. To  

activate and deactivate the alarm at any time push the 

alarm 

button

 on the reverse of the wireless monitor. 


7 – Temperature 

The temperature setting can be changed between Fahrenheit and 

Centigrade by pressing the 

backward

 and 

forward

 buttons.  


Note

: Throughout the setup process, push history button at any 

time, your settings will be saved & you will exit the function  

setting mode. 


Note:

  Twenty seconds of inactivity in setting mode will return 

the monitor to normal display mode without saving changes. 


Summary of Contents for Plug & Play Solar Kits GT

Page 1: ...Powered By Grid Tied GT Roof Mount User Manual Rev 2 1...

Page 2: ...d expressly disclaims liability for loss damage or expense whether direct indirect consequential or incidental arising out of or anyway connected with such installation operation use or maintenance Du...

Page 3: ..._ _ _ 11 Setting the Time Date _ _ _ _ _ _ _ _ _ _ _ _ _ _ _ _ _ _ _ _ _ _ _ _ _ _ _ _ _ _ _ _ _ _ _ _ _ 12 Setup Instructions _ _ _ _ _ _ _ _ _ _ _ _ _ _ _ _ _ _ _ _ _ _ _ _ _ _ _ _ _ _ _ _ _ _ _ _...

Page 4: ...performing any electrical installations including the installation of your Plug and Play Solar kit Additional requirements for installing your Plug and Play Solar kit may be levied by your local perm...

Page 5: ...Play Solar Kits accepts no responsibility for any damage to the unit or your property during the product installation Do not mount Plug and Play Solar kits to any other unstable structure Plug and Pl...

Page 6: ...mple if the house is consuming a total of 1 000 Watts of power the GT will provide up to 240 Watts of that power reducing your electricity from the utility company to only 760 Watts The GT therefore s...

Page 7: ...amage you ll need to report it right away to the FedEx driver Although damage is rare all boxes must be opened and the product inspected within 24 hours of delivery so please check it out right away S...

Page 8: ...with two people 2 Remove the unit from the box and remove all packing materials 3 Place the unit s on the ground Lay the unit glass side down being very careful not to damage the glass 4 Find the bol...

Page 9: ...ated outdoor weatherproof outlet like the one shown below See Figure 8 WARNING Ensure there are no other electrical loads connected to the circuit your GT is plugged into Connecting loads to this circ...

Page 10: ...m gasket is fully secured on the male plug of the Add On unit See Figure 11 4 Plug the Add On unit s male plug into the GT unit s female connector See Figure 12 5 Fasten the included green weatherproo...

Page 11: ...e linked 3 While the transmission signal symbol in the display flashes push the link button on the transmitter and wait until the transmission signal symbol becomes solid Note The default value for th...

Page 12: ...et the hour to the correct time by using the backward and forward buttons Press the mode set button once to save the hours Repeat for minutes using the mode set button to confirm Once the correct time...

Page 13: ...ons to change the voltage Press mode set button to save your setting and move into currency selection setting 2 Currency Selection Select the currency using backward and forward buttons Default curren...

Page 14: ...can be decreased or increased using the backward and forward buttons Press the mode set button to store the value Press the history button to exit the function setting mode To activate and deactivate...

Page 15: ...kW to cost displayed in HISTORY MODE Push the history button to access daily weekly and monthly stored data Use the backward and forward buttons to scroll between dates and compare consumption data Pr...

Page 16: ...ices to help solve the problem The backlight appears to work sometimes and then not others Is it broken No The backlight is on a timer to save battery life The monitor should work at darker periods du...

Page 17: ...Red DC resistance low fault Troubleshoot as described in the following section DC Resistance Low Fault A solid red status LED when DC power has been cycled indicates the microinverter has detected a D...

Page 18: ...ficiency 96 5 CEC Weighted Inverter Efficiency 96 5 Operating Temperature 40 C to 85 C Compliance UL 1741 IEEE 1547 FCC Part 15 Class B CAN CSA C22 2 NO 0 M91 0 4 04 and 107 1 01 ELITE Wireless Electr...

Page 19: ...the equipment to and from the distributor or dealer for warranty replacement or repair The above warranty does not include incidental or consequential damages and Prometheus Solar disclaims any liabil...

Page 20: ...rgy com for US sales energymonitoring ca for Canada Email your technical questions to help efergy com for US support energymonitoring ca for Canada We aim to answer all your emails within 48 hours www...

Reviews: