7
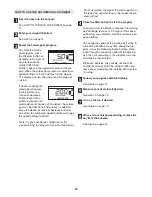
2. Attach a Wheel (66) to the base of the Uprights (69) with
a Wheel Bolt (64) and a Nut (13) as shown.
Do not
overtighten the Bolt;
the Wheel should turn freely.
With the help of a second person, carefully tip the tread-
mill onto its other side. See assembly step 1, and attach
the other Extension Leg (63) and the remaining two
Round Base Pads (57). Then, attach the other Wheel
(66) as described above.
With the help of a second person, carefully lower the
base of the Uprights (69) to the floor so the Uprights are
in a vertical position.
66
13
69
64
2
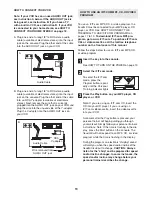
4. Insert the tab on one of the Handrail Brackets (119) into
the slot in the right Upright (69). Attach the Handrail
Bracket with a 3/4” Screw (2) and a Small Star Washer
(118).
Attach the other Handrail Bracket to the left
Upright (not shown) in the same way.
2
118
69
119
Slot
4
3. Attach the Latch Housing (29) to the left Upright (69) with
two 3/4” Screws (2).
Make sure that the large hole in
the Latch Housing is on the side shown.
Remove the knob from the pin.
Make sure that the col-
lar and the spring are on the pin as shown.
Then, in-
sert the pin into the Latch Housing (29), and tighten the
knob back onto the pin.
Pin
Collar
Spring
Knob
69
29
2
3
Large
Hole


