


+1.866.977.7326
www.preco.com
3700042D
Copyright 2016
Page 5
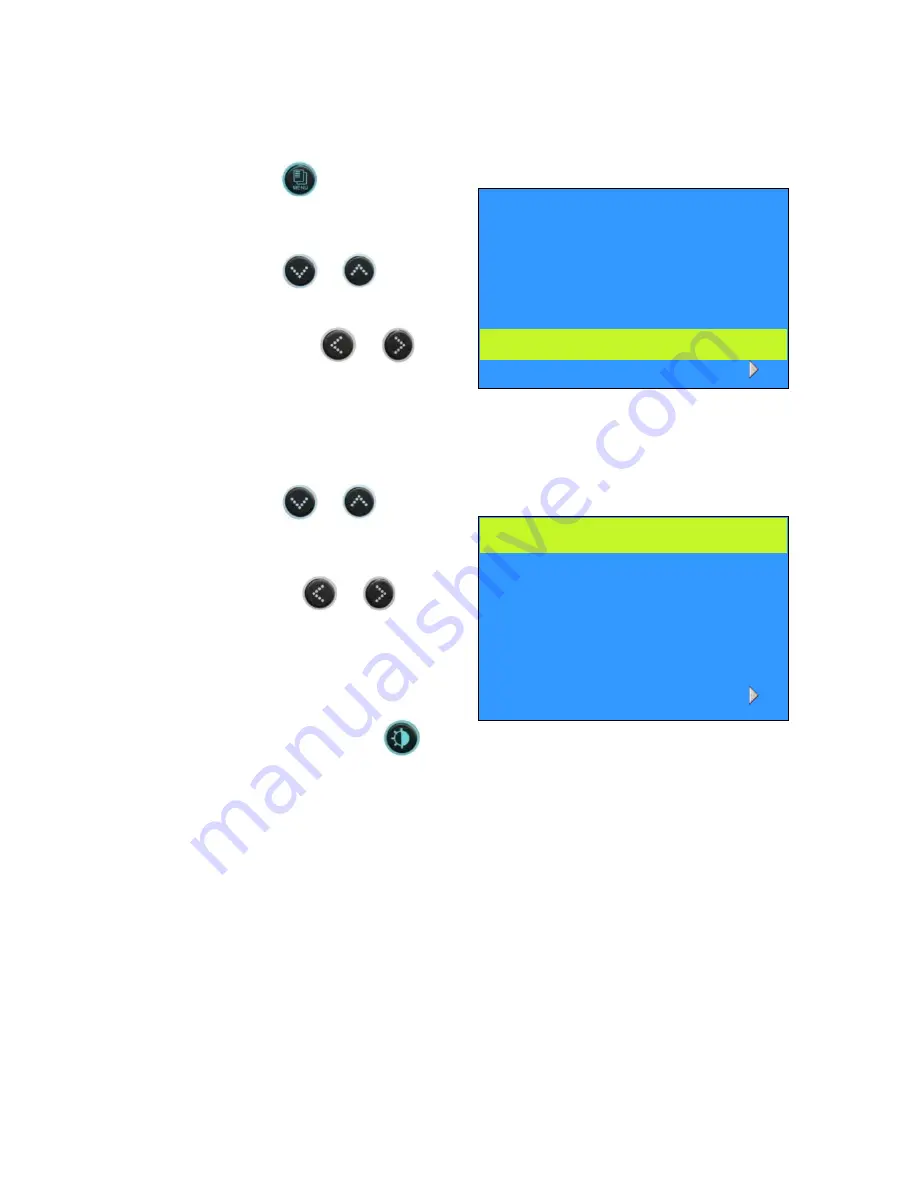
Settings:
Video standard system, / PAL conversion
1.
Press the
button
(2 - 3 times) until the OSD
menu [PICTURE SETUP]
appears.
2.
Press the
or
button to select the value to
change and change the value
by pressing the
or
button.
NTSC or PAL video can be selected.
Dimmer sensor setting
1.
Press the
or
button
to select the value to change and
change the value, DAY (brighter)
/ NIGHT (darker) / AUTO (sensor) by
pressing the
or
button.
Alternately, pressing the
button to switch between DAY
NIGHT
AUTO
DAY.
* Dimmer is set to AUTO from the factory.
CONTRAST
50
BRIGHTNESS
50
COLOR
50
TINT
50
LANGUAGE
ENGLISH
VIDEO SYSTEM NTSC
RESET
DIMMER
NIGHT
CONTRAST
50
BRIGHTNESS
50
COLOR
50
TINT
50
LANGUAGE
ENGLISH
RESET
PICTURE SETUP
PICTURE SETUP
DIMMER
NIGHT
VIDEO SYSTEM
NTSC
Summary of Contents for PreView Plus
Page 1: ...PreView Plus Monitor PVP710 Setup Guide www preco com...
Page 2: ......
Page 4: ......
Page 27: ......


