21
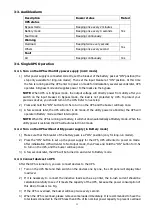
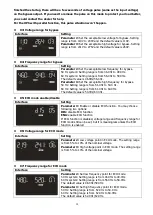
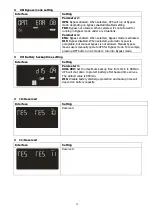
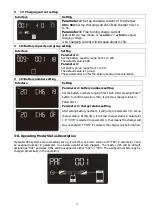
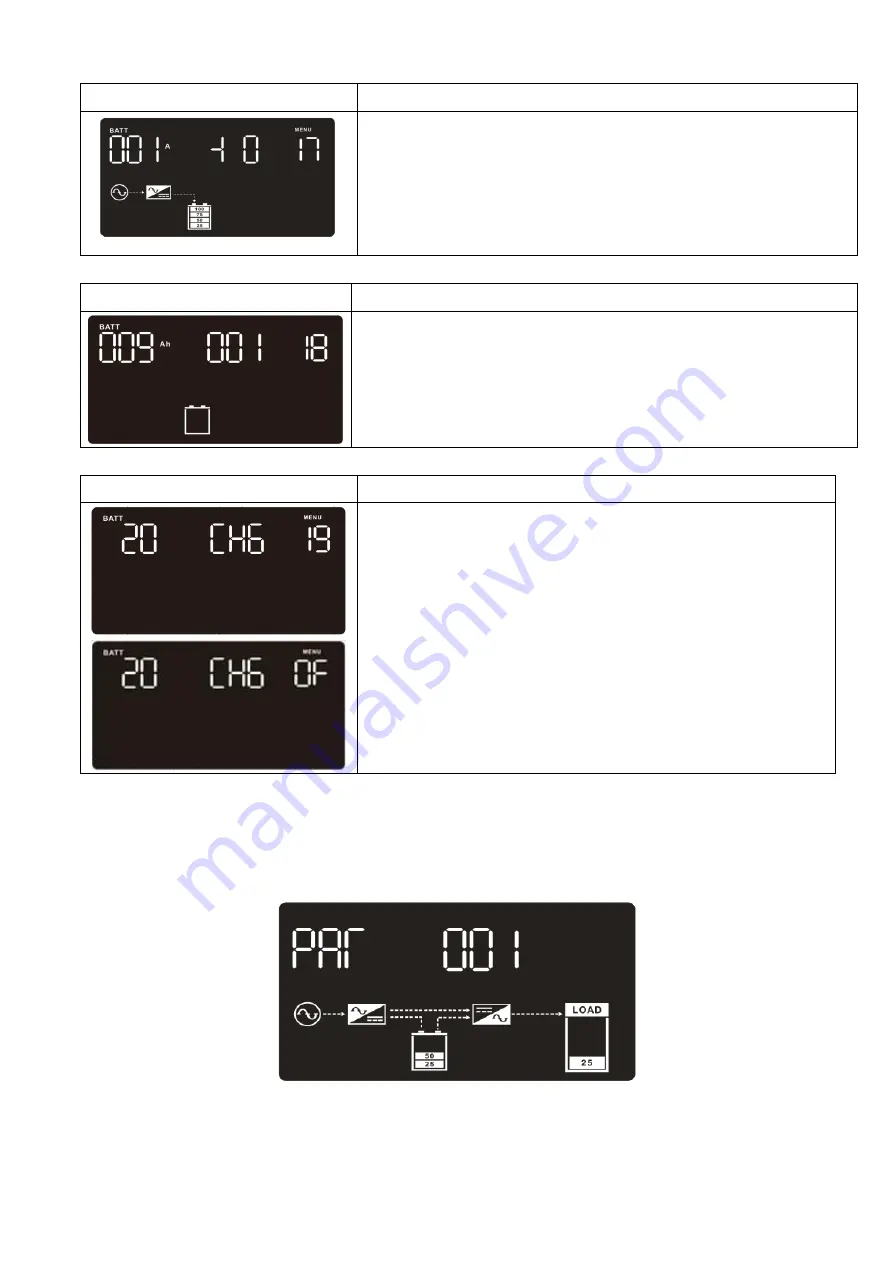
17: Charging current setting
Interface
Setting
Parameter 2: Set up charging current of the charger
001~004: Set the
charging current of the charger
from 1A
To 4A.
Parameter 3: Fine-turning charge current
± 0~± 5: you may choose ‘+’ as add or ‘-‘ as Sub to adjust
charging voltage.
+ 3:
Charging current will increase about 0.15A.
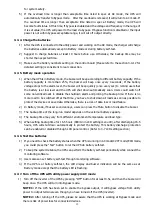
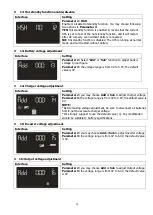
18: Battery capacity and group setting
Interface
Setting
Parameter 2:
Set the battery capacity range from 1 to 200.
The default value is 9AH.
Parameter 3:
Set battery group range from 1 to 99.
The default value is 1 group.
These parameters are for the battery backup time calculation.
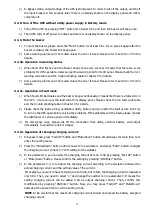
19: Battery number setting
Interface
Setting
Parameter 2: battery numbers setting
Set the battery numbers ranging from 16-20. After pressing “Enter”
button to confirm selection, then, it will show charger status in
Parameter 1.
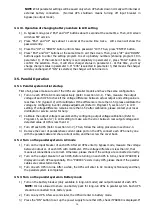
Parameter 3: charger status setting
After setting battery numbers, it will jump to parameter 3 to set up
charger status. At this time, it will sow charger status in Parameter
1. If “CH6” is selected in parameter 3, that means the charger will
stay unchanged. If “ON” is selected, the charger will be turned on.
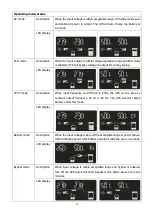
3-8. Operating Mode/Status Description
If parallel UPS systems are successfully set up, it will show one more screen with “PAR” in parameter 2 and
be assigned number in parameter 3 as below parallel screen diagram. The master UPS will be default
assigned as “001” and slave UPSs will be assigned as either “002” or “003”. The assigned numbers may be
changed dynamically in the operation;
Summary of Contents for Centurion RT 6000VA
Page 1: ......
Page 30: ...27 6 Specifications...

