16
7.
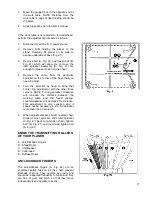
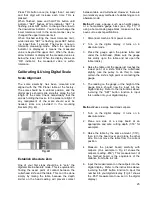
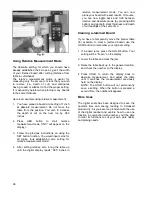
Put the second gib (gib #2, Fig. 19) in place
and insert a screw into gib #2 in the location
shown in Fig. 19. Use the adjustment tool to
hold the knife in place while making the
screw snug. Do not fully tighten screws yet.
8.
Return to gib #1 and insert screws into the
first two holes. Make these screws snug.
9. Now that one end of the knife has been
secured, continue across the knife, placing
each gib and inserting its screws, while using
the adjustment tool to align and hold the
knife. Make all screws snug only. Continue
until the last gib at the opposite end has
been made snug.
10. Rotate the cutterhead and repeat the
process for each of the remaining two
knives. Make all gib screws snug only.
11. Now fully tighten all gib screws on one knife,
beginning at both ends of the knife and
working your way to the middle.
12. Tighten all gib screws on the other two
knives in the same fashion, until all gib
screws on the cutterhead are firmly
tightened.
(NOTE: The purpose of this incremental
tightening process is to prevent any slight
deflection or warpage of the cutterhead.)
WARNING: After installing knives, check
again carefully. Make certain all gib
screws are tightened securely. Failure to
heed may result in personal injury.
13.
Re-install chip deflector (see “Chip
Deflector”, page 20). Re-install cover with
the four washer head screws, and then re-
install dust hood.
WORK TABLE PARALLEL
TO CUTTERHEAD
The work table is set parallel to the cutterhead at
the factory and no further adjustment should be
necessary. If your machine is planing a taper, first
check to see if the knives are set properly in the
cutterhead. Then check to see if the work table is
set parallel to the cutterhead. Proceed as follows:
1.
Disconnect machine from power source.
2.
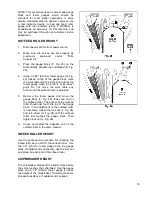
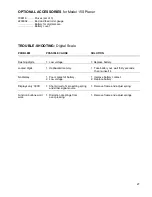
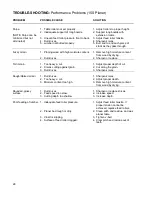
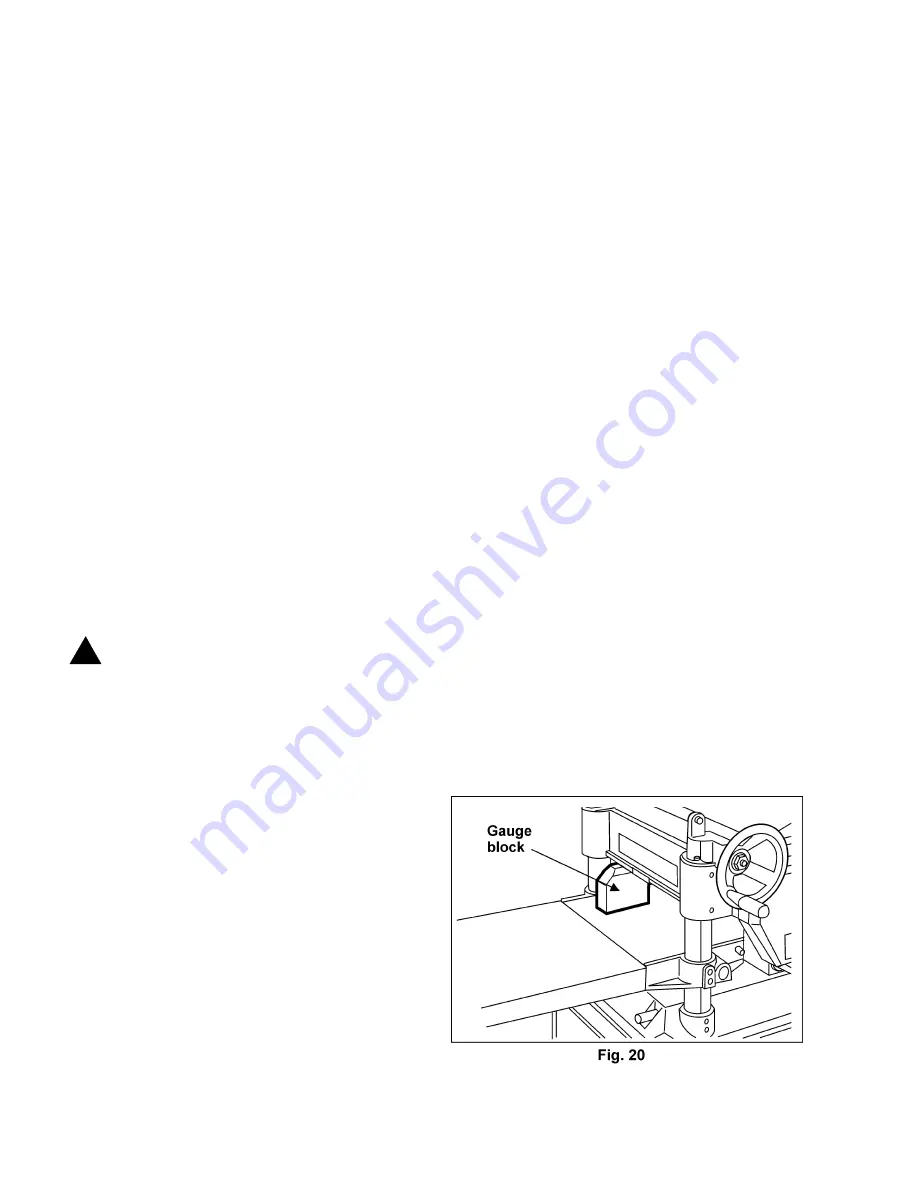
Place the gauge block (Fig. 20) on the work
table directly under the front edge of the
head casting as shown. Make slight contact
by gently raising table.
!
Summary of Contents for 15S
Page 7: ...7 FEATURES 15S Planer Fig 2 ...
Page 33: ...33 Base Assembly 15S Planer ...
Page 35: ...35 Table Assembly 15S Planer ...
Page 37: ...37 Gearbox Assembly 15S Planer ...
Page 39: ...39 Cabinet Assembly 15S Planer ...
Page 42: ...42 Head Assembly 15S Planer ...
Page 43: ...43 ELECTRICAL SCHEMATIC 15S Planer Single phase 230 volt ...
Page 44: ...44 ...
Page 46: ...46 ...
Page 47: ...47 ...


