CONFIDENTIAL
22
Removing 5.25-inch Drives
Chassis Cover Removal/Installation
2. Disconnect all cables that are attached to the device being removed
3. Remove the driveÕs retaining screws located on either side of the 5.25-inch drive bay.
4. Push the drive through the bay opening in the front and remove from the chassis.
Installing 5.25-inch Drives
1. Slide the drive half way into the front bay location, making sure the cable connections are facing the
rear of the computer. Pushing the drive in only halfway makes cable connection easier by giving more
maneauvering room behind the drive.
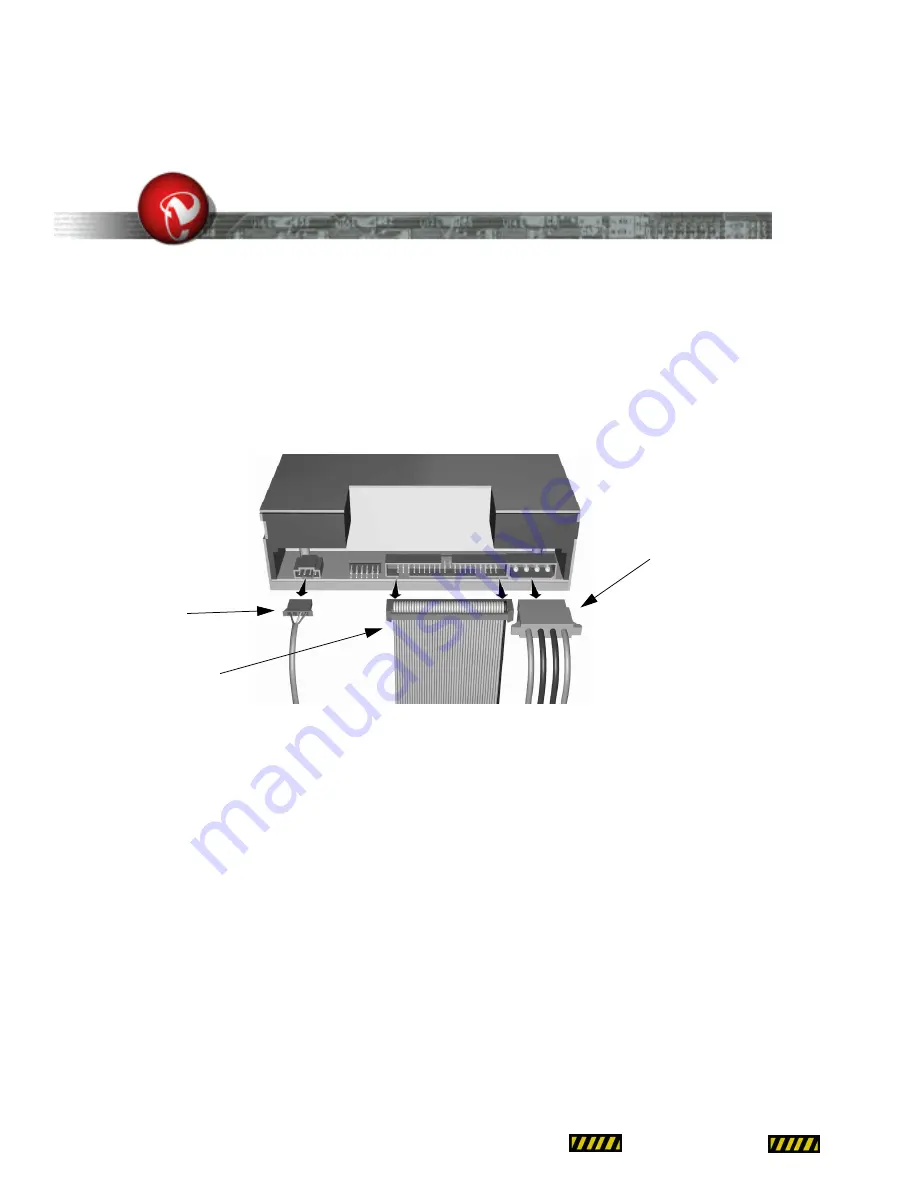
2. Connect the cables to the drive. Slide the drive in the rest of the way, making sure that the drive is
flush with the front of the computer.
3. Secure the driveÕs retaining screws located on either side of the 5.25-inch drive bay.
5.25-inch Drive Removal/Installation
5.25-inch Drive Removal/Installation
Figure 14: CD ROM Removal
Power Connector
SCSI Connector
Sound Connector
Main Logic Board


