Spraying Tips
1. The stroke is made with a free arm motion, keeping the gun at a right angle
to the surface at all points of the stroke. Arching the stroke will result in
uneven application and excessive over spray at each end of the stroke.
2. Depress trigger just before reaching the edge of the surface to be sprayed.
Hold the trigger fully depressed and move the gun in one continuous
motion. Release the trigger when the other edge of the surface is reached,
shutting off the fluid flow, but continue motion a few inches until it is
reversed for the return stroke. When the edge of the surface is reached on
the return stroke, depress the trigger fully again and continue across the
surface.
3. Lap each stroke 50% over the preceding one. Less than 50% will cause
streaks on the finish surface.
NEVER point spray gun at self or any other person.
Accidental discharge of material may result in serious injury.
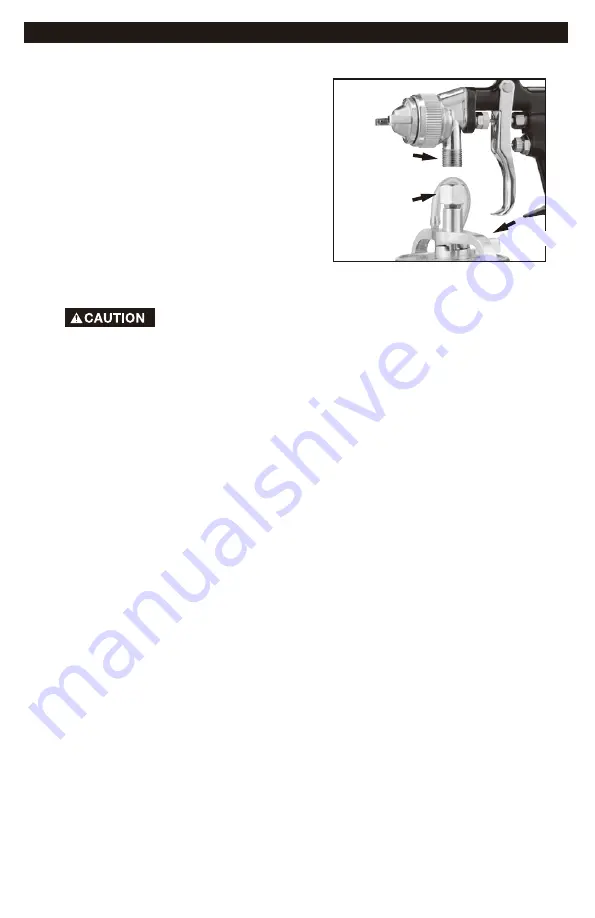
NOTE: When replacing lid assembly to gun assembly hand tighten nut (b)
and tighten securely.
If the material to be sprayed is too heavy for siphon feed or fast application
is desired, convert to the pressure feed.
1.
Remove the
material cup (e)
lever (f) to the right, rotate lid, and
remove
material cup (e).
2.
Loosen nut (b). After the nut
is loosened hand turn until lid
assembly can be removed from gun.
3.
The gun is now ready to be
connected to any pressure feed tank
with a standard 3/8" straight pipe
female connection. See manufacturer’s
manual for correct procedure.
4.
To operate see steps 5-7 in the "Operation" section to continue.
CONVERT TO REMOTE PRESSURE FEED
3/8 NPS
Fluid
Connention
b Nut
a Lever


