07
Should you wish to have a second “leave and return” during the
day, use the navigation keys to select and press
(OK)
to validate.
Adjust the hour of this step with
(-)
or
(+)
.
Press
(OK)
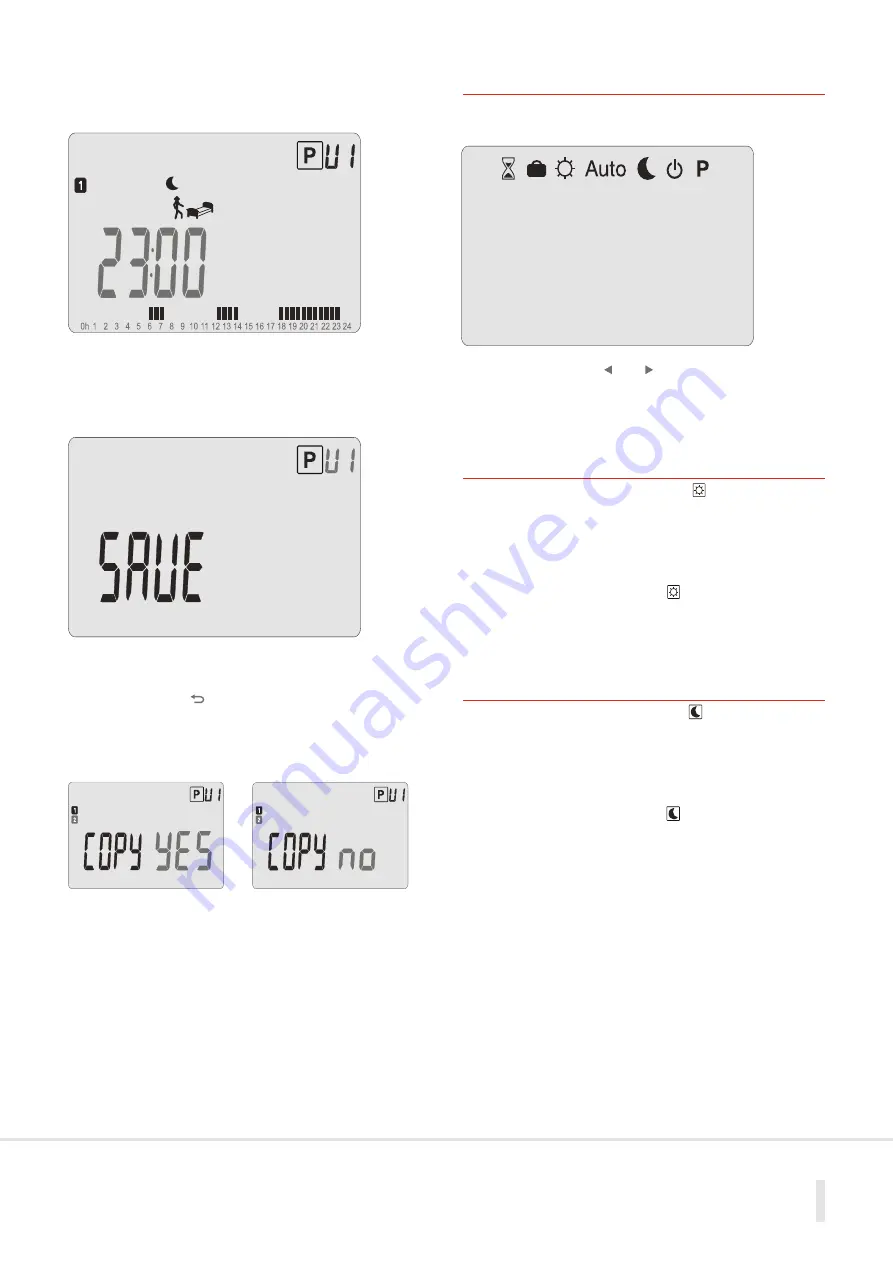
to validate and jump to finish the program setting
of day 1 (Monday).
The following screen with the blinking green LED will be
displayed.
Press
(OK)
to save your program and return to the main screen
(in
AUTO
mode).
Press the escape key
( )
to erase and come back to the
beginning of the program mode.
You can now can choose to copy the program just created to
subsequent days.
Change the choice “
YES
” or “
no
” with
(-)
or
(+)
and validate
your choice with
(OK)
.
- If you select “
no
”, you will be invited to create
a program for Tuesday (repeat the previous steps).
- If you select “
YES
”, you will have the option
to copy the program from Tuesday to Wednesday, etc, up to the
last day of the week (Sunday).
Press
(OK)
on the last day to “
SAVE
” your program.
5. Room Temperature Settings
In order to set room temperatures to work with the program you
have selected or created you will need to access the mode menu.
Use the navigation keys
( )
or
( )
to move the frame cursor
over the required mode and
(OK)
to confirm your choice.
5.1 Comfort
Temperature Setting
With the cursor over the Comfort setting select and use the
(-)
or
(+)
keys to choose the Comfort temperature for the room.
Validate with
(OK)
.
In the
Auto
mode this will be the temperature set for when the
room is occupied only.
If the cursor remains positioned over the room will
permanently be set at the Comfort temperature.
5.2 Setback
Temperature Setting
With the cursor over the Setback setting select and use the
(-)
or
(+)
keys to choose the Setback temperature for the room.
Validate with
(OK)
.
In the
Auto
mode this will be the temperature set for when the
room is unoccupied.
If the cursor remains positioned over the room will
permanently be set at Setback temperature.


