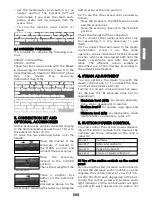
• Set the steam/water push-button (L) on
“water” position. The indicator (37) will
turn orange. If you press the steam push-
button, water will be sprayed from the
accessories.
• To stop the function, press switch (L)
again.
2.4 COMBINED FUNCTIONS
It is possible to combine the following func-
tions:
STEAM – VACUUMING
STEAM – WASH
These functions are possible with: the Steam
& Vacuuming Kit PAEU0375 (chap. 9.1), the
Vaporflexi Brush Steam Kit PAEU0377 (chap.
9.2),
the
Steam
Mop
accessory
PAEU0257(chap. 9.15).
3. CONNECTION KIT AND
OPTIONAL ACCESSORIES
All the accessories can be connected directly
to the flexible steam/vacuum hose (1; 9) or to
the extension hoses (2; 10).
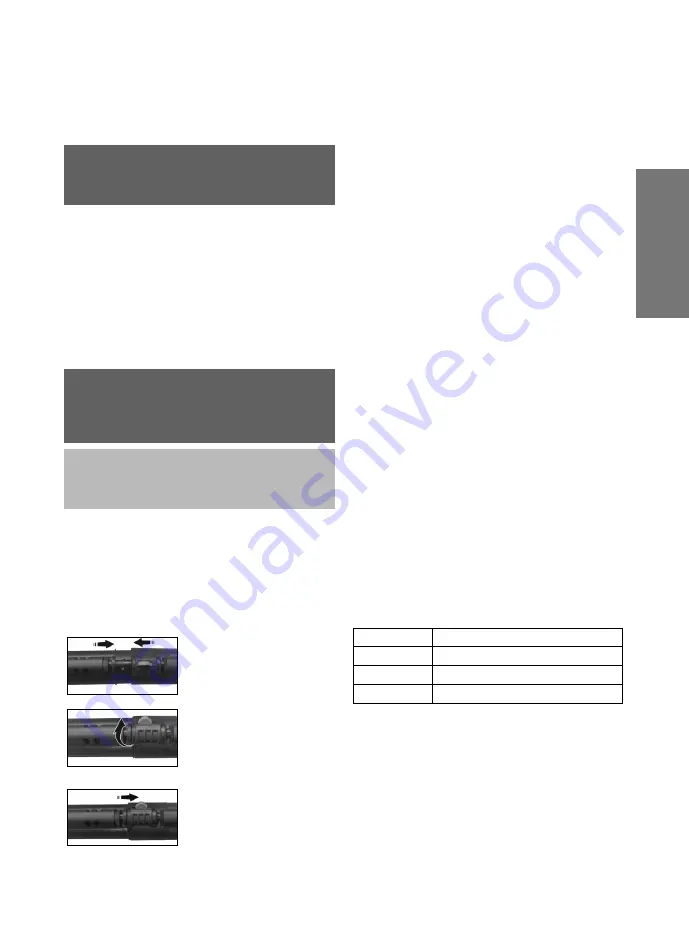
3.1 Hook the two extension tubes onto the
handle :
Move the locknut of the
accessory, if present, to
the OPEN position and
connect the accessories.
Move
the
accessory
locknut to the CLOSED
position.
Check the strength of the
connection.
There
is
another
lock
button on the extension
tubes:
proceed as above for the
accessories, releasing the tubes by sliding the
button as far as the lock position.
3.2 To use the other accessories proceed as
follows:
- Move the locknut to the OPEN position and
pair the accessories.
- Move the accessory locknut to the CLOSED
position.
Check the strength of the connection.
3.3 To connect the special accessories only
for vacuuming it is only necessary to pair
them.
3.4 To connect the steam lance to the steam
concentrator,
screw
it
on.
The
same
operation can be carried out for the coloured
brushes, which can be screwed both onto the
steam concentrator and onto the steam
lance.
The
different
colours
enable
a
diversified use of the brushes according to
the surface to be treated.
4. STEAM ADJUSTMENT
You can optimise the steam flow with the
steam control knob (I). To increase the flow,
turn the knob clockwise (Pic. 8).
Turning it in an anti-clockwise direction redu-
ces the flow (Pic. 8). Here are some tips for
regulating it:
• Maximum level (4/5): to remove encrusta-
tions, stains, grease and to sanitise;
• Medium level 3: for carpets, rugs, glass and
floors;
• Minimum level (1/2): to steam plants, clean
delicate fabrics, upholstery, sofas, etc.
5. SUCTION POWER CONTROL
You can control the suction power depend-
ing on the kind of surface to be treated. The
numbers are those indicated on the control
panel (D).
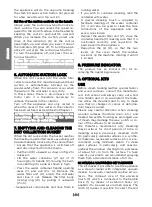
5.1 Use of the suction controls on the control
panel
By pressing the start/increase suction button
(E) and the decrease suction button, you can
regulate the suction power of your Polti Va-
poretto MV. With each depression of the but-
ton (E) the suction power will increase and a
light indicator on the control panel will light
up, and with each depression on button (F)
WARNING: When buttoning from the “wa-
ter” function to the “steam” function, a jet of
residual water in the accessories may spray
out
WARNING: On the first release of steam,
there may be some drops of water mixed
with the steam due to temperature imbalan-
ces.
Direct the first jet of steam onto a rag.
To avoid any dirt in the dirt collector causing
bad smells, we recommend emptying and
cleaning after every use according to the
methods described in Chapter 12.
Level 1
Curtains
Level 2
Sofas and cushions
Level 3
Rugs and carpets
Level 4
Floors or liquid collection
E
N
G
L
IS
H
| 39 |
Summary of Contents for VAPORETTO MV 10.20
Page 2: ...2 A H I G F E B T N Q J K J P C D S R L M R U O V W Y Z X POLTI VAPORETTO MV 10 20...
Page 3: ...3 Pic 10 Pic 7 Pic 11 Pic 8 Pic 9 Pic 4 Pic 5 Pic 6 Pic 1 Pic 2 Pic 3...
Page 8: ...8...
Page 27: ...ITALIANO 27...
Page 28: ...ITALIANO 28...
Page 46: ...ENGLISH 46...
Page 119: ......

