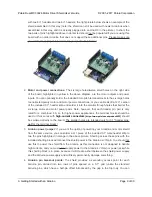
of the included 0.1″ header strip and solder it into the smaller through-holes that border the
six large motor and motor power pads. Note, however, that each header pin pair is only
rated for a combined 6 A, so for higher-power applications, the terminal blocks should be
used or thick wires with
high-current connectors
[https://www.pololu.com/product/925]
should
be soldered directly to the board.
3.
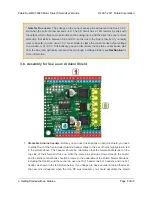
Enable Jumper:
You can optionally solder a wire or a 2×1 piece of the included 0.1″ male
header strip to the two pins highlighted in orange in the above diagram to create a board
enable jumper. The left pin is D2, and the right pin is VDD. D2 is internally pulled low, which
tri-state disables the motor driver outputs and allows any connected motor to coast. In order
to enable the board, this pin must be driven high, either through a connection to an I/O line
or by connecting it to the neighboring VDD pin.
With the exception of the pins labeled “D2 1=2” and “SF 1=2”, all of the through-holes not highlighted
in the above diagram are only relevant when using this driver as an Arduino shield. The “D2 1=2” and
“SF 1=2” pins are explained in the “Pinout” portion of
Section 4.b
, but they will not be needed in typical
applications and can generally be ignored.
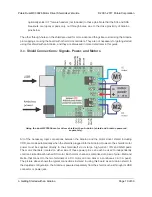
4.b. Board Connections
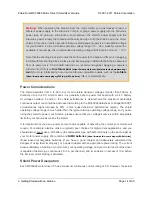
Using the dual MC33926 motor driver shield with a microcontroller (gray connections are
optional).
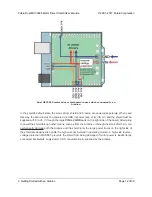
The above diagram shows the minimum connections typically required to interface this motor driver
with a microcontroller. Note that D2 is internally pulled low, which disables the motor outputs; it must
either be connected to an I/O line (for dynamic control) or soldered to the neighboring VDD pin to
Pololu Dual MC33926 Motor Driver Shield User’s Guide
© 2001–2017 Pololu Corporation
4. Using as a General-Purpose Motor Driver
Page 20 of 30


