Installation manual SR85
2.
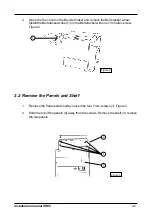
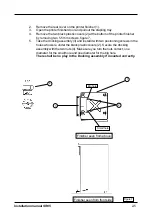
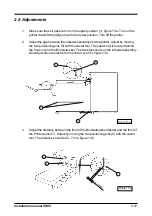
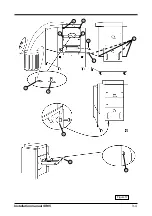
Remove the rear cover on the printer finisher (1).
3.
Open the printer finisher door and pull out the stapling tray.
4.
Remove the two black plastic covers (2) at the bottom of the printer finisher
by removing two 5.5 mm screws, figure 7.
5.
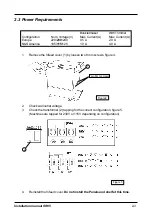
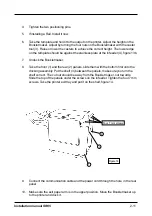
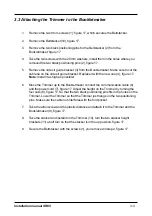
Take the docking assembly (3) and install it with two positioning screws in the
holes who were under the black plastic covers (2). Secure the docking
assembly with the two nuts (4). Make sure you turn the nuts correct, one
diameter for the small hole and one diameter for the big hole.
There shall be no play in the Docking assembly if mounted correctly.
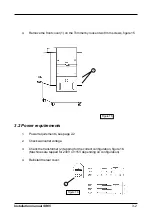
Figure 7
1
2
3
Small hole
Big hole
2-5
4
Finisher seen from above
Finisher seen from front side
Summary of Contents for SR 85
Page 1: ...Installation Manual Bookletmaker SR 85 and Trimmer TR 85 January 2002 x17030 ...
Page 12: ...Installation manual SR85 Figure 11 2 6 Wiring communication cable 2 8 ...
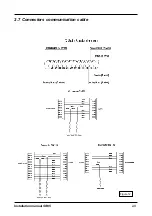
Page 13: ...Installation manual SR85 2 7 Connectors communication cable Figure 12 2 9 ...
Page 20: ...Installation manual SR85 2 3 4 7 2 Figure 17 3 4 10 11 9 1 1 6 8 ...

