Planet Audio P9754 User Manual Download Page 5

01

5

Before You Start

40

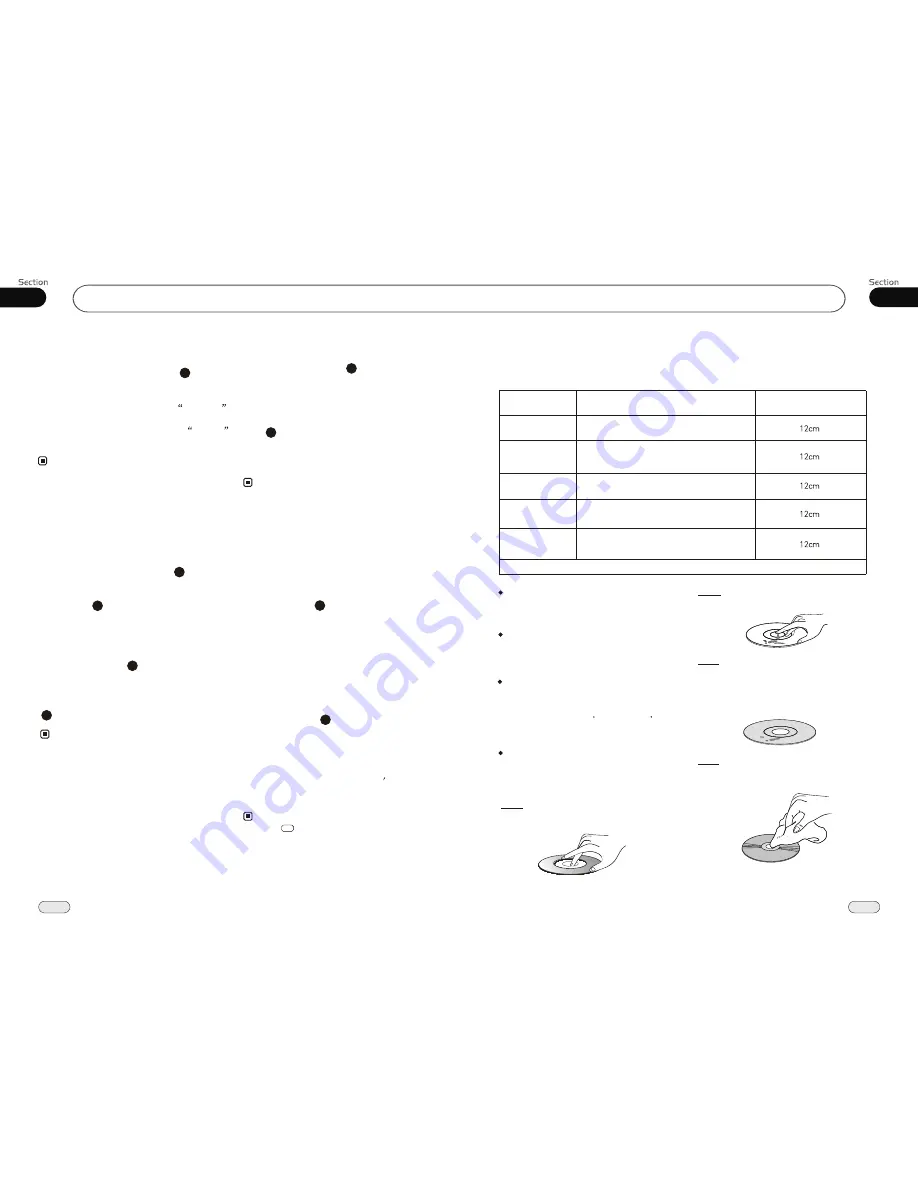
Type of disc           

VCD 

MP3 

CD

NOTE:  The unit is compatible with  VCD1.0/1.1/2.0/3.0 version and DVCD disc.

DVD       

Handle the disc by its edge to keep 

the disc clean, and do not touch the surface.

        Do not attempt to modify the unit,
        modifying the unit may cause an 
        accident. 

        Stop the vehicle before carrying 
        out any operation that could 
        interfere with your driving.

        Do not work in extremely high or 
        low temperature. Be  sure the
        temperature inside the vehicle
        is b60  C and -10  C
        before turning on your unit .


To enjoy optimum sound and 

        images while playing, handle the 
        discs as follows:

Do not use your CDs with paste residue

or ink attached.

Do not use CDs with labels or stickers 

attached, which may leave a sticky residue 
while beginning to peel off. 
 (Shown as the picture)

Clean the discs with an optional clean-

ing cloth. Wipe each disc from the center out. 
(Shown as the picture)

PRECAUTIONS

This unit can play the following discs only: 

Recorded material      

Sound and moving 
        pictures  

Sound and moving 
        pictures  

Sound only

Sound only

Size of disc   

MPEG-4

Sound and moving 
        pictures  

07

Tuner

During radio status, you can press      

ST


button on the remote control 

MONO


mode or 

STEREO


to select 

mode.

Stereo reception is charged when

STEREO

appears. 
It is switched to 

MONO

 mode when

MONO

appears. 

MO/ST Selector


It is only valid on remote control.


It is only valid in FM tuning.

6

Switch to MONO compulsively to improve 
the listening quality when week signal.

Note:

*

*

*

Number Buttons

During radio status,


Number Buttons 

(from 1 to 6) 


can help you 

yo-

ur favorite station. You can follow the 
as below:

store 

steps 

Press and hold      

AMS

 button to receive 

stations automatically, and store them in 
1 to 6 number respectively.

23

During radio status, press 

Number Buttons 

to receive the stored stations. 

4

When receiving a station,press and hold
any one of the 

Number Buttons 

(from 1 to 6) 

until the number app-

ears on the 

LCD

, which indicates that 

station is already stored in the corresp-
onding number button.

Press and hold another number button 
more than 2 seconds when listening in 
a station in one number button s, the
station will be stored in that number 
button.

1

2

3


Press          in the monitor performs the same

  function.

Note:

*

5

Goto FREQ

2

Press      GOTO, and the monitor shows: 
FREQ, then press the Number to input the 
valid frequency, then the TV program will 
be played.

Note:

* It is only valid on remote control.

* It is only valid when GOTO FREQ is on in 

main menu. 

Scanning/Memorizing Stations 

Automatically

During radio status, briefly press      AMS 
button on the remote control to scan each 
stored 

 seconds respectively wh-

ich 

Number Buttons (from 1 

to  . You can press 

responding N-

umber Buttons or 

ton when your 

desired station is 

And it starts pl-

aying that station.

station 6

stored in      

6)

the cor

AMS but

charged. 

23

4

When press and hold      

AMS 

automatically memory storing 

The radio automatically selects 

and has it stored in any one of 

Number Buttons (from1 to 6)

.

button it 

will activate 
function. a 
station the


Note: 

*   

The unit can be stored up to 6 stations for

     each band. 

*  

 It is only valid on remote control.

4

23

On Screen Display

8

During radio status, press      OSD  to display 
the edition information. 

Summary of Contents for P9754

Page 1: ...13 P9754 P9754 02 2011...

Page 2: ...gnition key to ON or ACC The fuse has blown Replace with same amperatge fuse rate The disc cannot be loaded There is another disc inside the player Remove the disc from the player The device does not...

Page 3: ...nning Memorizing Stations Automatically 40 On Screen Display 40 Goto FREQ 40 Number Buttons 40 RDS Setup 41 41 41 41 Alternative Frequencies Traffic Alarm Program Type AUX AUX Touch Screen Menu 42 8 9...

Page 4: ...it to activate AF function 2 TA Press it to activate TAfunction 3 Press it to select PTY CODE 4 PTY Press it to activate PTY function 5 During PTY ON press this button to search the playing track s ty...

Page 5: ...radio status Number Buttons from 1 to 6 can help you yo ur favorite station You can follow the as below store steps Press and hold AMS button to receive stations automatically and store them in 1 to...

Page 6: ...local stations can be received DX LOC Selector During radio status press LOC button to select or weak station reception strong 5 The function is only valid on remote control The function is invalid in...

Page 7: ...tart program playing move the cursor to EXIT and press ENTER to exit the program playing Move the cursor to and press ENTER to the previous page move the cursor to and press ENTER to the next page Dur...

Page 8: ...RPT to 15 Pressing RPT on the main unit also performs the same function Note The default setting is Disc Repeat Press CLEAR to clear the mistake input 22 Number Buttons Press one of Number Buttons 0...

Page 9: ...e When SD card and USB were inserted into press this key again and again to switch among SD card USB and disc Press in the monitor to turn to mode switch MODE 01 18 CD 01 Track 02 Track 03 Track 04 Tr...

Page 10: ...show the current setup 30 25 TA LOUD traffic alarm loudness SETUP 19 F R F F 20 CLEAR 22 0 9 Number Buttons 23 Eject Button 24 18 Stop Playing 17 Pause Play AF EQ alternative frequency equalizer Butto...

Page 11: ...6KHz Frequency Response 05 DVD VCD MP4 Preferencespage DVDMenu Example showing howto set Disc Menu Language Press or thenpressENTER Press PreferencePage Go to language page Set theDVDmenulanguage TVTy...

Page 12: ...ress or thenpressENTER Press PreferencePage Go to language page SelecttheTVsystem TVType Audio Subtitles DVDMenu Parental ChangePSW Default Auto Eng Eng Eng PreferencePage TVType Audio Subtitles DVDMe...

Page 13: ...amic range compression Press Press or thenpressENTER DualMono Dynamic Dualmono DRCsetup Dynamic DeactivateDRC 1 4 1 2 3 4 DualMono Dualmono DRCSetup Dualmono DRCSetup Dualmono DRCSetup 6 p M5x5 p 7 In...

Page 14: ...pe AngleMark OSDLanguage Captions ScreenSaver Wide On Eng Off On GoToGeneralSetupPage GeneralSetupPage TVshape AngleMark OSDLanguage Captions ScreenSaver Wide On Eng Off On Set the Screen Saver On Off...

Page 15: ...TVshape AngleMark OSDLanguage Captions ScreenSaver Wide On Eng Off On Set the multi angle display On Off OSDLang Example showing howto set language mode Press Press or thenpressENTER GeneralSetupPage...

Page 16: ...f the disc that is inserted does not have the preferred option then the discs own prefer ence will be used Regarding SETUP MENU please refer to the following pages for more details Some functions vari...

Page 17: ...ursor to EXIT and press ENTER to exit the program playing Move the cursor to and press ENTER to the previous page move the cursor to and press ENTER to the next page During this process press to cance...

Page 18: ...le elapsed Total elapsed Total remain Single remain Display off Note Display off This function is operated by using the remote control Single elapsed Single remain During MP4 status press OSD button t...

Page 19: ...maining Display off DVD VCD MP4 During DVD VCD MP4 mode Press ZOOM to increase the picture in size There are sizes as follow Each pressing increases the size until the maximum size is reached 9 03 Com...

Page 20: ...k press toplayprevioustrack press toplay nexttrack DuringVCDplayback firstpress toreturntothebeginningofthecurrent track press againwithin3seconds toplayprevioustrack press toplay nexttrack 21 21 21 2...

Page 21: ...ed FAD level press EXIT to exit this menu Note Adjusting the other options perform the same operation You can adjust above items to ON or OFF press the corresponding button to set If one of them was s...

Page 22: ...Setup Press to display the menu follows press to display the previous one Setting REVERSE POLA in this menu The signal is 12V when you back a car please press BATTERY in the monitor if the signal is...

Reviews: