


Planar ContentSmart MP60 User Manual
20
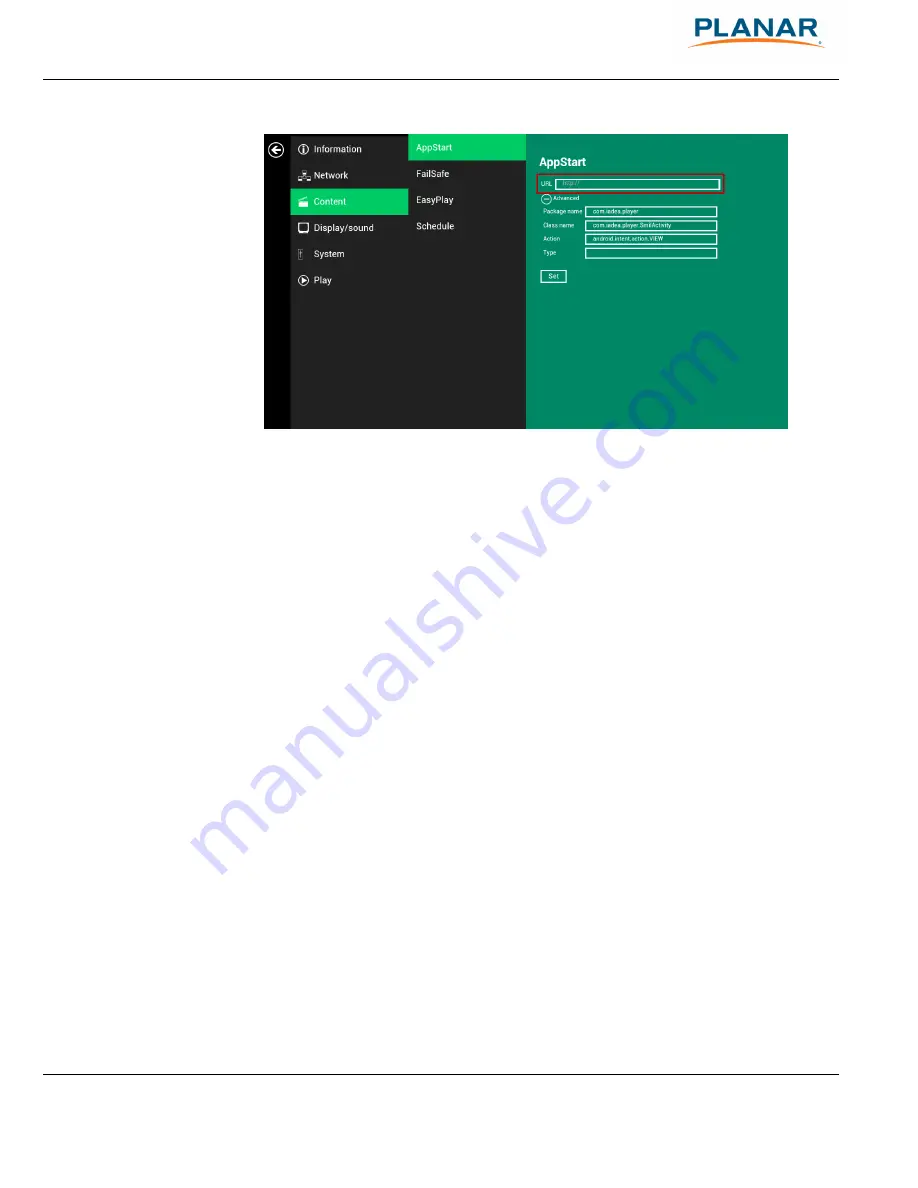
Figure 2.7.1
2.8
Content Configuration – FailSafe
Users can assign the URL and APP for execution while the system has failed to play the assigned
content.
1
Click
the
Advanced
button and the advanced configuration menu will be
launched. (Figure 2.6.1)
2
Click on
Content
, then click on FailSafe.
3
Enter the URL of HTML/SMIL in FailSafe.
4
The Advanced option is used for 3rd-party App configuration only.


