Pitney Bowes Scanning System
6
9b.
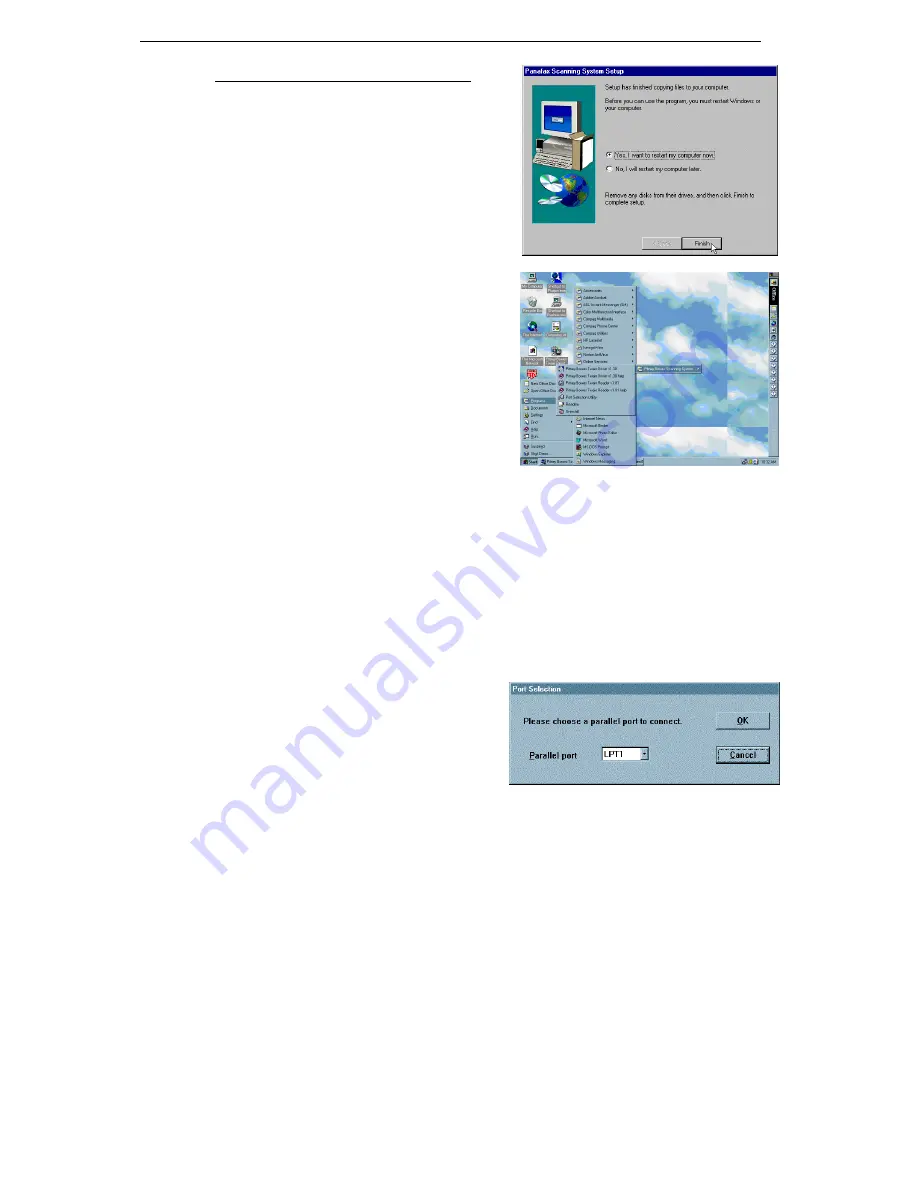
If you are installing on Windows NT 4.0
The Setup will prompt you to insert the
remaining installation disks. After the Setup
finishes installing the Pitney Bowes Scanning
System on your computer, it will prompt you to
Restart your computer to complete the
installation, select Restart Now or Later.
Click the
Finish
button.
10.
The Pitney Bowes Scanning System icon is
installed in the Start menu.
3.2. Changing the Port Assignment
The installation program selects LPT1 as the default printer port for the Pitney Bowes Twain
Scanning Driver. If your Pitney Bowes facsimile unit is connected to a different port, you will need
to re-configure the port assignment.
1.
Click the
Start
button, point to
Programs
,
Pitney Bowes
,
Pitney Bowes Scanning System
and then click on
Port Selection Utility.
Note:
The location of the program varies according to the destination folder selected during
the installation.
2.
The Port Selection dialog box appears.
Select the port where you have the Pitney
Bowes facsimile unit connected. (i.e. LPT1
port)
Click the
OK
button.


