Pitney Bowes Scanning System
4
2. System Requirements
2.1 Before You Begin
Microsoft
Windows
95, 98 or NT
4.0 is required to use the Pitney Bowes Scanner Driver. If
Microsoft Windows is not installed on your computer, please do so before proceeding with the
installation.
You should also be familiar with Microsoft Windows basic terminology such as
click, double-click,
choose, dialog box, window, open, close, scroll, minimize, group window, icon and select.
If you
are not, please refer to the Microsoft Windows User’s Guide.
You should also verify that following items are installed on your Pitney Bowes facsimile unit:
•
Parallel Port Interface
•
Your Computer and the Pitney Bowes facsimile unit are connected through a IEEE-1284
printer cable
2.2 System Requirements
To use the Pitney Bowes Scanner Driver for Windows, your system must meet the following
minimum requirements:
•
IBM
®
PC/AT or 100% compatible (Pentium
™
or better)
•
Microsoft
Windows 95, 98 or Windows NT
4.0
•
RAM: 16MB (32MB is recommended)
•
Hard Disk: At least 5MB free space (1st drive)
•
A 3.5” Floppy Disk Drive
•
An available Parallel Printer Port
•
A IEEE-1284 Parallel Interface Cable (provided)
3. Pitney Bowes Scanning Driver Installation
3.1 Installing the Twain Scanning Driver
The Pitney Bowes Scanning System includes a Setup Program.
To install the Pitney Bowes Scanning System software, please follow the steps below:
1.
Start Microsoft Windows 95 or 98.
If you are installing on Windows NT 4.0, log onto the computer/network with an account that
can add or change printer configurations (i.e. Administrator).
2.
Click the
Start
button, then click
Run
.
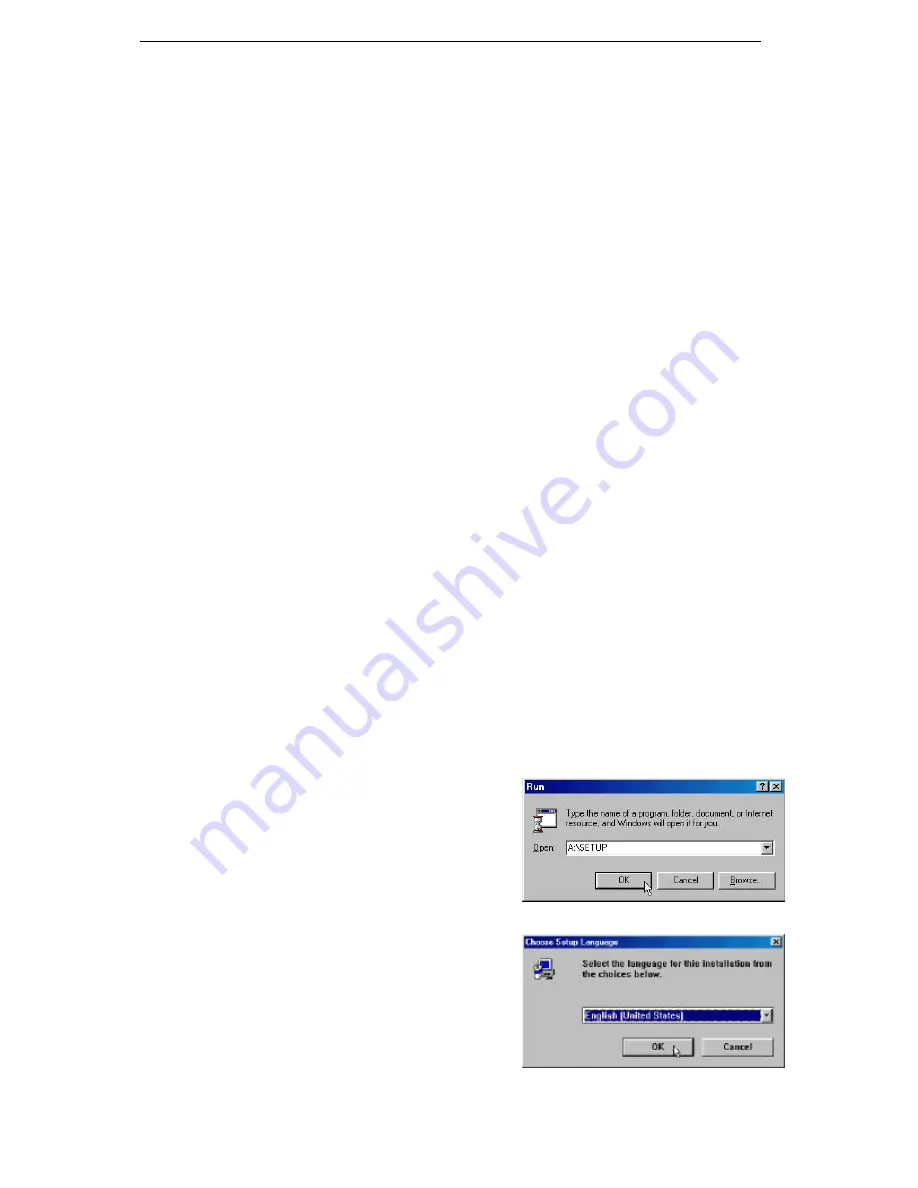
3.
The Run dialog box appears, instructing you to
type a name of the installing program.
Insert Disk 1 of the Pitney Bowes Scanning
System into the diskette drive. In the dialog box,
type:
A:\SETUP
Where “A:” is your floppy disk drive.
Click the
OK
button.
4.
If Setup can not identify the Windows language,
a Choose Setup Language dialog box appears.
(If Setup installer identifies the Windows
language, this dialog box does not appear.)
Choose the Setup Language.
Click the
OK
button.


