Recording
06
50
En
7
Press ENTER to set the end time.
8
Select ‘Yes’ to set the timer recording and exit, or
‘No’ to go back to the timer recording screen.
• You can check the timer recording details you just set
from the main timer recording screen (see
Standard
timer recording
below).
Note
• You can’t use VPS/PDC with Easy Timer Recording.
Use the standard or VIDEO Plus+ timer recording
methods if you want to use VPS/PDC.
Standard timer recording
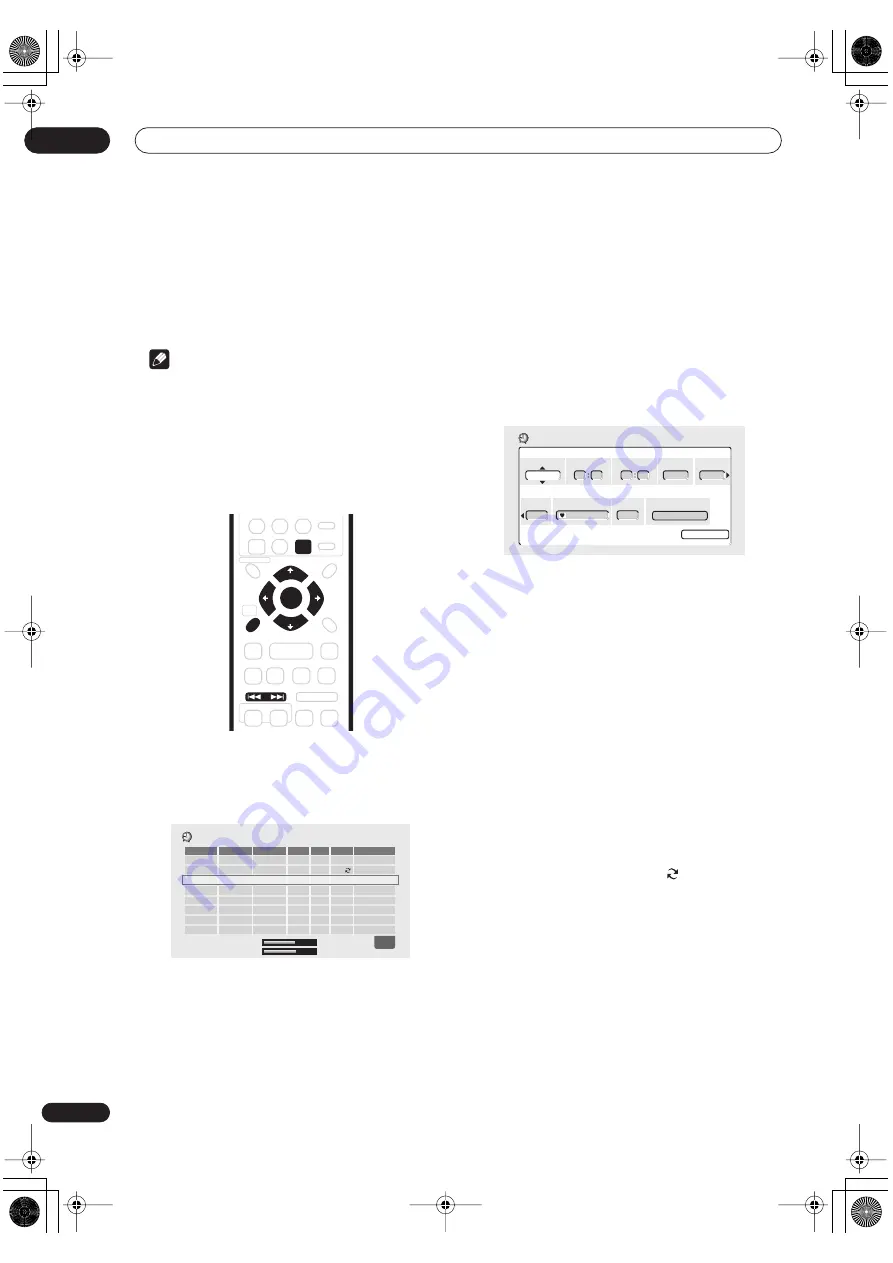
The timer recording screen you can see all the timer
programs already set, clear programs and set up new
ones.
1
Press HDD or DVD.
2
Press HOME MENU and select ‘Timer Recording’
then ‘Timer Recording (View)’.
This screen shows all the timer programs currently set.
• Each row is for one timer recording program, with the
date and time information, channel, recording mode,
DVD or HDD and the VPS/PDC setting.
• The amount of free space available on the HDD and
the currently loaded recordable DVD is shown
towards the bottom of the screen.
• In the lower-right corner, the number of timer
programs already set and the number that use VPS/
PDC, is shown next to
Tmr Pgms
.
• If there are more than eight timer programs already
set, press
NEXT
to switch page (go back using
the
PREV
button).
• You can also clear a timer program before it’s started
(before the recorder enters timer recording standby)
by highlighting it and pressing
CLEAR
.
3
Select ‘New Input’ to set a new timer program,
then press ENTER.
4
Enter the timer recording settings.
Use the
/
(cursor left/right) buttons to select a field;
use the
/
(cursor up/down) buttons to change the
value.
•
Date
– Choose a date up to one month in advance, or
select a daily or weekly program.
•
Start
– Set the recording start time.
•
Stop
– Set the recording end time (maximum length
of a timer recording is 24 hours for HDD recording or
six hours for DVD).
•
CH
– Choose a channel (1–99, excluding skip
channels), or one of the external inputs from which to
record.
•
Mode
– Select
FINE
,
SP
,
LP
,
EP
or
AUTO
(See
Recording time and picture quality
on page 45). If
Manual Recording is on, then you can also select the
MN
setting—see
Manual Recording
on page 110.
•
Rec to
– Select
HDD
for hard disk recording or
DVD
for DVD recording. Select
HDD
for Auto Replace
Recording (daily or weekly timer recording only).
•
Group
– Select a record group (for HDD recording
only).
•
VPS/PDC
– The VPS/PDC system automatically
adjusts the recording time so that even if a program
is not running to schedule you won’t miss it. For VPS/
PDC to work properly, you must input the correct
announced time and date of the program you want to
record. Up to eight timer recordings can be set with
VPS/PDC on.
Note that VPS/PDC may not work with every station
and that Optimized Recording will not work if VPS/
PDC is on.
ST +
ST –
TUNE +
TUNE –
HOME
MENU
ENTER
CLEAR
PREV
NEXT
MON 13/12 7:00 8:00 Pr 3 FINE HDD Off
EVERY TUE 9:00 10:00 Pr 5 FINE HDD On
New Input
Date Start Stop CH Mode Rec to VPS/PDC
1/1
Timer Recording
HDD Remain
10h20m(FINE)
DVD Remain
0h43m(FINE)
VPS/PDC
Date Start Stop CH Rec Mode
12/12 SUN 10 00 -- -- Pr 7 SP
OFF
Timer Recording
Program Set
Ttl Name Input
Rec to Group
HDD
GROUP 1
PT-RW_UK.book 50 ページ 2004年7月26日 月曜日 午後3時41分


