The system and the other setup
11
94
En
4
Specify whether your subwoofer is THX Select2
certified or not.
If you
r
subwoofe
r
isn’t THX Select2 ce
r
tified, but you still
want to switch bounda
r
y gain com
p
ensation on, select
YES
he
r
e, but the effect might not wo
r
k
pr
o
p
e
r
ly.
5
Select either ON or OFF for Boundary Gain
Compensation (BGC) setting.
6
When you’re finished, press RETURN.
You will
r
etu
r
n to the
Manual SP Setup
menu.
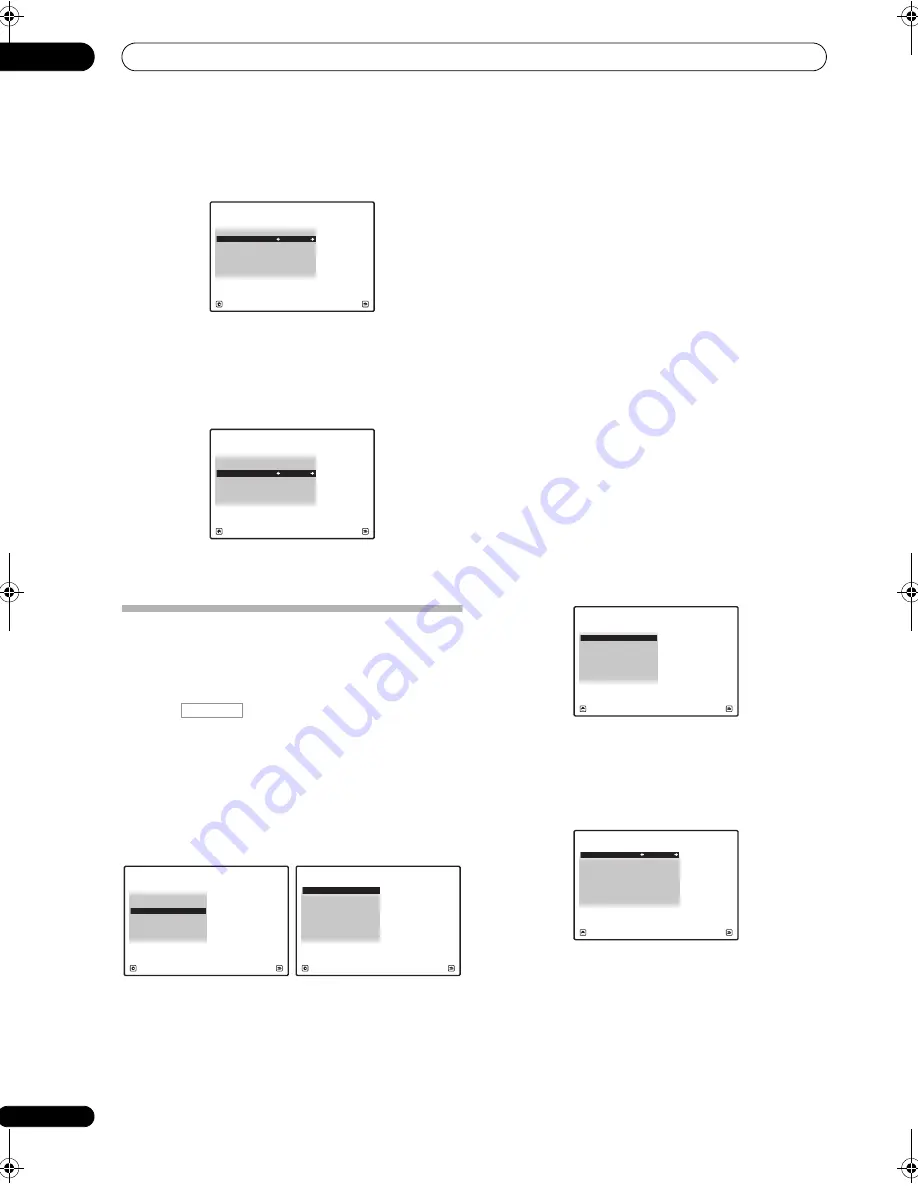
The Other Setup menu
The
Other Setup
menu is whe
r
e you can make
customized settings to
r
eflect how you a
r
e using the
r
eceive
r
.
1
Press
on the remote control, then press
HOME MENU.
A G
r
a
p
hical Use
r
Inte
r
face (GUI) sc
r
een a
pp
ea
r
s on you
r
TV. Use
///
and
ENTER
to navigate th
r
ough the
sc
r
eens and select menu items. P
r
ess
RETURN
to
confi
r
m and exit the cu
rr
ent menu.
2
Select ‘System Setup’ from the HOME MENU.
3
Select ‘Other Setup’, then press ENTER.
4
Select the setting you want to adjust.
If you a
r
e doing this fo
r
the fi
r
st time, you may want to
adjust these settings in o
r
de
r
:
•
KURO LINK Setup
– Synch
r
onizes this
r
eceive
r
with
you
r
Pionee
r
com
p
onent su
pp
o
r
ting KURO LINK (see
KURO LINK Setup
on
p
age 64).
•
Multi Ch In Setup
– S
p
ecifies the o
p
tional settings fo
r
a multi-channel in
p
ut (
p
age 94).
•
ZONE Audio Setup
– S
p
ecifies the volume setting
fo
r
a MULTI-ZONE setu
p
(
p
age 95).
•
Power ON Level Setup
– S
p
ecifies the volume level
set when the
p
owe
r
is tu
r
ned on (
p
age 95).
•
Volume Limit Setup
– Limits the maximum volume
(
p
age 95).
•
Remote Control Mode Setup
– Sets this
r
eceive
r
’s
r
emote cont
r
ol mode (
p
age 96).
•
Flicker Reduction
– Adjusts the way the GUI sc
r
een
looks (
p
age 96).
5
Make the adjustments necessary for each setting,
pressing RETURN to confirm after each screen.
Multi Channel Input Setup
You can adjust the level of the subwoofe
r
fo
r
a multi-
channel in
p
ut. Also, when the multi-channel in
p
ut is
selected as an in
p
ut function, you can dis
p
lay the video
images of othe
r
in
p
ut functions. In the Multi Channel
In
p
ut Setu
p
, you can assign a video in
p
ut to the multi-
channel in
p
ut.
1
Select ‘Multi Ch In Setup’ from the Other Setup
menu.
2
Select the ‘SW Input Gain’ setting you want.
•
0dB
– Out
p
uts sound of the subwoofe
r
at the level
o
r
iginally
r
eco
r
ded on the sou
r
ce.
•
+10dB
– Out
p
uts sound of the subwoofe
r
at the level
inc
r
eased by 10 dB.
A/V RECEIVER
Exit
Finish
4a6.THX Audio Setting
Loudness Plus
:
ON
SB SP Position
:
4 ft<
BGC :
OFF
THX Select2 SW :
YES
Loudness Plus
:
ON
SB SP Position
:
4 ft<
BGC :
OFF
THX Select2 SW :
YES
A/V RECEIVER
Exit
Finish
4a6.THX Audio Setting
RECEIVER
A/V RECEIVER
Exit
Return
a.Manual SP Setup
b. Input Setup
c. OSD Language
d. Other Setup
4.SystemSetup
2. Multi Ch In Setup
3. ZONE Audio Setup
4. Power ON Level Setup
5. Volume Limit Setup
6. Remote Control Mode Setup
7. Flicker Reduction Setup
1. KURO LINK Setup
4d.Other Setup
A/V RECEIVER
Exit
Return
4d.Other Setup
A/V RECEIVER
Exit
Return
3. ZONE Audio Setup
4. Power ON Level Setup
5. Volume Limit Setup
6. Remote Control Mode Setup
7. Flicker Reduction Setup
2. Multi Ch In Setup
1. KURO LINK Setup
4d2.Multi Ch In Setup
A/V RECEIVER
Exit
Finish
SW Input Gain
:
0dB
Video Input
:
DVD
VSX-23TXH_CUXJ.book 94 ページ 2009年5月8日 金曜日 午前10時45分


