


Setting Up the Player
20
En
The
[OSD Language]
screen establishes the OSD language, or on-
screen display language, which refers to the language that is used by
the player in menus and on-screen messages. Additionally, the
language that is established at this setting will also be used for the
default audio and subtitle language.
Settings:
English (Factory setting)
français
Español
Note
In addition to setting the
[OSD Language]
, the audio and subtitle language
are also set at this time. If you wish to change the audio or subtitle
language to a different language, make changes in the Setup screen
Language
menu
[Audio Language]
and
[Subtitle Language]
as needed
(
page 40
).
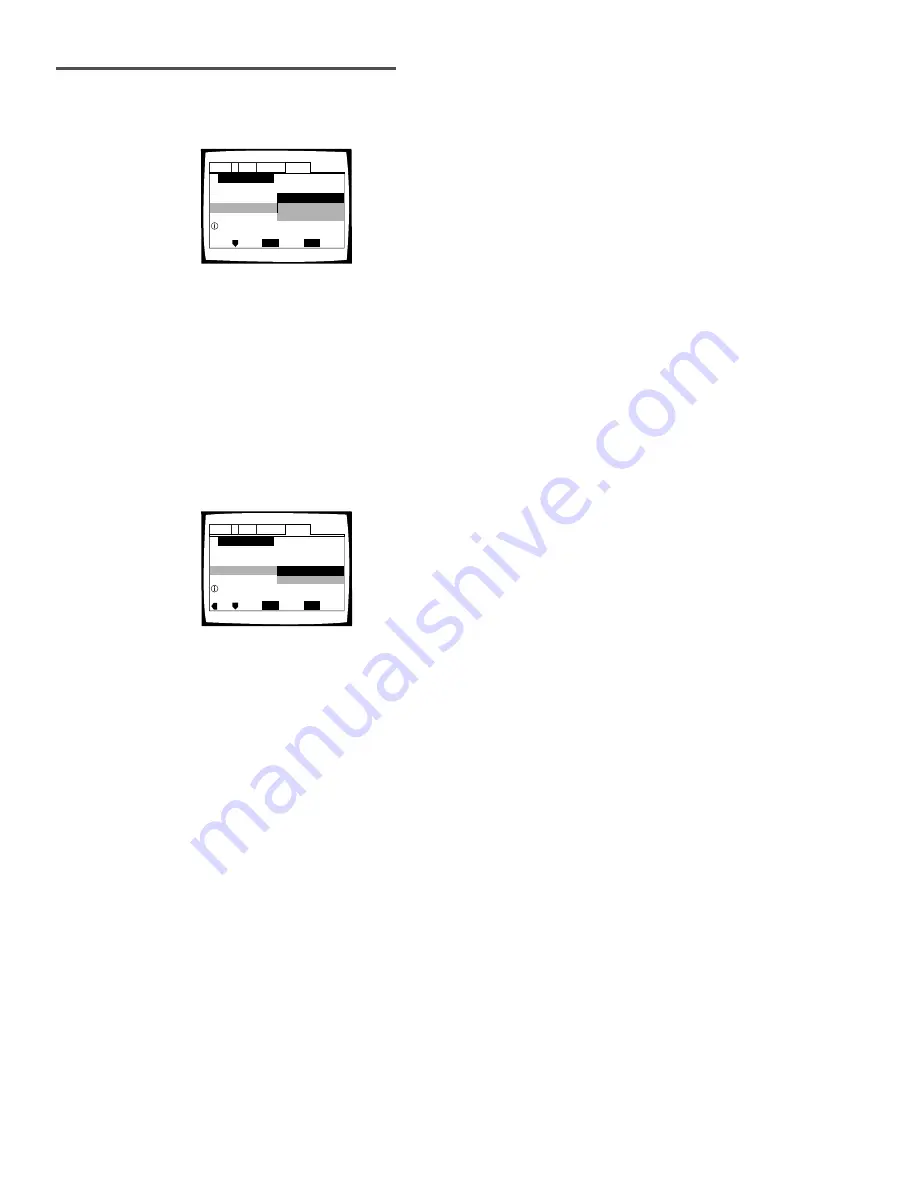
Setup Navigator
Audio1
General
Language
Video
2
Move
Exit
SETUP
Select
ENTER
Widescreen TV
16:9 aspect ratio
TV Type
Standard (4:3)
Widescreen (16:9)
TV Connection
Setting the OSD Language (On-Screen Display Language)
Setting the TV screen size
The
[TV Type]
screen establishes the size, or more appropriately the
width to height ration of your television or monitor. The width-to-height
ratio of conventional TVs is 4:3, while the width-to-height ratio of wide
screen and high-definition TVs is 16:9. This width-to-height ratio is
called the aspect ratio.
Settings:
Widescreen (16:9) (Factory setting)
Standard (4:3)
Note
There are two screen formats that can be used to display
wide-screen format DVDs: letter box and pan & scan. When
“Standard
(4:3)”
is selected in the Setup Navigator, the letter box screen format is
automatically selected. To switch the preference to the pan & scan format,
make changes in the Setup screen
Video
menu
[TV Screen]
setting (
page
36
).
Setup Navigator
Audio1
General
Language
Video
2
Move
Exit
SETUP
Select
ENTER
Setup player's OSD language
OSD Language
Español
français
English
Language


