


—
AV2
(Video) and
EXT1
(Video),
EXT2
(Video)
—
Rear view camera image
—
Map screen
p
The picture adjustment may not be avail-
able with some rear view cameras.
p
Because of the LCD screen characteristics,
you may not be able to adjust the screen at
low temperatures.
3
Touch [+] or [
–
] to adjust the desired
item.
Each touch of [
+
] or [
–
] increases or decreases
the level of the desired item.
4
Touch
to return to the previous
screen.
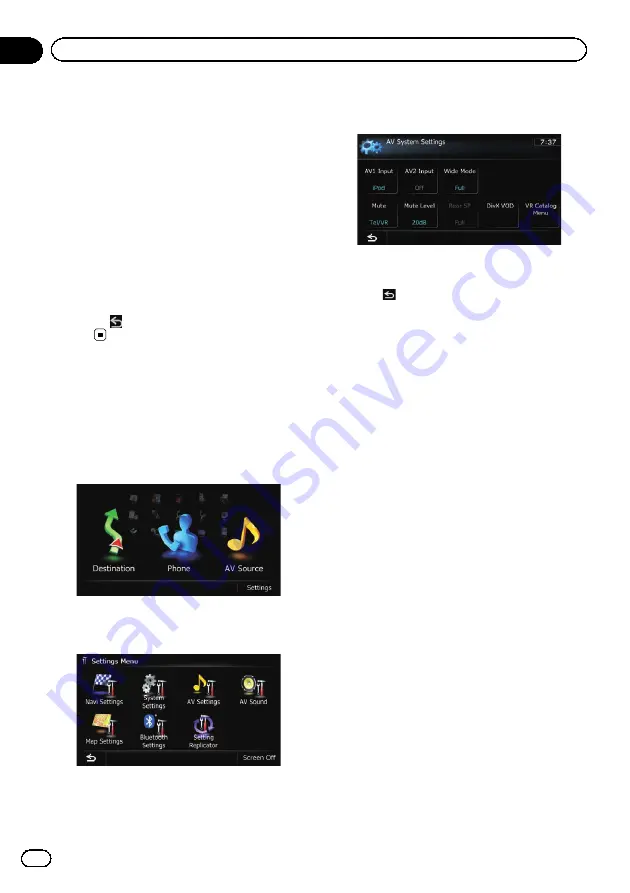
Displaying the
“
AV System
Settings
”
screen
1
Press the HOME button to display the
“
Top Menu
”
screen.
2
Touch [Settings].
The
“
Settings Menu
”
screen appears.
3
Touch [AV Settings].
The
“
AV System Settings
”
menu appears.
4
Touch the item that you want to
change the setting.
p
You can only adjust
“
Wide Mode
”
when se-
lecting an AV source with video.
#
Touch
.
The previous screen returns.
Setting video input 1 (
AV1
)
You can switch this setting according to the
connected component.
p
This setting applies to mini-jack input.
1
Display the
“
AV System Settings
”
screen.
=
For details, refer to
2
Touch [AV1 Input].
Each touch of [
AV1 Input
] changes the set-
ting as follows:
!
iPod
: iPod connected with the USB Inter-
face cable for iPod (CD-IU50V)
!
Video
: External video component
!
Off
: No video component is connected.
p
Use
AV1 Input
when connecting CD-IU50V
(sold separately) through the external video
component.
Setting video input 2 (
AV2
)
You can switch this setting according to the
connected component.
p
This setting applies to RCA inputs
(AUDIO INPUT and VIDEO INPUT) on the
back of the system.
En
168
Chapter
31
Customizing preferences
Summary of Contents for AVIC Z120BT
Page 21: ...En 21 Chapter 02 Basic operation Basic operation ...
Page 225: ...En 225 ...
Page 226: ...En 226 ...
Page 227: ...En 227 ...


