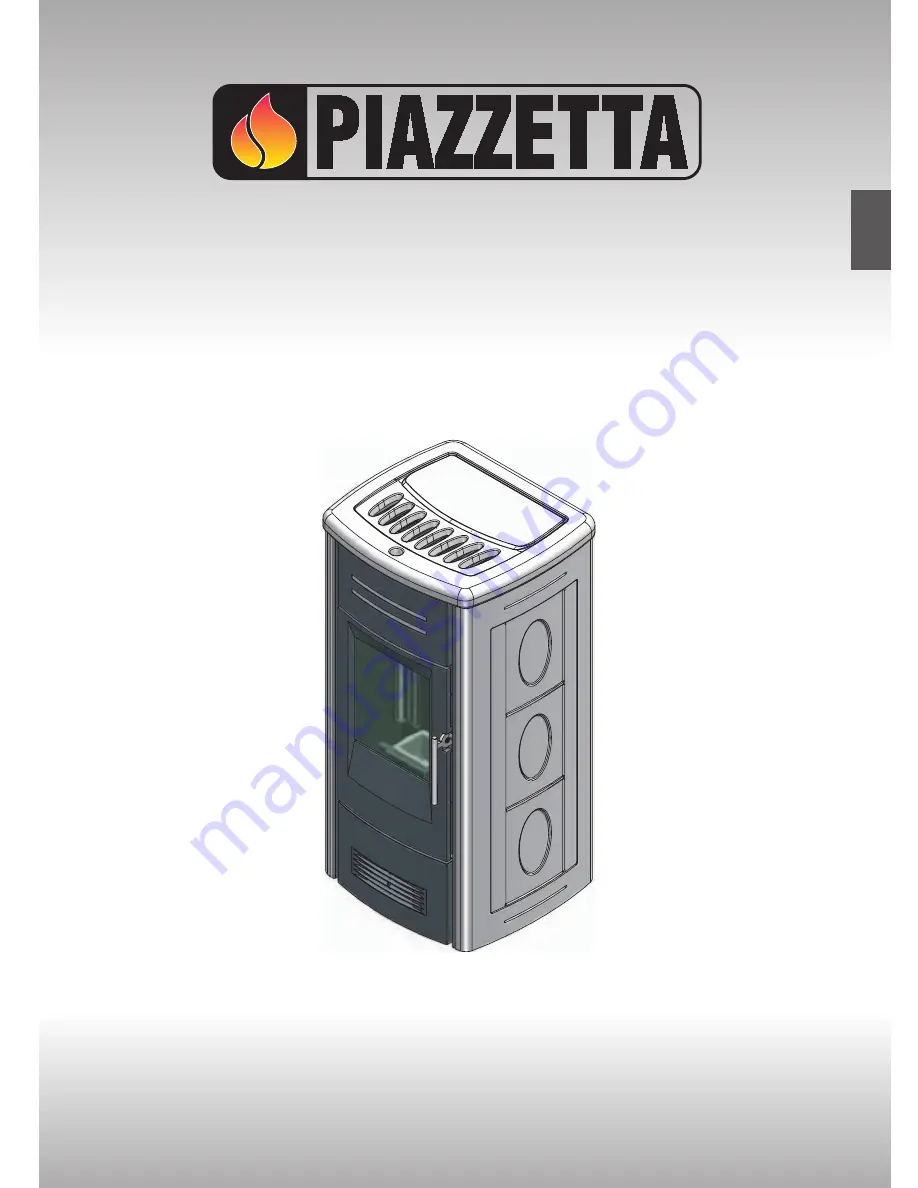
Pellet Stove
P958
INSTRUCTIONS FOR INSTALLATION,
USE AND MAINTENANCE
The instruction manual is an integral part of the product.
English
Page 1: ...Pellet Stove P958 INSTRUCTIONS FOR INSTALLATION USE AND MAINTENANCE The instruction manual is an integral part of the product English...
Page 2: ...y an expert to the flueway The plug at the end of the power cable must be easily accessible after installation Use only recommended wood pellets in the pellet stove refer to section entitled FUEL See...
Page 3: ...6 7 Setting the language 30 6 8 Programming 31 6 9 Programming the clock 32 6 10 Timer 33 6 11 Multicomfort 39 6 12 Energy Saving 39 6 13 Parameter menu 41 6 14 Enable beep audio signal 43 6 15 Stove...
Page 4: ...ven below CAPACITY LOAD OF THE FLOOR MINIMUM SAFETY DISTANCES FRESH AIR INTAKE SOOT INSPECTION APERTURE CONNECTION TO FLUE SINGLE FLUEWAY OR CHIMNEY CHIMNEY STACK END ELBOW WITH INSPECTION WINDOW Fig...
Page 5: ...least 20mm and a maximum ratio between the sides of 1 5 Fig 3 4 5 the walls must be smooth if possible and without narrowing bends must be regular and without discontinuity Fig 6 d d It is forbidden...
Page 6: ...om any buildings or other obstacles that are higher than the chimney stack 50 centimetres higher than any obstacles located at a distance less than 5 metres outside the reflux area The size and shape...
Page 7: ...acent rooms used as a garage or a combustible materials store or for activities posing a fire hazard The appliance should be installed in a location which allows safe and convenient use as well as eas...
Page 8: ...on the degree of insulation of the building that is on internal and external factors of the dwelling Internal factors type of window and door frames thickness of the insulation and walls type of buil...
Page 9: ...indicated above be left all round the stove to make any necessary work on the appliance easier DT2011553 02 1 8 Minimum safety distances Heat radiation area Rear wall Side wall Side wall B B A D C ST...
Page 10: ...tre of pipe An inspectable union tee can be considered equivalent to a 90 bend EXAMPLE if installing a section greater than 4 5 m in length with 80 mm diameter pipe calculate the maximum usable length...
Page 11: ...used according to specifications If the connector has to pass through partitions or walls of inflammable or heat sensitive materials or through load bearing walls create an insulating barrier equal t...
Page 12: ...eiling special installation methods must be applied protection thermal insulation distances from heat sensitive materials etc See the paragraph CONNECTING TO A CONVENTIONAL CHIMNEY It is also recommen...
Page 13: ...ontains 20 cl water Data obtained under laboratory conditions with pellets of heat production rated at 5 kwh kg N B The above data may vary according to the characteristics of the pellets being used S...
Page 14: ...ntified by a rating plate showing the model and the performance of the appliance as well as a plate giving the serial number The rating plate is located on the rear panel of the stove while the plate...
Page 15: ...DT2032837 00 2 5 Dimensional diagram P958 101 6 18 51 49 Outlet 8 7 H07026300 DT2000786 00 15 English Dimensions in cm...
Page 16: ...y to parts A Emergency display M Power supply with fuse 5X20 4AH250V B Antenna N Smoke sensor C Room fan O Room sensor D Pellet loading auger P External thermostat connection E Flue gas fan Q Serial p...
Page 17: ...the position according to the directions shown by the diagrams and notices on the pack if ropes straps or chains are used ensure that they are able to take the weight of the pack and that they are in...
Page 18: ...ted with an adjustable flap To direct the outflow of hot air as required adjust the angle of the flap by pressing on the part of it that projects Fig 27 Instructions for ducting the hot air The fan ki...
Page 19: ...e heating of a second room A 7 5 cm hose with a maximum length of 16 metres is connected to the fan outlet Fig 30 a a For the example shown in fig 30 with single duct the outlet vent must be partially...
Page 20: ...within the walls it must be fixed to the surface with suitable fastenings at intervals of 30 cm A few examples of how the hose can be installed in walls or floors are given to the side Hot air outlet...
Page 21: ...t included in the package To connect the thermostat use a 2x0 5 mm2 cable secured with a PG7 cable gland to be inserted in the relative hole in the rear panel Fig 42 Only authorised personnel should c...
Page 22: ...branch of the Y element with the arrow Fig 46 49 fasten the 10 cm piece of hose onto the Y element at the fan outlet using the clips provided in the kit Fig 47 49 fit a piece of hose onto the remainin...
Page 23: ...contact with any hot surfaces To load the pellets into the hopper it is advisable to tear off the edge of the sack and empty the sack directly into the hopper This makes filling easier and avoids pour...
Page 24: ...s that the timer is engaged 19 DISPLAY SAFETY Symbol appears when the safety system is activated 20 DISPLAY FLAT BATTERY Shows that the battery is flat or running down Before lighting the stove for th...
Page 25: ...CONTROL first 20 seconds The lighter glow plug activates C O N T R O L 1 2 0 0 2 2 c S T A R T P H A S E I 1 2 0 0 2 2 c S T A R T P H A S E I I 1 2 0 0 2 2 c 1 1 1 START PHASE I The extractor fan sta...
Page 26: ...X V E N T 0 2 4 C O 1 8 8 c 1 Press the TEMPERATURE key and L E V E L P 2 1 2 0 0 2 2 c S E T P O W E R P 3 S E T V E N T 1 0 2 1 1 1 select L E V E L P 2 1 2 0 0 2 2 c S E T P O W E R P 3 S E T V E N...
Page 27: ...m thermostat connected to the electronic board To connect the thermostat see INSTALLING THE EXTERNAL ROOM THERMOSTAT Press the TEMPERATURE key and S E T T E M P R O O M 7 c 1 select S E T T E M P R O...
Page 28: ...ignition cycle see the table LOAD AUGER in the section PARAMETERS MENU Repeat the ignition process as described above C L E A N I N G B R A Z I E R 1 2 0 0 2 2 c 1 a a Do not empty the contents of the...
Page 29: ...Blackout without timer thermostat settings When the electricity supply is restored the appliance restarts automatically The grate cleaning phase activates The fan operates at full speed to allow the s...
Page 30: ...ease the power setting You can choose between the two available settings P1 P3 The Multifuoco fan has a default setting for each of the two power settings 4 INCREASE POWER Led The LED lights up when t...
Page 31: ...educe consumption In a blackout and therefore with no reception by the stove the display goes dark after about 20 seconds SET OPT ESC MENU Remote control MENU SELECT LANGUAGE SET CLOCK DAY MONDAY DAY...
Page 32: ...O U R S C L O C K 1 2 M I N U T E S C L O C K 0 1 1 1 1 1 Set the minutes Press the SELECT MENU key and set the minutes Confirm by pressing the SET key After confirmation the initial display will reap...
Page 33: ...user to programme the stove to start up and shut down automatically without any manual intervention Daily weekly and weekend programmes can be selected with a maximum of two operating cycles in two s...
Page 34: ...e desired room temperature for example you want a room temperature of 25 C Confirm by pressing the SET key When the desired temperature has been reached the stove automatically reverts to power settin...
Page 35: ...key S E T C H R O N O P R O G R A M W E E K E N A B L E W E E K O F F S T A R T W P R O G R A M 1 0 6 0 0 S T O P W P R O G R A M 1 0 9 0 0 S T O P W P R O G R A M 1 O F F S U O N 7 1 1 1 1 1 1 D A Y...
Page 36: ...R 1 0 1 S E T T E M P R O O M 2 5 c S E T W V E N T 1 0 1 S E T W P R O G R A M 2 2 0 3 0 1 1 1 1 1 1 1 1 1 1 D A Y S W L I T 1 Set desired Multifuoco fan speed for first operating cycle Press SELECT...
Page 37: ...I T 1 S U O N 7 S V 0 S P 1 1 1 1 1 1 1 1 Set shutdown time for 1st operating cycle Press SELECT MENU to set the shutdown time advancing in ten minute jumps for example you want to stove to shut down...
Page 38: ...peed for example you want fan speed setting 1 Confirm by pressing the SET key S E T C H R O N O P R O G R A M W E E K E N D E N A B L E W E E K E N D O F F S T A R T W E P R O G R A M 1 0 6 0 0 2 0 3...
Page 39: ...from the remote control or SELECT STOVE to read the room temperature from the stove Confirm by pressing the SET key After confirmation the readout FUNCTION ENABLED will appear on the display and the...
Page 40: ...E R G Y S A V I N G S T O P 1 c S T A R T O F F E N S P 2 L E V E L 1 2 0 0 2 2 c 1 1 1 1 E N E R G Y S A V I N G O K 1 2 0 0 2 2 c 1 Select the value to be set for shutdown temperature Press the SELE...
Page 41: ...y use the SELECT MENU key to select the PARAMETER MENU and confirm by pressing the SET key M E N U P A R A M E T E R L O A D I N G A U G E R 1 2 0 0 2 2 W A I T I N G c A U G E R L O A D E D 1 1 1 1 S...
Page 42: ...0 N O L I T M E M A L 1 1 1 1 1 1 1 Selection of partial hours The readout HOURS PARTIAL appears in the central part of the display and the number of partial hours of operation on the bottom line Pres...
Page 43: ...T E S T O V E P U L 0 2 4 C O 0 9 5 2 6 c c 1 1 DT2040071 05 ENABLE BEEP audio signal Function Action Display Select enable beep menu Press the MENU key Using the SELECT MENU key select the ENABLE BE...
Page 44: ...co System will be explained in general and conceptual terms below In order to adjust the fan to suit the chosen ducting solution three Multifuoco System speed settings have been pre programmed which a...
Page 45: ...etected The warning buzzer activates after approx 60 seconds if set S A F E T Y S M O K E S A F E T Y S M O K E 1 1 1 2 0 0 2 2 c 1 2 0 0 2 2 c Shut down the stove by holding the ON OFF key down for s...
Page 46: ...appears on the display This means that the sensor has been momentarily disconnected or accidentally dislodged or the connector has not been positioned correctly on the PCB After approx 60 seconds the...
Page 47: ...rtiliser for plants or in the garden albeit not exceeding 2 6 kg per 10m2 annually a a The ashes should be placed in a metal container with a sealed cover The sealed container should be placed on a no...
Page 48: ...ny clogged holes using a sharp pointed tool make sure the ignition hole located on the left side of the grate is kept clean check the grate support and remove any ash a a After cleaning and before lig...
Page 49: ...inside the smoke chamber on the left side leading to the device for measuring the vacuum for dust and ash and clean if necessary after thorough cleaning change the gasket and replace the smoke chambe...
Page 50: ...egreasing agents and not corrosive substances such as solvents Although it is likely that tar will build up on the glass during the lighting stage it will burn off with the stove in full operation If...
Page 51: ...k of explosion The old batteries must be disposed of properly in compliance with the applicable laws in force T E S T H W 4 I N I Z I A L E V E R 4 O F F 0 9 5 3 2 0 C 1 Fig 66 DT2010218 00 A Fig 67 F...
Page 52: ...orm This is a natural process which does not affect the efficiency and quality of the product Clean the flue thoroughly contact a professional chimneysweep for this purpose clean by removing all dust...
Page 53: ...UBLESHOOTING The control panel display is not lit The appliance is not powered Check that the power cable is plugged into the wall socket and connected to the appliance Faulty power cable Replace the...
Page 54: ...s NO ACC stove status Empty hopper Fill the hopper Grate requires cleaning Clean the grate see section 7 1 Faulty glow plug igniter Replace glow plug use only original spares Faulty electronic board R...
Page 55: ...smoke sensor or the ambient and the electronic board Check correct insertion position of the connector see wiring diagram Faulty electronic board Replace the electronic board use only original spares...
Page 56: ...d and replace with a similar one Motherboard fuse type F4AL250V Fuse on the IEC power socket Draw out the fuse carrier and replace the fuse with the spare to be found inside the small drawer Type F4AH...
Page 57: ...ctromagnetic Compatibility 99 5 EEC Directive Radio Equipment Directive and subsequent amendments e che sono state applicate tutte le norme e o specifiche tecniche di seguito indicate and that all the...
Page 58: ...i is in accordance with the following Directives 89 106 EEC Directive Construction Products 2006 95 EEC Directive Low Voltage Directive 2004 108 EEC Directive Electromagnetic Compatibility 99 5 EEC Di...
Page 59: ...wood or other solid biofuels Installation requirements UNI 10847 Single flue systems for liquid and solid fuel generators Maintenance and inspection Guidelines and procedures UNI 7129 Gas installatio...
Page 60: ...ax 39 042355178 www piazzetta it e mail infopiazzetta piazzetta it UK Product serial number to be quoted when requesting service from the Gruppo Piazzetta After Sales Service Centre Gruppo Piazzetta S...