17
ENGLISH
5.2 Deleting a device
You can delete a programmed device from your
universal remote for iPod™.
To delete a device:
1. Select the option “Delete a Device” in
the set-up
MENU
by using the cursor keys
Press
OK
.
2. Select the device you want to delete from
the list. Press
OK
.
3. Confirm you want to delete that device by
selecting “Yes”. Press
OK
.
The device is now deleted and becomes
available again in the list of devices you
can add.
4. To return to the Set-up menu, select “Exit”.
Press
OK
.
D
Note
Keys of the deleted device that are used
elsewhere, e.g. in an activity or the volume keys
you copied, will be deleted as well. Check the
activities you programmed and volume keys for
your devices and reprogram them, if necessary.
5.3 Fixing a Key
If a hard key is not working properly with your
device, you can fix the key by learning it from
your original remote control. Your universal
remote for iPod™ can store up to 200 learned
keys. You can fix all keys on your universal
remote for iPod™ except the
MODE
key, the
MAIN VOL
key and
IPOD™ LAUNCH
key.
To fix a key:
1. Select the option “Fix a Key” in the Set-up
menu by using the cursor keys. Press
OK
.
2. Select the device for which you want to fix
a key. Press
OK
.
3. Confirm you have a working original
remote control available to learn from by
selecting “Yes”. Press
OK
.
D
Note
If your universal remote for iPod™ has already
learned 200 keys, a screen will alert you that the
memory is full and automatically return you to
the Set-up menu. You will have to delete a device
with fixed keys to clear memory.
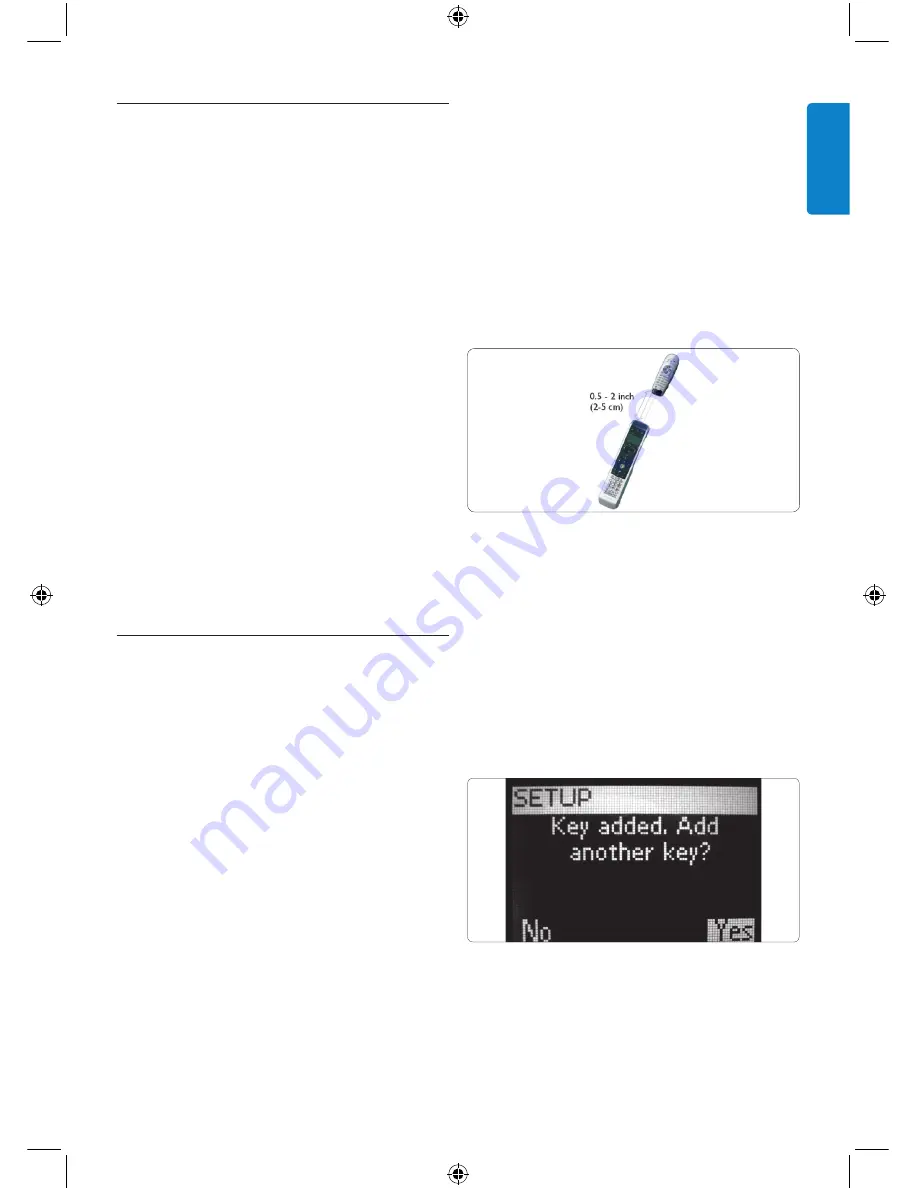
4. Follow the on-screen instructions to fix
the key: Point the 2 remotes towards each
other at a distance of 0.5 - 2 inches
(2-5 cm).
5. Select the hard key or extra function you
want to fix on your universal remote for
iPod™. To select an extra function press
MAIN VOL
. Select the function with the
Cursor Up or Cursor Down key. Press
OK
.
6. Press the corresponding key on the
original remote until you see confirmation
on-screen.
After the key is learned and fixed. The following
screen appears:
7. When you would like to fix other keys for
this device, select “Yes”. Press
OK
.
Repeat step 3.
Use more of your Universal
SJM315Final.indb 17
8/14/07 4:10:31 PM


