background image

4. Advanced operation

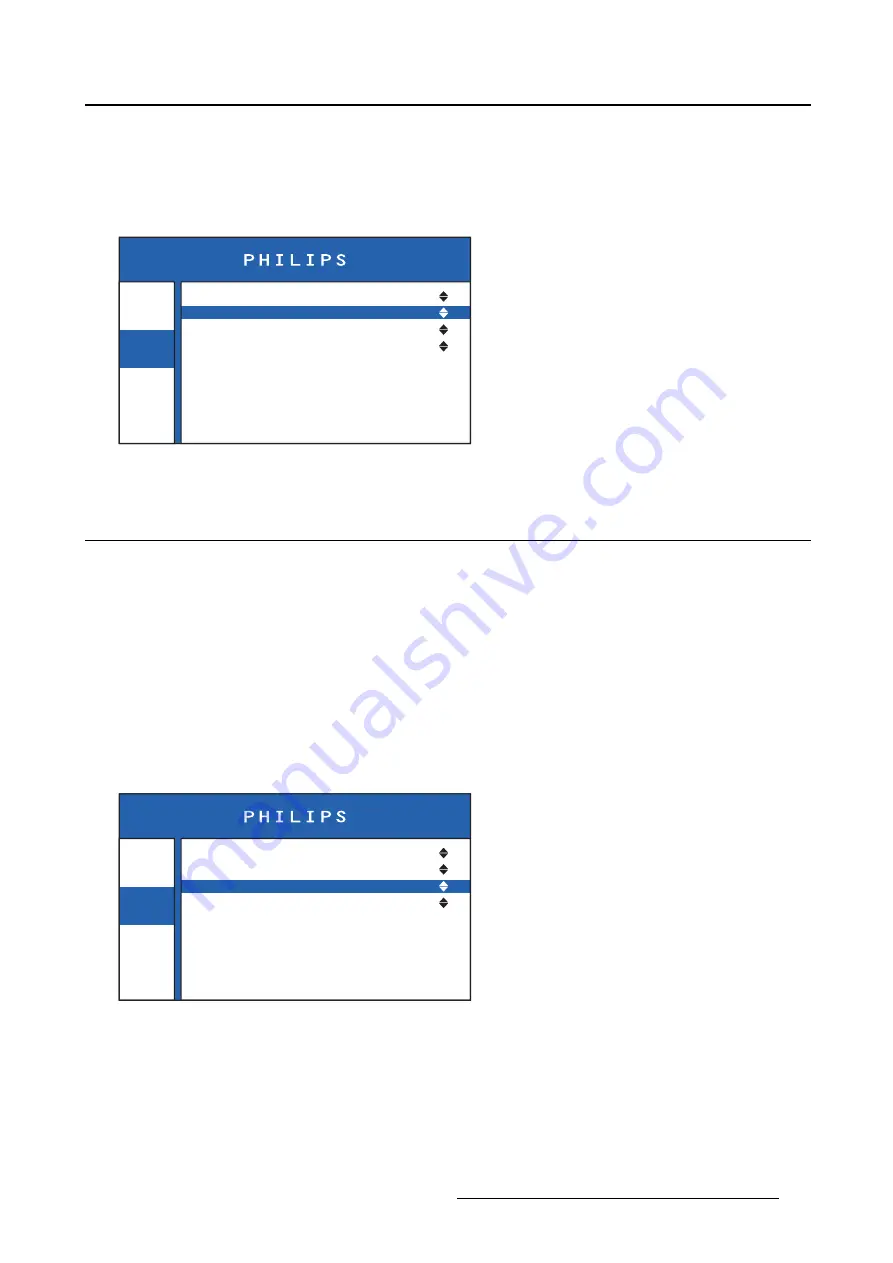
To adjust the aspect ratio

1. Bring up the OSD main menu.

2. Navigate to the

Image

>

Aspect ratio

menu.

3. Select one of the available aspect ratios.

Info

Image

Settings

Source

Aspect Ratio

Color Temperature

Display Function

DVI2

Full Screen

Calibrated

Native

Image 4-4

4.4

Color temperature

About color temperature

This setting allows you to modify the monitor white point, used as reference for all other colors to be
displayed. The available color temperature settings for your monitor are:

Native

: The native, unmodi

fi

ed color temperature of the LCD panel.

Calibrated

: Corresponds to a color temperature of 6800 Kelvin (D68).

To select a color temperature

1. Bring up the OSD main menu.

2. Navigate to the

Image

>

Color Temperature

menu.

3. Select one of the available color temperature settings.

Info

Image

Settings

Source

Aspect Ratio

Color Temperature

Display Function

DVI2

Full Screen

Calibrated

Native

Image 4-5

K5902101 (451920611531) PS27FHDER 21/05/2015

13

Summary of Contents for PS27FHDER

Page 1: ...User Guide 27 FHD Color LCD Monitor PS27FHDER ...

Page 2: ...Barco NV President Kennedypark 35 8500 Kortrijk Belgium Phone 32 56 23 32 11 Fax 32 56 26 22 62 Support www barco com en support Visit us at the web www barco com Printed in Italy ...

Page 3: ...o 12 4 4 Color temperature 13 4 5 Display function 14 4 6 OSD menu position 14 4 7 OSD menu time out 15 4 8 OSD lock 15 4 9 Factory reset 16 4 10 Power over DVI 17 4 11 5 VDC power output 18 5 Cleaning your display 19 5 1 Cleaning instructions 19 6 Important information 21 6 1 Safety information 21 6 2 Environmental information 23 6 3 Biological hazard and returns 24 6 4 Regulatory information 25 ...

Page 4: ...Table of contents 2 K5902101 451920611531 PS27FHDER 21 05 2015 ...

Page 5: ...se considered accidentally touchable by the patient for a time 1 minute The maximum temperature of these parts don t exceed 55 C when the ambient temperature is 40 C CAUTION Read all the important safety information before installing and operating your monitor Please refer to the dedicated chapter in this user guide 1 1 What s in the box Overview The monitor comes with this user guide Keep your or...

Page 6: ...ng fixation points VESA 100 mm 2 Cable cover Connections 2 1 4 5 6 7 3 Image 1 3 1 100 240 VAC mains power input IEC C14 2 DVI 1 Single Link input 3 DisplayPort 1 1 input 4 DVI 2 Single Link input 5 5 VDC 500 mA power output 6 USB B 2 0 upstream connector 7 USB A 2 0 downstream connector 4 K5902101 451920611531 PS27FHDER 21 05 2015 ...

Page 7: ...rth pin to a grounded outlet by means of a wire with at minimum AWG18 size according to national Regulation re quirements regarding maximum admitted cable length Use the included M4 screw to attach the wire to the protective earth pin M4 Image 2 2 Connect signal and power cables 1 Connect one or more video source s to the corresponding video inputs of the monitor Use the appro priate video cable s...

Page 8: ...he inside of the connector compartment to fix the cables Image 2 4 Reattach cable cover 1 Slide the 4 position clips on top of the cable cover in the matching fixation holes at the back of the monitor 2 Attach the cable cover by pushing the bottom into the monitor until you hear a click sound at both ends of the cover 1 1 1 1 2 2 C l i c k C l i c k Image 2 5 6 K5902101 451920611531 PS27FHDER 21 0...

Page 9: ...ccording to the thickness of the VESA plate Please con sider that the maximum length of the available thread for the screws inside the monitor is 6 mm and that the unthreaded distance to the outer surface of the plastic back cover is 7 8 mm Caution Use an arm that is approved by VESA Caution Use an arm according to clause 9 8 of IEC 60601 1 considering that the product weight is 8 9 kg Image 2 6 K...

Page 10: ...2 Monitor installation 8 K5902101 451920611531 PS27FHDER 21 05 2015 ...

Page 11: ...ring on ON ORANGE blinking Monitor ON powering on self test ON ON RED static Monitor ON MAX brightness ON ON RED blinking Monitor ON self test FAILED ON GREEN static Monitor ON Video sync OK settings different from default brightness ON GREEN blinking Monitor ON No video sync 3 3 OSD menu use To open the OSD menu If the OSD is locked default setting first press and hold both the and keys for appro...

Page 12: ... the OSD is locked default setting first press and hold both the and keys for approximately 3 seconds until a pop up warns you that the OSD has been unlocked for about 20 sec Afterwards press the brightness increase or brightness decrease keys to adjust the brightness as desired Or If the OSD is not locked press the brightness increase or brightness decrease keys to adjust the brightness as desire...

Page 13: ...IN 16 ON Off DVI2 5V On Off OSD Lock On Off 5V Output Factory Reset Settings Backlight operating hours Status 12NC Total operating hours Timing Firmware Version Serial Number Model PS2XXHDXR Info Display Function Color Temperature Aspect Ratio DisplayPort DVI1 DVI2 Native Aspect Native Calibrated Full Screen Native DICOM CAL DICOM TG3 PMS Source Image Image 4 1 4 1 Monitor info About monitor info ...

Page 14: ... the different inputs can be done easily in the OSD menu To select the image source 1 Bring up the OSD main menu 2 Navigate to the Image Source menu 3 Select one of the available input image sources Info Image Settings Source Aspect Ratio Color Temperature Display Function DVI2 Full Screen Calibrated Native Image 4 3 4 3 Aspect ratio About aspect ratio Following settings are available Native Input...

Page 15: ... point used as reference for all other colors to be displayed The available color temperature settings for your monitor are Native The native unmodified color temperature of the LCD panel Calibrated Corresponds to a color temperature of 6800 Kelvin D68 To select a color temperature 1 Bring up the OSD main menu 2 Navigate to the Image Color Temperature menu 3 Select one of the available color tempe...

Page 16: ...he DICOM gamma function for most medical viewing applications CAL DICOM This DICOM gamma function allows the comparison with displays having different char acteristics by applying the same identical transfer curve in the range of 2 200 cd m TG3 PMS This special gamma correction of the native grayscale of the monitor is used for compati bility with LCD and CRT medical monitors To select a display f...

Page 17: ...D menu time out value 1 Bring up the OSD main menu 2 Navigate to the Settings OSD Timeout menu 3 Select one of the available time out values Info Image Settings OSD Position OSD Timeout OSD Lock Factory Reset DVI1 5V DVI2 5V 5V Output Center 240 sec Off Off Off Off Image 4 8 4 8 OSD lock About the OSD lock This setting allows you to prevent the access to the OSD and to the brightness control when ...

Page 18: ...e factory reset option allows to reset all OSD menu settings to its default settings The default settings are described below Image menu Image source DVI1 Aspect ratio Aspect Color temperature Calibrated Display function CAL DICOM Settings menu OSD menu position Bottom right OSD menu time out 15 sec OSD lock On Power 5V over DVI1 PIN 14 ON Power 5V over DVI2 PIN 14 ON 5 VDC power output On Brightn...

Page 19: ...d or to completely disable the 5 VDC over DVI To adjust the power on DVI 1 Bring up the OSD main menu 2 Navigate to the Settings DVI1 5V or DVI2 5V menu 3 Select one of the available options Info Image Settings OSD Position OSD Timeout OSD Lock Factory Reset DVI1 5V DVI2 5V 5V Output Center 240 sec Off Off Off Off Image 4 11 Info Image Settings OSD Position OSD Timeout OSD Lock Factory Reset DVI1 ...

Page 20: ...enabled or disabled in the OSD menu To enable disable the 5 VDC power output power connector 1 Bring up the OSD main menu 2 Navigate to the Settings 5V Output menu 3 Select On to enable or Off to disable the 5 VDC power output connector Info Image Settings OSD Position OSD Timeout OSD Lock Factory Reset DVI1 5V DVI2 5V 5V Output Center 240 sec Off Off Off Off Image 4 13 18 K5902101 451920611531 PS...

Page 21: ...e in 70 isopropyl alcohol Like Cleansafe optical cleaning liquid Do not use following products Alcohol solvents at higher concentration 70 Strong alkalis lye strong solvents Acid Detergents with fluoride Detergents with ammonia at higher concentration 1 6 Detergents with abrasives Steel wool Sponge with abrasives Steel blades Cloth with steel thread CAUTION Take care not to damage or scratch the f...

Page 22: ...5 Cleaning your display 20 K5902101 451920611531 PS27FHDER 21 05 2015 ...

Page 23: ... anesthetic mixture Equipment not suitable for use in the presence of a flammable anesthetic mixture with air or with oxygen or nitrous oxide Non patient care equipment Equipment primarily for use in a health care facility that is intended for use outside the patient area The equipment may not be used with life support equipment The user should not touch the equipment nor its signal input ports SI...

Page 24: ... moisture Never expose the monitor to liquids or moisture Never use the monitor near water e g near a bathtub washbasin swimming pool kitchen sink laundry tub or in a wet basement The equipment is IP20 compliant Ventilation Do not cover or block any ventilation openings in the cover of the set When installing the device in a cupboard or another closed location heed the necessary space between the ...

Page 25: ... barco com en AboutBarco weee Turkey RoHS compliance Türkiye Cumhuriyeti AEEE Yönetmeliğine Uygundur Republic of Turkey In conformity with the WEEE Regulation 中国大陆 RoHS Chinese Mainland RoHS 根据中国大陆 电子信息产品污染控制管理办法 也称为中国大陆RoHS 以下部分列出了Barco产品 中可能包含的有毒和 或有害物质的名称和含量 中国大陆RoHS指令包含在中国信息产业部MCV标准 电子信息产品中有毒物质的限量要求 中 According to the China Administration on Control of Pollution Caused by Electronic Informatio...

Page 26: ... 标准 贴上环保使用期限 EFUP 标签 Barco产品所采用的EFUP标签 请参阅实例 徽标内部的编号使用于制 定产品 基于中国大陆的 电子信息产品环保使用期限通则 标准 All Electronic Information Products EIP that are sold within Chinese Mainland must comply with the Electronic Information Products Pollution Control Labeling Standard of Chinese Mainland marked with the Environmental Friendly Use Period EFUP logo The number inside the EFUP logo that Barco uses please refer to th...

Page 27: ...vice must accept any interference re ceived including interference that may cause undesired operation This device has been tested and found to comply with the limits for a Class B digital device pursuant to Part 15 of the FCC Rules These limits are designed to provide reasonable protection against harmful interference in a residential installation This device generates uses and can radiate radio f...

Page 28: ...the user is encouraged to try to correct the interference by one or more of the following mea sures Reorient or relocate the receiving antenna or equipment Increase the separation between the equipment and receiver Connect the equipment into an outlet on a circuit different from that to which the receiver is connected Consult the dealer or an experienced technician for help Electromagnetic immunit...

Page 29: ... 3 A m Power frequency magnetic fields should be at levels characteristic of a typical location in a typical commercial or hospital environment Conducted RF IEC 61000 4 6 Radiated RF IEC 61000 4 3 3 Vrms 150 kHz to 80 MHz 3 V m 80 MHz to 2 5 GHz 3 V 3 V m Portable and mobile RF communications equipment should be used no closer to any part of the PS27FHDER including cables than the recommended sepa...

Page 30: ...0 MHz and 800 MHz the separation distance for the higher frequency range applies These guidelines may not apply in all situations Electromagnetic propagation is af fected by absorption and reflection form structures object and people 2 Field strengths from fixed transmitters such as base stations for radio cellular cordless telephones and land mobile radios amateur radio AM and FM radio broadcast ...

Page 31: ...is approved according to the UL regulations for Canada and US Indicates the device is approved according to the UL Demko regulations Indicates the device is approved according to the CCC regulations Indicates the device is approved according to the VCCI regulations Indicates the device is approved according to the KC regulations Indicates the device is approved according to the BSMI regulations In...

Page 32: ...ctrical and Electronic Equipment directive Indicates Direct Current DC Indicates Alternating Current AC Stand by Equipotentiality Protective earth ground 6 7 Legal disclaimer Disclaimer notice Although every attempt has been made to achieve technical accuracy in this document we assume no responsibility for errors that may be found Our goal is to provide you with the most accurate and usable docum...

Page 33: ...ms without written permission of Barco 2015 Barco NV all rights reserved 6 8 Technical specifications Overview Product acronym MMEC 2127 Screen technology FHD LCD LED backlight Active screen size diagonal 686 mm 27 0 Active screen size H x V 597 9 mm x 336 3 mm 23 5 x 13 2 Aspect ratio H V 16 9 Resolution 2MP 1920 x 1080 Pixel pitch 0 3114 Color support 16 7 million 8 bit Viewing angle H V 89 Maxi...

Page 34: ...ection IP code IEC 62471 2006 EN 62471 2008 Photobiological Safety Of Lamps And Lamp System FCC class B ICES 001 Level B RoHS 2011 65 EC Supplied accessories User guide Optional accessories None Warranty 36 months Operating temperature 10 C to 40 C 10 C to 35 C within specs Storage temperature 20 C to 60 C Operating humidity 20 80 non condensing Storage humidity 10 90 non condensing Operation alti...

Page 35: ... 0 mm 648 5 mm 86 4 mm 274 3 mm 100 0 mm 100 0 mm 143 5 mm 143 5 mm Image 6 1 Identification label position The product identification label is located at the back of the monitor under the cable cover as illustrated below K5902101 451920611531 PS27FHDER 21 05 2015 33 ...

Page 36: ...6 Important information Image 6 2 34 K5902101 451920611531 PS27FHDER 21 05 2015 ...

Page 37: ......

Page 38: ......

Page 39: ......

Page 40: ...Barcon v President Kennedypark 35 8500 Kortrijk Belgium www barco com K5902101 00 451920611531 May 2015 FIMI S r l Saronno Italy ...

Reviews: