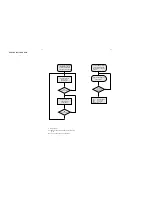
1-10
INSTALLATION
Installation
Step 4:
Placing the set and
speak
ers
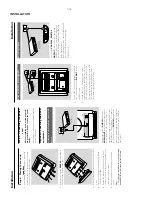
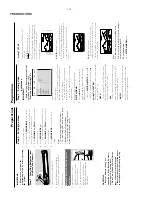
1
After f
inishing all rear connections,
mount the
detachab
le co
ver on the back of the set until
hear
ing a click to a
void cab
le clutter
.
2
Align the side mar
ked
PRESS
4
of the stand to
the slots at the bottom of the set.
3
Push the stand do
wn into the slots until y
ou hear
a click.
4
Place the set upr
ight on the desktop with the
suppor
t of the stand.
5
Extend the br
ack
et on the back of each front
speak
er as sho
wn so that the front speak
er
s can
stand f
ir
ml
y on the desktop
.
6
Place the subw
oofer on the floor near an
AC
outlet.
Note:
–T
o r
emo
ve the stand from the set,
while pr
essing
do
wn PRESS
4
, pull the stand out from the slots
.
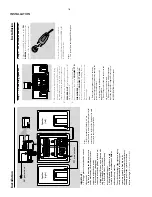
Step 5:
Connecting the po
we
r
cor
d
After e
v
er
ything is connected pr
operly
,
plug in the
A
C po
w
er cord to the po
we
r
outlet.
Never mak
e or change an
y connection with the
po
w
er switched on.
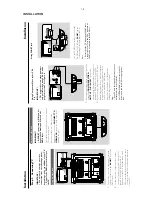
Optional:
Connecting additional
equipment
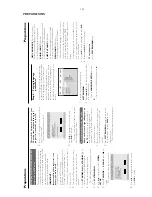
Listening to the pla
yback of a non-USB
de
vice
AU
D
IO OUT
L
R
VCR
(for example)
Connect the system's
A
UX-IN
jack to the
A
UDIO OUT
jacks on another audio/visual
device (such as a
VCR,
Laser Disc pla
yer or
cassette desk) using a "single-to-doub
le" cinch
cab
le (with one end pro
viding a 3.5" connector
for connection to the
A
UX-IN
jack while the
other end pro
viding tw
o white/red connector
s
for connection to the other device's
A
UDIO
OUT jacks).
Installation
Using the
VCR f
or r
ecor
ding D
VDs
AUDIO IN
L
R
VIDEO IN
VCR
1
Connect the end of the supplied
AV
cord with
onl
y one connector to the
A/V OUT
jack of
the D
VD system.
2
For the other end, connect the video output
connector (y
ello
w) to the
VIDEO IN jack on the
VCR and the audio connector
s (white/ red) to
the cor
responding audio input jacks on the
VCR.
This will allo
w y
ou to mak
e analogue stereo
(tw
o channel,
r
ight and left) recordings.
Recor
ding (digital)
Connect the
CO
AXIAL
(
DIGIT
AL
OUTPUT
) jack on the video bo
x to the
DIGIT
AL IN jack on a digital recording device
(such as DTS Digital
Theatre compatib
le
, with
Dolb
y Digital decoder).
Bef
ore star
ting oper
ation,
set the DIGIT
AL OUT
according to the audio connection. (See
"DIGIT
AL OUT".)
Summary of Contents for MCD288
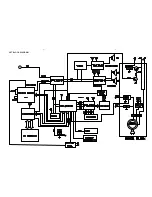
Page 18: ...4 1 SET BLOCK DIAGRAM 4 1 ...
Page 19: ...5 1 SET BLOCK DIAGRAM 5 1 ...
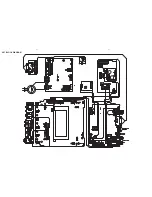
Page 21: ...6 2 6 2 LAYOUT DIAGRAM DISPLAY BOARD TOP VIEW ...
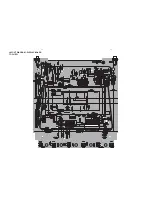
Page 22: ...LAYOUT DIAGRAM DISPLAY BOARD BOTTOM VIEW 6 3 6 3 ...
Page 27: ...8 2 8 2 LAYOUT DIAGRAM POWER BOARD ...

