28
EN
6 Adjust settings
You can customise various kinds of settings as
you prefer. Refer to the following instructions
to navigate through the setup menus.
Video Setup
1
Press
.
2
Select
[Settings]
, then press
OK
.
3
Select
[Video Setup]
, then press
B
.
Video Setup
Advanced Setup
Audio Setup
Preference Setup
EasyLink Setup
Subtitle
Audio
Disc Menu
TV Display
HDMI Video
HDMI Deep Color
Component Video
Picture Settings
Black Level
Off
English
English
16:9 Widescreen
Auto
Auto
480i/576i
Standard
Normal
4
Select an option, then press
OK
.
5
Select a setting, then press
OK
.
To return to the previous menu, press
•
BACK
.
To exit the menu, press
•
.
Note
See the explanations of the above options in the
•
following pages.
[Audio]
Selects the default audio language for disc play.
[Subtitle]
Selects the default subtitle language for disc
play.
[Disc Menu]
Selects the language for disc menu.
Note
If the language you have set is not available on the
•
disc, the disc uses its own default language.
For some discs, the subtitle/audio language can only
•
be changed from the disc menu.
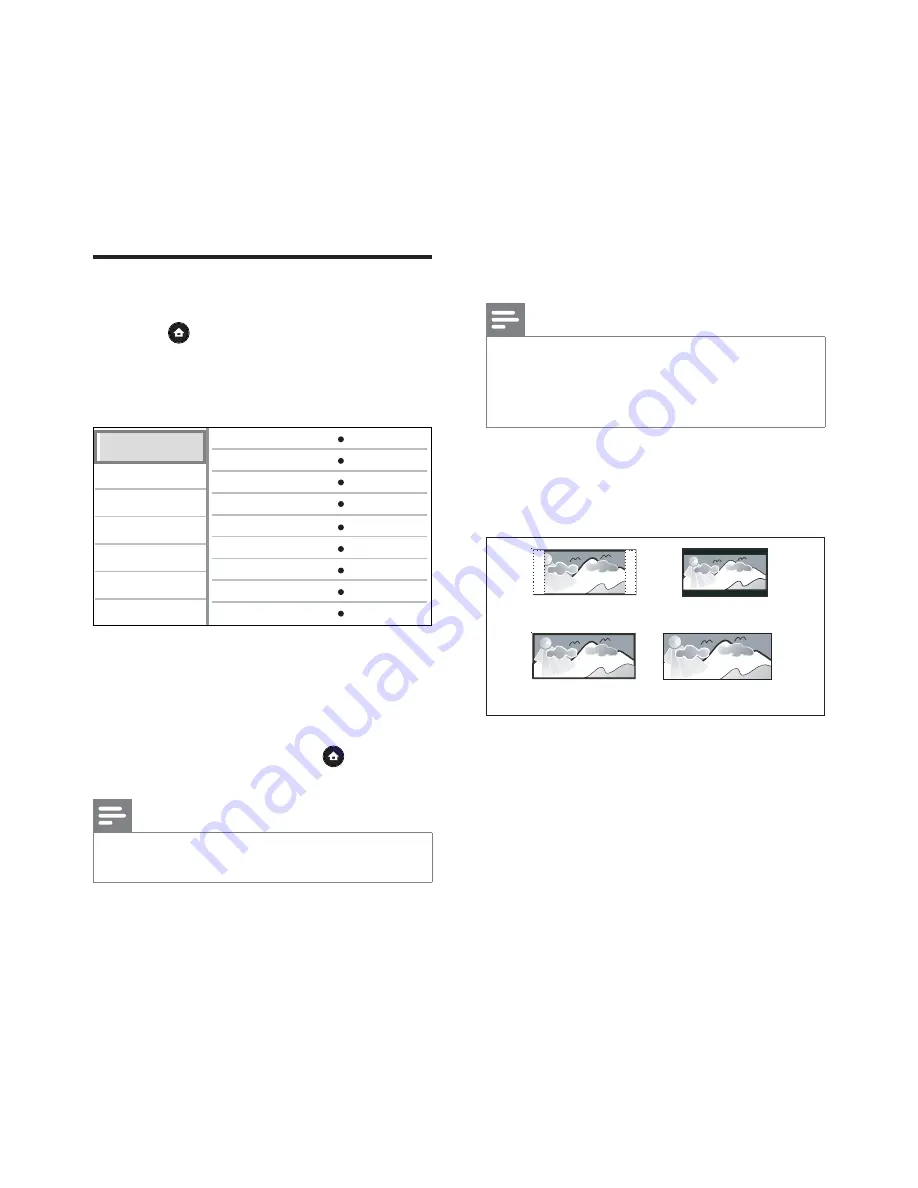
[TV Display]
Selects one of the following display formats
which the disc can support.
4:3 Letter Box (LB)
4:3 Pan Scan (PS)
16:9 Wide Screen
Cinema 21:9
[4:3 Pan Scan]
•
– For 4:3 screen TV:
full-height screen display with the trimmed
sides.
[4:3 Letter Box]
•
– For 4:3 screen TV: ‘wide-
screen’ display with black bars on the top
and bottom of the screen.
[16:9 Wide Screen]
•
– For wide-screen TV:
display ratio 16:9.
[Cinema 21:9]
•
– For wide-screen TV of
display ratio
21:9
, remove black bars at the
bottom and top of the screen.


