Setting Up the Philips amBX PC Scenes
27
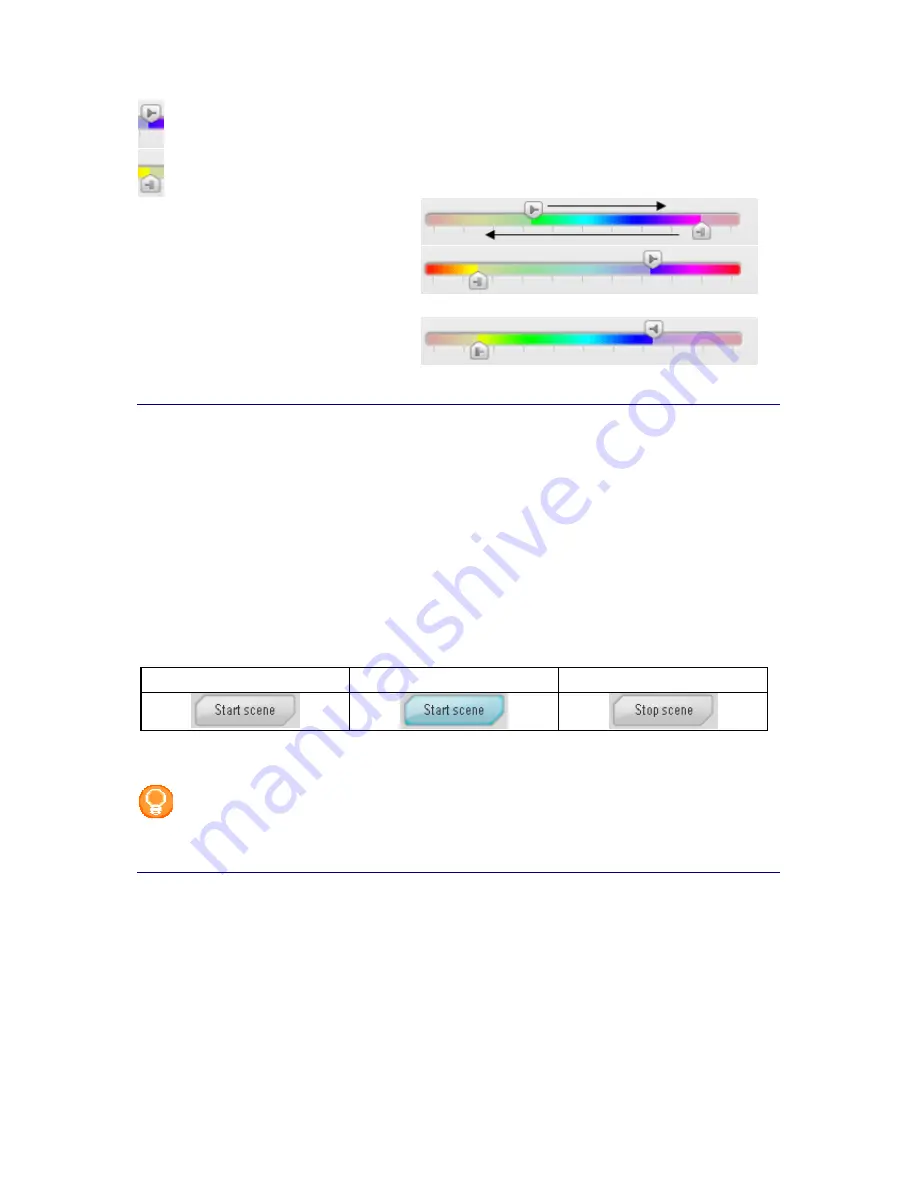
Starting point
End point
You decrease the range by sliding the
handles towards each other.
The moment you move the starting handle
over the end handle (the handle on the
bottom of the slider) the colored bar of the
slider will flip and the outside color range is
selected.
By changing the direction of the handles, you
select the inside color range. You change the
direction of the handles by double-clicking
one of the handles.
How to...
Start a Scene
1.
Select the
Scene Setting
tab.
The 'Scene Settings' screen appears.
2.
Select the preferred scene in the Scene Selector.
3.
Click the
Start Scene
button.
The selected scene starts and the Philips amBX™ PC Gaming Peripherals operate as programmed.
The
Start scene
button is a
toggle button
. When you press the button, an action starts and the label of the
button changes, describing the opposite action.
Toggled State 1
Pressed
Toggled State 2
To
stop
the Scene, you click the same button in the
Scene Settings screen
that is now labeled '
Stop
Scene
'.
Tip
You can also use the On/Off button on the hardware to start and stop a selected scene.
Change a Scene
You can only change the available scenes in the Scenes Selector. You cannot add new scenes to the Scenes
Selector, you can only customize the existing scenes by:
•
Changing the Peripheral Scene Settings of a static scene
,
•
Add an animation to a static scene
,
•
Changing the Animation Settings of an animated scene
.


