Service Modes, Error Codes, and Fault Finding
5.
5.2.2
Service Default Mode (SDM)
Purpose
Set the TV in SDM mode in order to be able to:
•
Create a pre-defined setting for measurements to be
made.
•
Override software protections.
•
Start the blinking LED procedure.
•
Read the error buffer.
•
Check the life timer.
Specifications
Table 5-1 SDM default settings
•
Set linear video and audio settings to 50%, but volume to
25%. Stored user settings are not affected.
•
All service-unfriendly modes (if present) are disabled, since
they interfere with diagnosing/repairing a set. These
service unfriendly modes are:
–
(Sleep) timer.
–
Blue mute/Wall paper.
–
Auto switch “off” (when there is no “ident” signal).
–
Hotel or hospital mode.
–
Child lock or parental lock (manual or via V-chip).
–
Skipping, blanking of “Not favourite”, “Skipped” or
“Locked” presets/channels.
–
Automatic storing of Personal Preset or Last Status
settings.
–
Automatic user menu time-out (menu switches back/
OFF automatically.
–
Auto Volume levelling (AVL).
How to Activate
To activate SDM, use
one
of the following methods:
•
Press the following key sequence on the remote control
transmitter: “
062596
” directly followed by the
MENU
button
(do not allow the display to time out between entries while
keying the sequence).
•
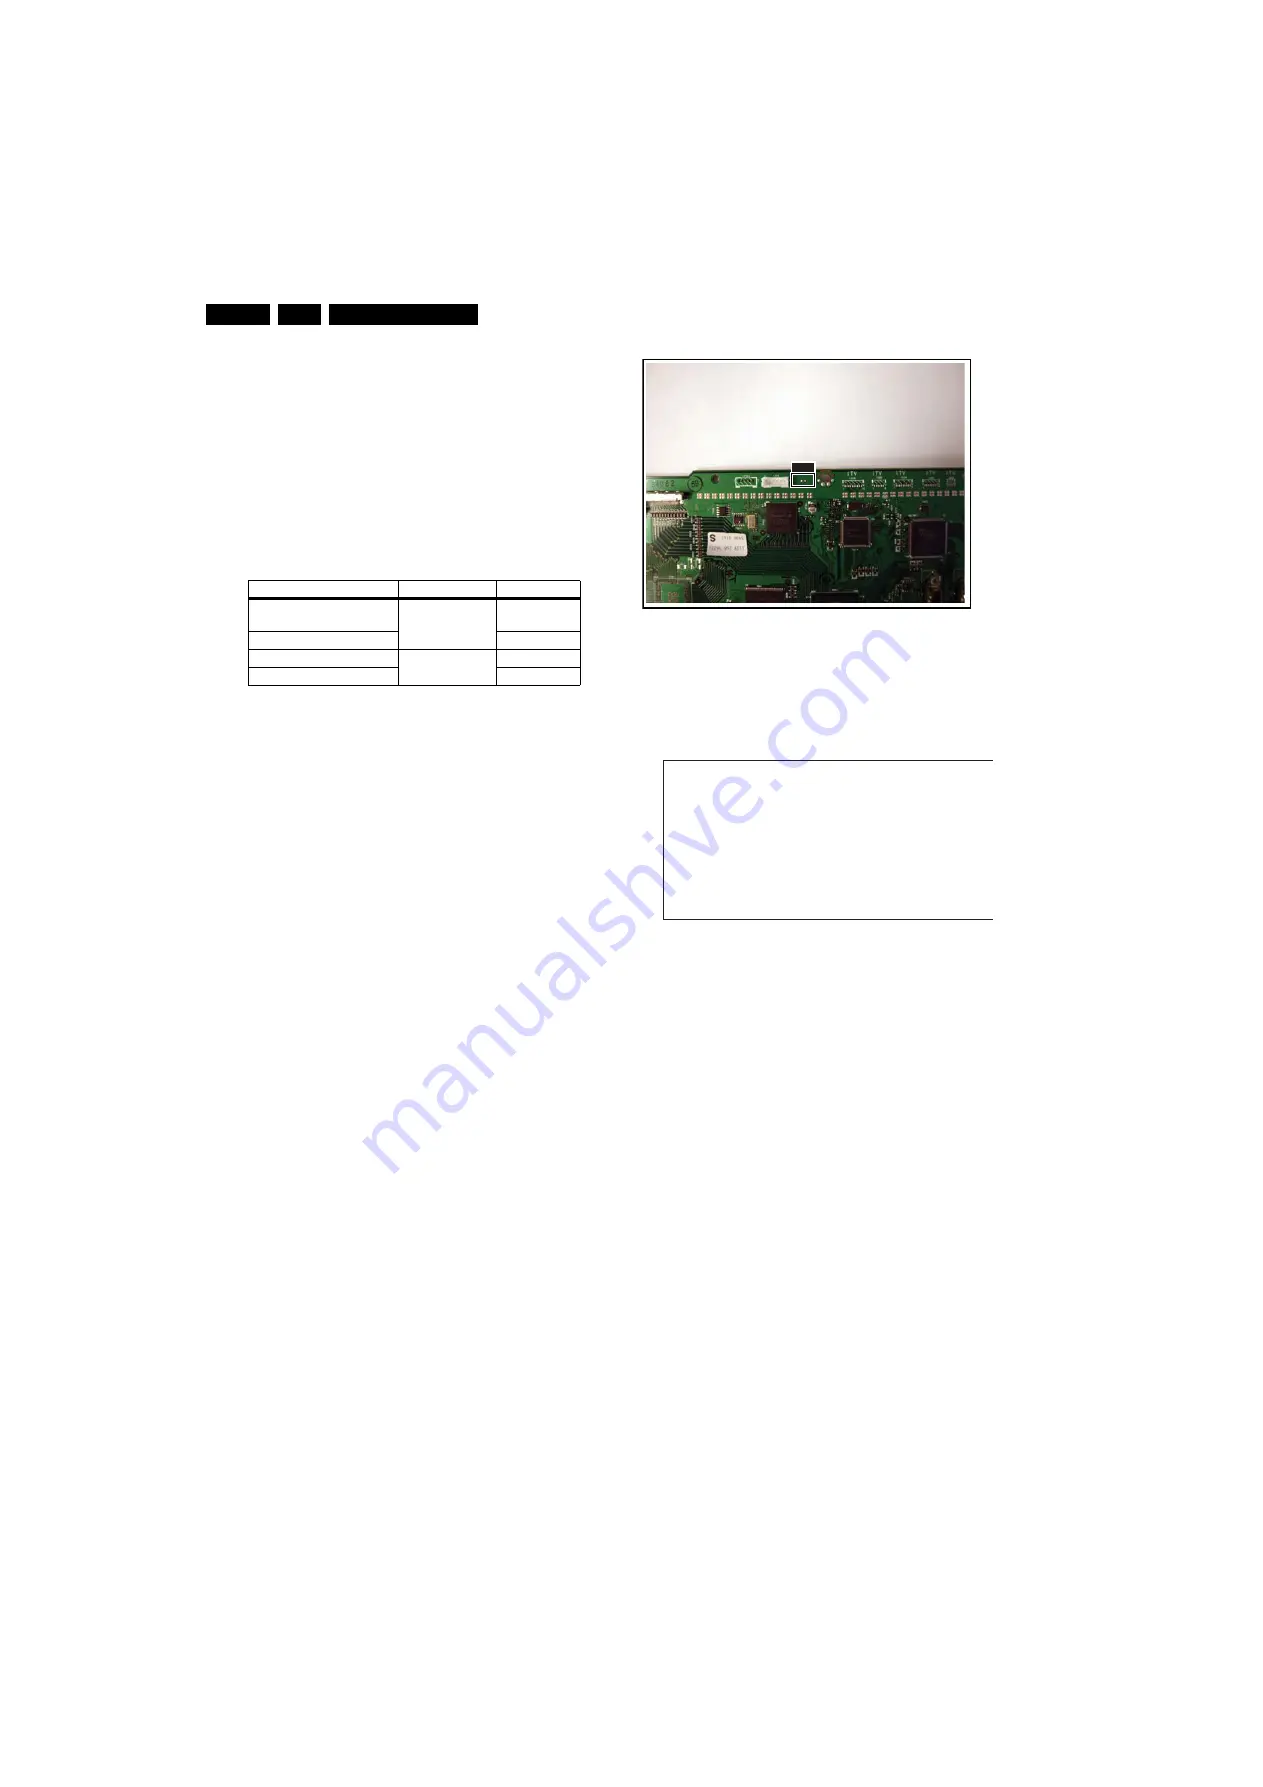
Short one of the “Service” jumpers on the TV board during
cold start (see Figures “Service jumper”). Then press the
mains button (remove the short after start-up).
Caution
: Activating SDM by shorting “Service” jumpers will
override the DC speaker protection (error 1), the General
I2C error (error 4), and the Trident video processor error
(error 5). When doing this, the service-technician must
know exactly what he is doing, as it could damage the
television set.
Figure 5-2 Service jumper (SSB component side)
On Screen Menu
After activating SDM, the following screen is visible, with SDM
in the upper right corner of the screen to indicate that the
television is in Service Default Mode.
Figure 5-3 SDM menu
Menu explanation:
•
HHHHH
: Are the operating hours (in decimal).
•
AAAABCD-X.YY
: See paragraph “Service Modes” ->
“General” -> “Software Identification, Version, and Cluster”
for the SW name definition.
•
SDM
: The character “SDM” to indicate that the TV set is in
Service mode.
•
ERR
: Shows all errors detected since the last time the
buffer was erased. Five errors possible.
•
OP
: Used to read-out the option bytes. See “Options” in the
Alignments section for a detailed description. Seven codes
are possible.
How to Navigate
As this mode is read only, there is not much to navigate. To
switch to other modes, use one of the following methods:
•
Command MENU from the user remote will enter the
normal user menu (brightness, contrast, colour, etc...) with
“SDM” OSD remaining, and pressing MENU key again will
return to the last status of SDM again.
•
To prevent the OSD from interfering with measurements in
SDM, command “OSD” (“STATUS” for NAFTA and
LATAM) from the user remote will toggle the OSD “on/off”
with “SDM” OSD remaining always “on”.
•
Press the following key sequence on the remote control
transmitter: “
062596
” directly followed by the
OSD/
STATUS/INFO/i+
button to switch to SAM (do not allow the
display to time out between entries while keying the
sequence).
Region
Freq. (MHz)
Default syst.
Europe (except France),
AP-PAL/-Multi
475.25
PAL B/G
France
SECAM L
NAFTA, AP-NTSC
61.25 (channel 3) NTSC M
LATAM
PAL M
I_17760_046.ep
s
0
3
0
3
0
8
S
DM
S D M
H H H H H
A A A A B C D - X .
Y Y
E R R
X X
X X
X X
X X
X X
O P
X X X
X X X
X X X
X X X
X X X
X X X
G_16860_030.eps
260107


