Service Modes, Error Codes, and Fault Finding
5.
How to Exit the Factory mode
Use one of the following methods:
•
Select EXIT_FACTORY from the menu and press the “OK”
button.
Note: When the TV is switched “off” by a power interrupt, or
normal switch to “stand-by” while in the factory mode, the TV
will show up in “normal operation mode” as soon as the power
is supplied again. The error buffer will not be cleared.
5.2.5
Customer Service Mode (CSM)
Purpose
The Customer Service Mode shows error codes and
information on the TVs operation settings.The call centre can
instruct the customer (by telephone) to enter CSM in order to
identify the status of the set.This helps the call centre to
diagnose problems and failures in the TV set before making a
service call.
The CSM is a read-only mode; therefore, modifications are not
possible in this mode.
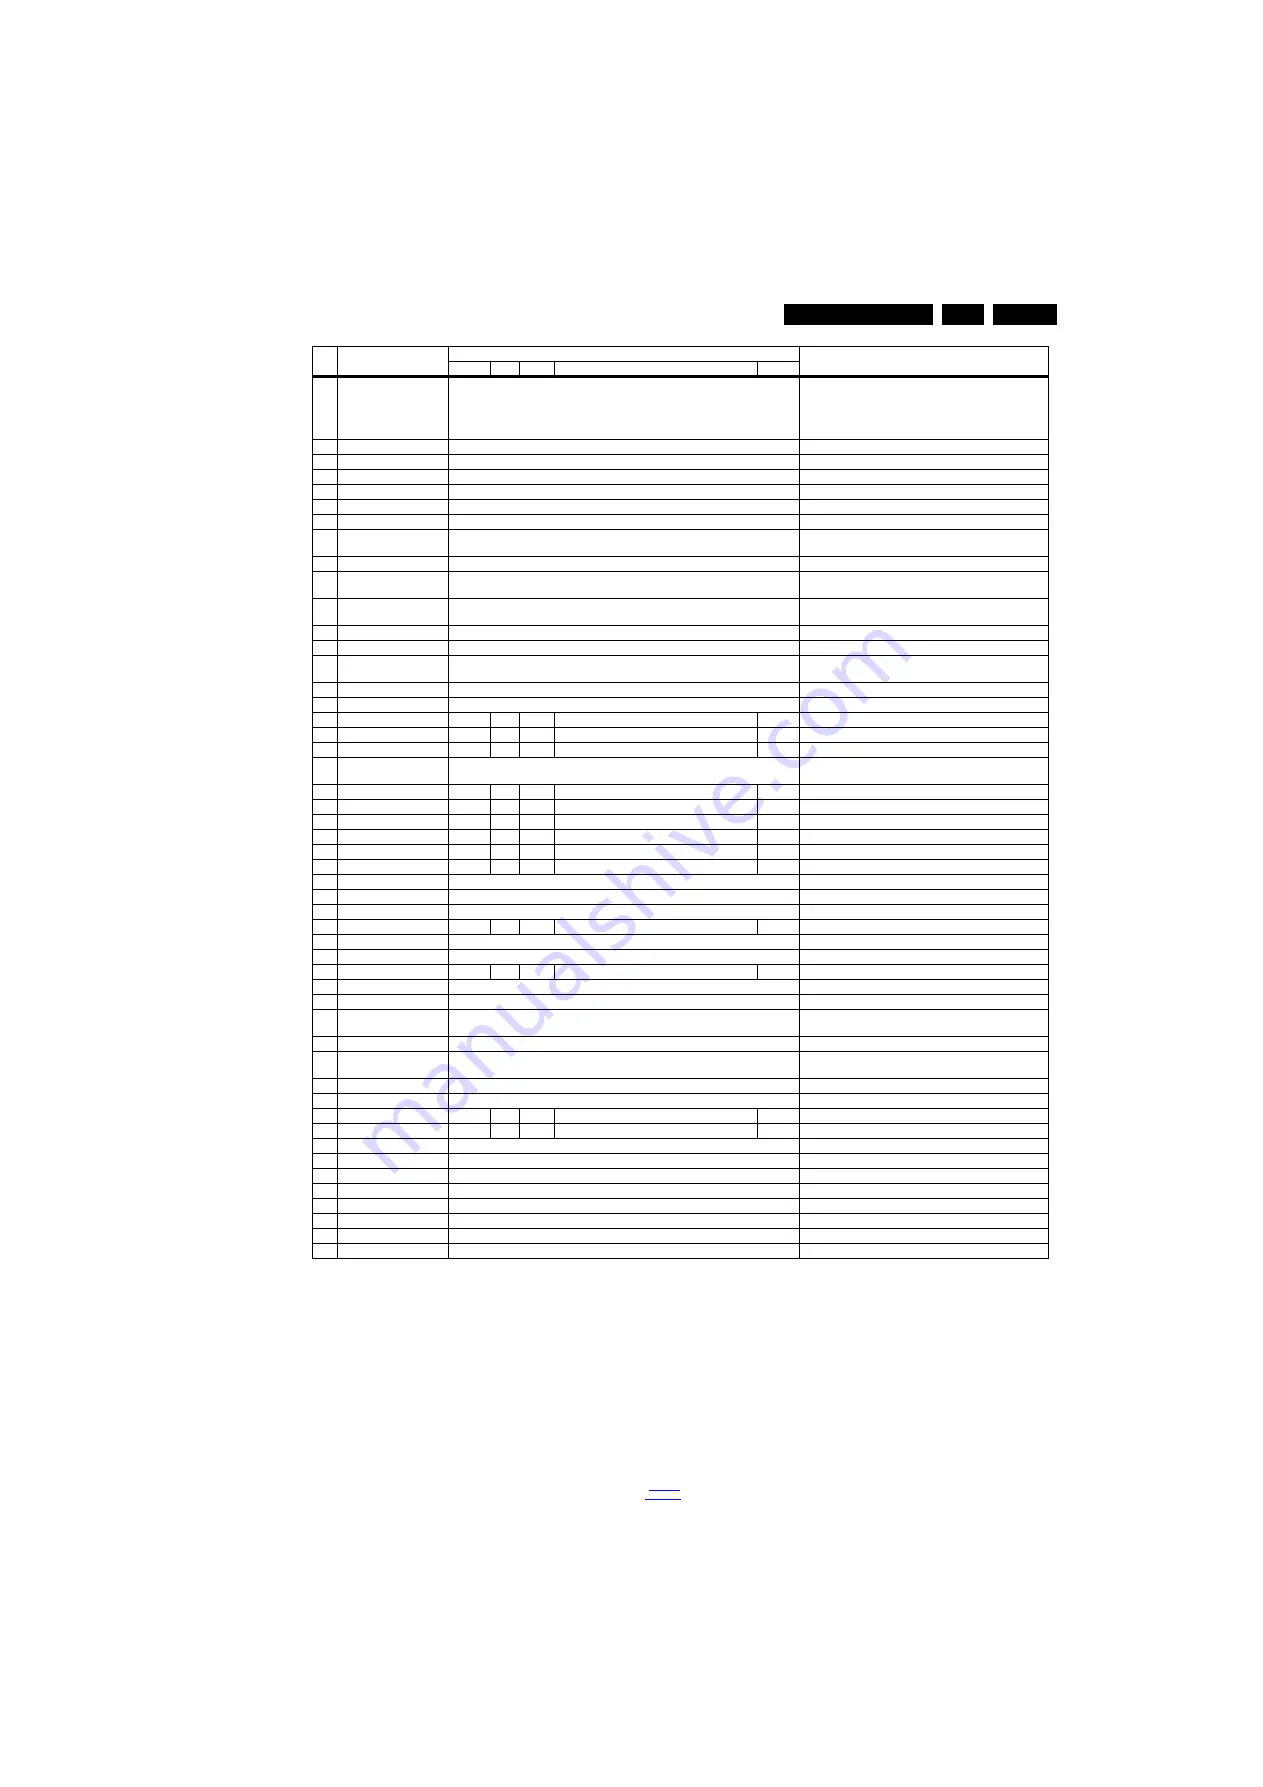
10
NVM READ USB to TV
Press OK
Use this to store the NVM data from the USB memory stick to
the TV. The TV will save the two files which were created in
item 8 to the NVM of the set. Use these options when
replacing a SSB. When “USB to TV Success” is displayed
remove the power and restart the TV
11
RESET_PBS_PWD
Press OK
Use this to reset the Child Lock
12
DIM_LIB RESET
Press OK
Reset the Dimming
13
SRC_METER RESET
Press OK
Reset the Source meter
14
AMBLIGHT RESET
Press OK
Reset Ambilight
15
ACFG RESET
Press OK
Reset ACFG
16
CIPLUS QUERY
Press OK
Shows the Validity of the CI+ key and the supplier information
17
CIPLUS UPDATE
Press OK
Used to enter a new CI+ code into the NVM. This can only be
used when no CI+ code exists in the NVM
18
EDID UPDATE
Press OK
Used to enter a new EDID codes into the NVM
19
TEST PATTERN
Press OK
With the “left” and “right” keys of the remote control various
test patterns can be chosen
20
VIRGIN_MODE
Off
Use this to return the set to virgin mode. Depends whether the
set has been used already.
21
E-Fuse
On
E-fuse mode
22
ORT_MODE
Off
ORT mode
23
VGA_UART_SWITCH
Off
When switched “on” the VGA port can be used for UART
logging.
24
DRMWARNING
On
Warning the data rights management
25
AGEING MODE
Off
Use this for aging a new LCD panel
26
CLR_TEMP_R
128
100
128
114
128
Red colour temperature setting
27
CLR_TEMP_G
128
100
78
100
128
Green colour temperature setting
28
CLR_TEMP_B
128
100
32
128
128
Red colour temperature setting
29
AUTO_COLOR
Press OK
PC: any pattern that has black and white, YPbPr: SMPTE bar
(colour bar), any timing.
30
ADC_GAIN_R
77
84
83
0
0
Red ADC gain
31
ADC_GAIN_G
79
81
81
0
0
Green ADC gain
32
ADC_GAIN_B
73
88
80
0
0
Blue ADC gain
33
ADC_OFFSET_R
88
88
88
128
128
Red ADC offset
34
ADC_OFFSET_G
81
81
81
128
128
Green ADC offset
35
ADC_OFFSET_B
86
86
86
128
128
Blue ADC offset
36
YPBPR_PHASE
InValid
Not available for this chassis
37
AUD_GAIN_LINEIN
0
Line-in audio gain
38
AUD_GAIN_HDMI
0
HDMI audio gain
39
AUD_GAIN_ATV
7
0
7
0
5
Analogue TV audio gain
40
AUD_GAIN_DTV
0
Digital TV audio gain
41
AUD_GAIN_USB
0
USB audio gain
42
AQ_INDEX
6
6
11
3
4
Audio Quality index
43
AUDIO TEST MODE
Off
Used for audio testing during production
44
AUDIO CHANNEL TYPE
2.0
Defines the installed speaker system
45
DUMP PQ FROM TV
Press OK
Saves the picture quality data to a file “pq.bin” to the root of a
FAT formatted USB memory stick
46
LOAD PQ to TV
Press OK
Loads the picture quality data from a file “pq.bin” in to the TV
47
DUMP AQ FROM TV
Press OK
Saves the audio quality data to a file “AQ.bin” to the root of a
FAT formatted USB memory stick
48
LOAD AQ to TV
Press OK
Loads the audio quality data from a file “AQ.bin” in to the TV
49
FEF CHECK
Off
FEF Check
50
PANEL FLIP
Off
On
Off
On
On
Flip panel
51
VGA_SOURCE
On
On
On
Off
Off
Enable/Disable VGA source
52
HDMI2
Off
Enable/Disable HDMI2 source
53
HDMI SIDE
On
Enable/Disable HDMI3 source
54
LIGHT SENEOR
Off
Light sensor
55
RESET_OPTION_CODE
Press OK
Reset Option Code
56
AMBILIGHT
Off
Ambilight on/off
57
AMBILIGHT_DRIVER
AMS
Choose Ambilight driver type
58
3D
Off
3D on/off
59
EXIT_FACTORY
Press OK
Exits the Factory mode
Item Item value
Default value
Description
22"
24"
26"
32"
39"


