Chapter 4: Control via Phantom Software
19
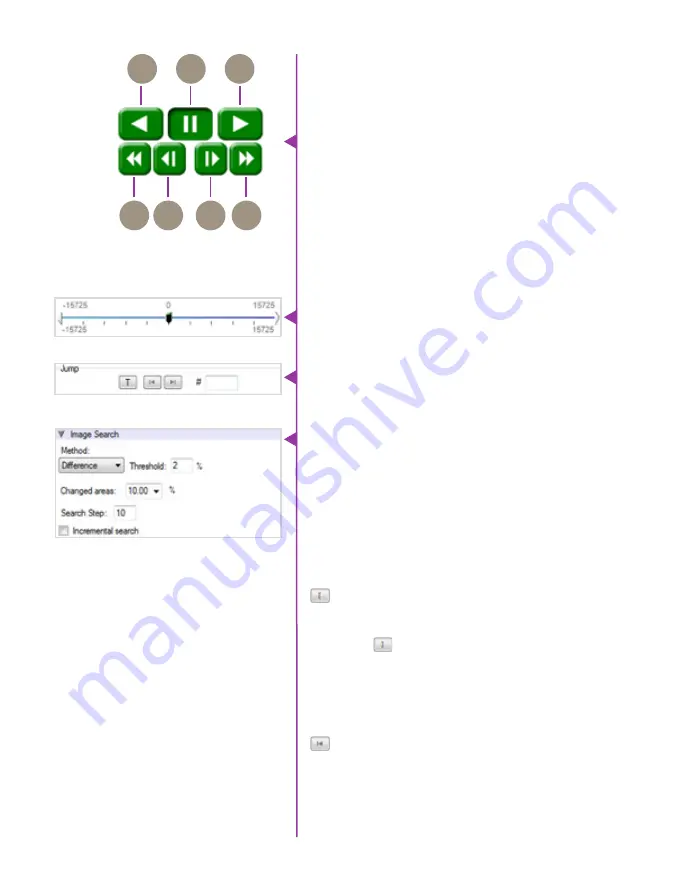
Use the ‘Video Control’ buttons to review the cine.
A.
Rewind
B.
Pause
C.
Play
D.
Fast Rewind
E.
Rewind 1-Frame
F.
Advance 1-Frame
G.
Fast Forward
Quickly search through cine files to find the points of
interest:
‘Scroll’ (scrub) through the clip using the ‘Image Location’
slider or click anywhere on the timeline to jump to points
in the cine quickly.
‘Jump’ to the trigger frame by clicking on the ‘T’ button,
or jump to specific frames by entering the frame number
into the jump ‘#’ data entry field, then hit the enter key.
‘Image Search’. The goal is to search or find an image
change in the recording, based on the difference between
image content. Right-Click on the ‘Play’ button to begin
the image search. Besides image content changes, Image
Search can also look for images that are tagged as ‘Event’
images.
Using the following ‘Video Control’ buttons locate the first
image of the cine to be saved and click the ‘Mark-In’
button.
Locate the last image of the cine to be saved and click the
‘Mark-Out’ button.
Click ‘Play, Speed, & Option’ and enable (check) ‘Limit to
Range’.
Under the ‘Video Control’ buttons click the ‘Jump to Start’
button, then review the edited cine.
Click the ‘Save Cine...’ button to save the edited cine to
the computer’s hard drive.
Performing a Quick Search
Through a Cine
Editing a Cine
Saving a Cine
A
B
C
D
E
F
G
Summary of Contents for Miro C110
Page 12: ...6 Phantom Miro C110 Camera Manual ...
Page 16: ...10 Phantom Miro C110 Camera Manual ...
Page 26: ...20 Phantom Miro C110 Camera Manual ...
Page 32: ...26 Phantom Miro C110 Camera Manual Bottom View Top View m e c h a n i c a l d r a w i n g s ...
Page 33: ...Chapter 7 Support 27 Rear View Front View Support 7 ...
Page 34: ...28 Phantom Miro C110 Camera Manual Left View Right View ...
Page 42: ...36 Phantom Miro C110 Camera Manual ...
Page 43: ......


