Chapter 5: Phantom CineMag & Phantom CineStation
35
34
Phantom Flex4K Manual
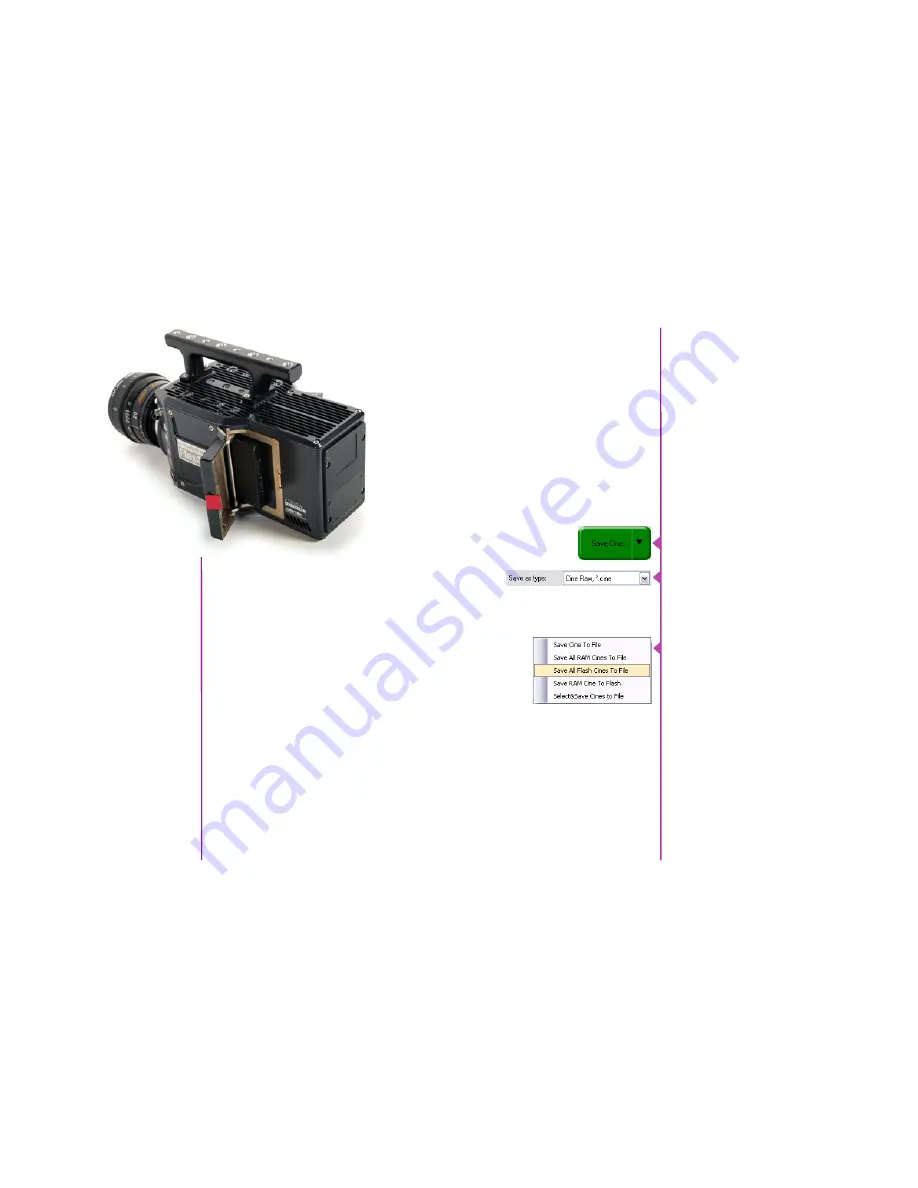
Removing a CineMag IV
The Phantom CineMag IV slides into the side compart-
ment of the camera, as pictured, and the door latches
shut. Ensure the CineMag slides in evenly and mounts
securely. CineMag status can be read on the upper right
of the video display (OSD) or on the camera’s screen.
To remove the Phantom CineMag IV, press the red tab
on the side door, and pull the CineMag out of the camera.
The CineMag IV is hot-swappable, and the camera can
remain on during this procedure, but ensure the camera
is not writing or reading from the CineMag before
removing it.
Vision Research recommends that you save the clips from
a CineMag IV as Cine Raw files, even though it is possible
to save them in a number of file formats. Cine Raw files
not only preserve all the metadata of the clip (such as
frame rate, shutter speed, timestamps, etc), it is the fast-
est and best-quality format.
Saving from a CineMag IV
Inserting a CineMag IV
The 10-bit ‘Packed’ format is the default when saving
Cine Raw files from a CineMag IV. This results in smaller,
more manageable files than the 12-bit ‘unpacked’ format,
and with no quality loss. If you are using 3rd party post
production software to read the Cine Raw files, please
ensure they are compatible with this ‘packed’ format.
To save the Cine Raw in an unpacked format, simply
un-check the ‘Packed’ box prior to saving.
From the ‘Play’ tab in PCC, select the cine you want to
save from the ‘Cine:’ pull-down menu. You will see all
clips in the RAM as well as the CineMag in this list. Once
you’ve selected a clip, you can mark an in and out point if
desired by clicking the ‘[‘ and ‘]’ buttons respectively.
Alternatively, use PVP software in a similar manner when
using video playback.
Then click the green ‘Save Cine…’ button.
In the ‘Save Cine’ dialog box, choose ‘Cine Raw’ as the file
format, navigate to the folder where you wish to save the
clip and click ‘Save.’
In the Play Tab, click the triangle to the right of the ‘Save
Cine…’ button, and from the popup menu select ‘Save All
Flash Cines To File.’
In the subsequent save dialog window, navigate to the
folder where you wish to save the clips, and select the
‘Cine Raw’ file format. Choose a name for the group of
Cine files and click the ‘Save’ button. Each Cine’s file
name will start with the name you choose, and end with
the cine number.
In the PlayTab, click the triangle to the right of the
‘Save Cine…’ button, and from the popup menu select
‘Select&Save Cines to File.’
In the pop-up window, select the cines you wish to save.
Use the shift key to select a range of clips, or the control
key to add individual clips. When you’ve
Saving an Individual Cine
from a CineMag IV
Saving Selected Cine files
from a CineMag IV
Saving ALL Cine files
from a CineMag IV


