


Menu Overview
•
- Scan mode (all activated camera images are displayed in full screen in sequence with a 5 second interval)
- Quad mode (all activated cameras are dislayed together)
- activated cameras can be individually displayed in full screen
(Audio from camera microphone only available when in full screen image)
("Record List")
Tap
[49] to show recorded video for all cameras in the selected month
Tap
[50] to show recorded video for the individual camera in the selected month
The days with recorded video are highlighted in green
Tap the green highlighted day to show the individual recordings in that day
Tap the desired time to play the video Tap the symbol "X" to delete the video
- Tap the camera chanel number to which a new camera should be paired, within the next 60
seconds press the pairing button [23] on the camera
- when a camera is added to the system the camera will turn on automatically, this
is indicated by a tick symbol. Tap on the camera symbol to deactivate it, this will be indicated by an "X"
symbol.
- Tap the camera symbol to be able to adjust the brightness between -2 and 2. Default
brightness is "0".
Off - not activated
Low - motion detection with low sensitivity, detection starts a 2 minute recording
High - motion detection with high sensitivity, detection starts a 2 minute recording
Email notification activated / deactivated
Enter the requested data before activating this function. When the function is activated and motion is
detected (motion detection must also be activated) then the receiving Email address will be notified with a
message containing camera number and time.
- Select the camera(s), the start and stop times, and the date for the recording (AM:
0.00-12.00 / PM: 12.00- 24.00 - start and stop must be within the same day)
Up to five scheduled recordings can be set (right hand column 1-5)
[44]Connect to internet (only possible after Network connection) ("Charge Only? No Internet" - in this case the cameras
can be viewed via using the App through a local WiFi network)
Choose camera view
SCAN
QUAD
Cam1 / Cam2 / Cam3 / Cam4
Volume - Clock alarm and loudspeaker volume setting
Submenu
Return to camera image
Playing back recorded video
Camera symbol "A"
Camera symbol "1" to "4"
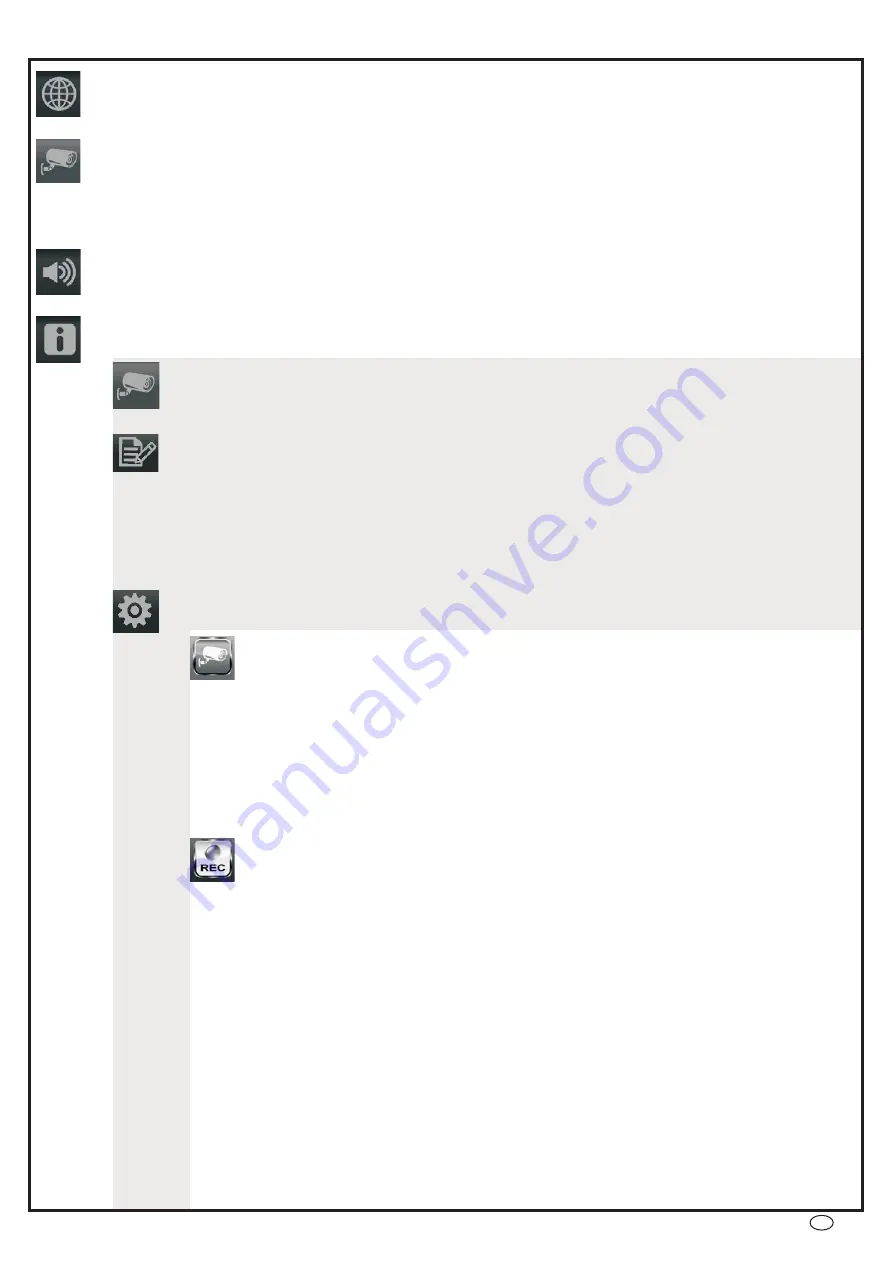
System menu
Camera Setup
Pairing
Camera On
Brightness
Recorder Setup
Motion detection
Email Alert
Schedule Record
Default setting 6/6
Default: all cameras on "low"
Default: no scheduled recording
[43]
[42]
[41]
[46]
[47]
[48]
[54]
[56]
•
•
•
•
•
•
•
•
•
•
GB - 31


